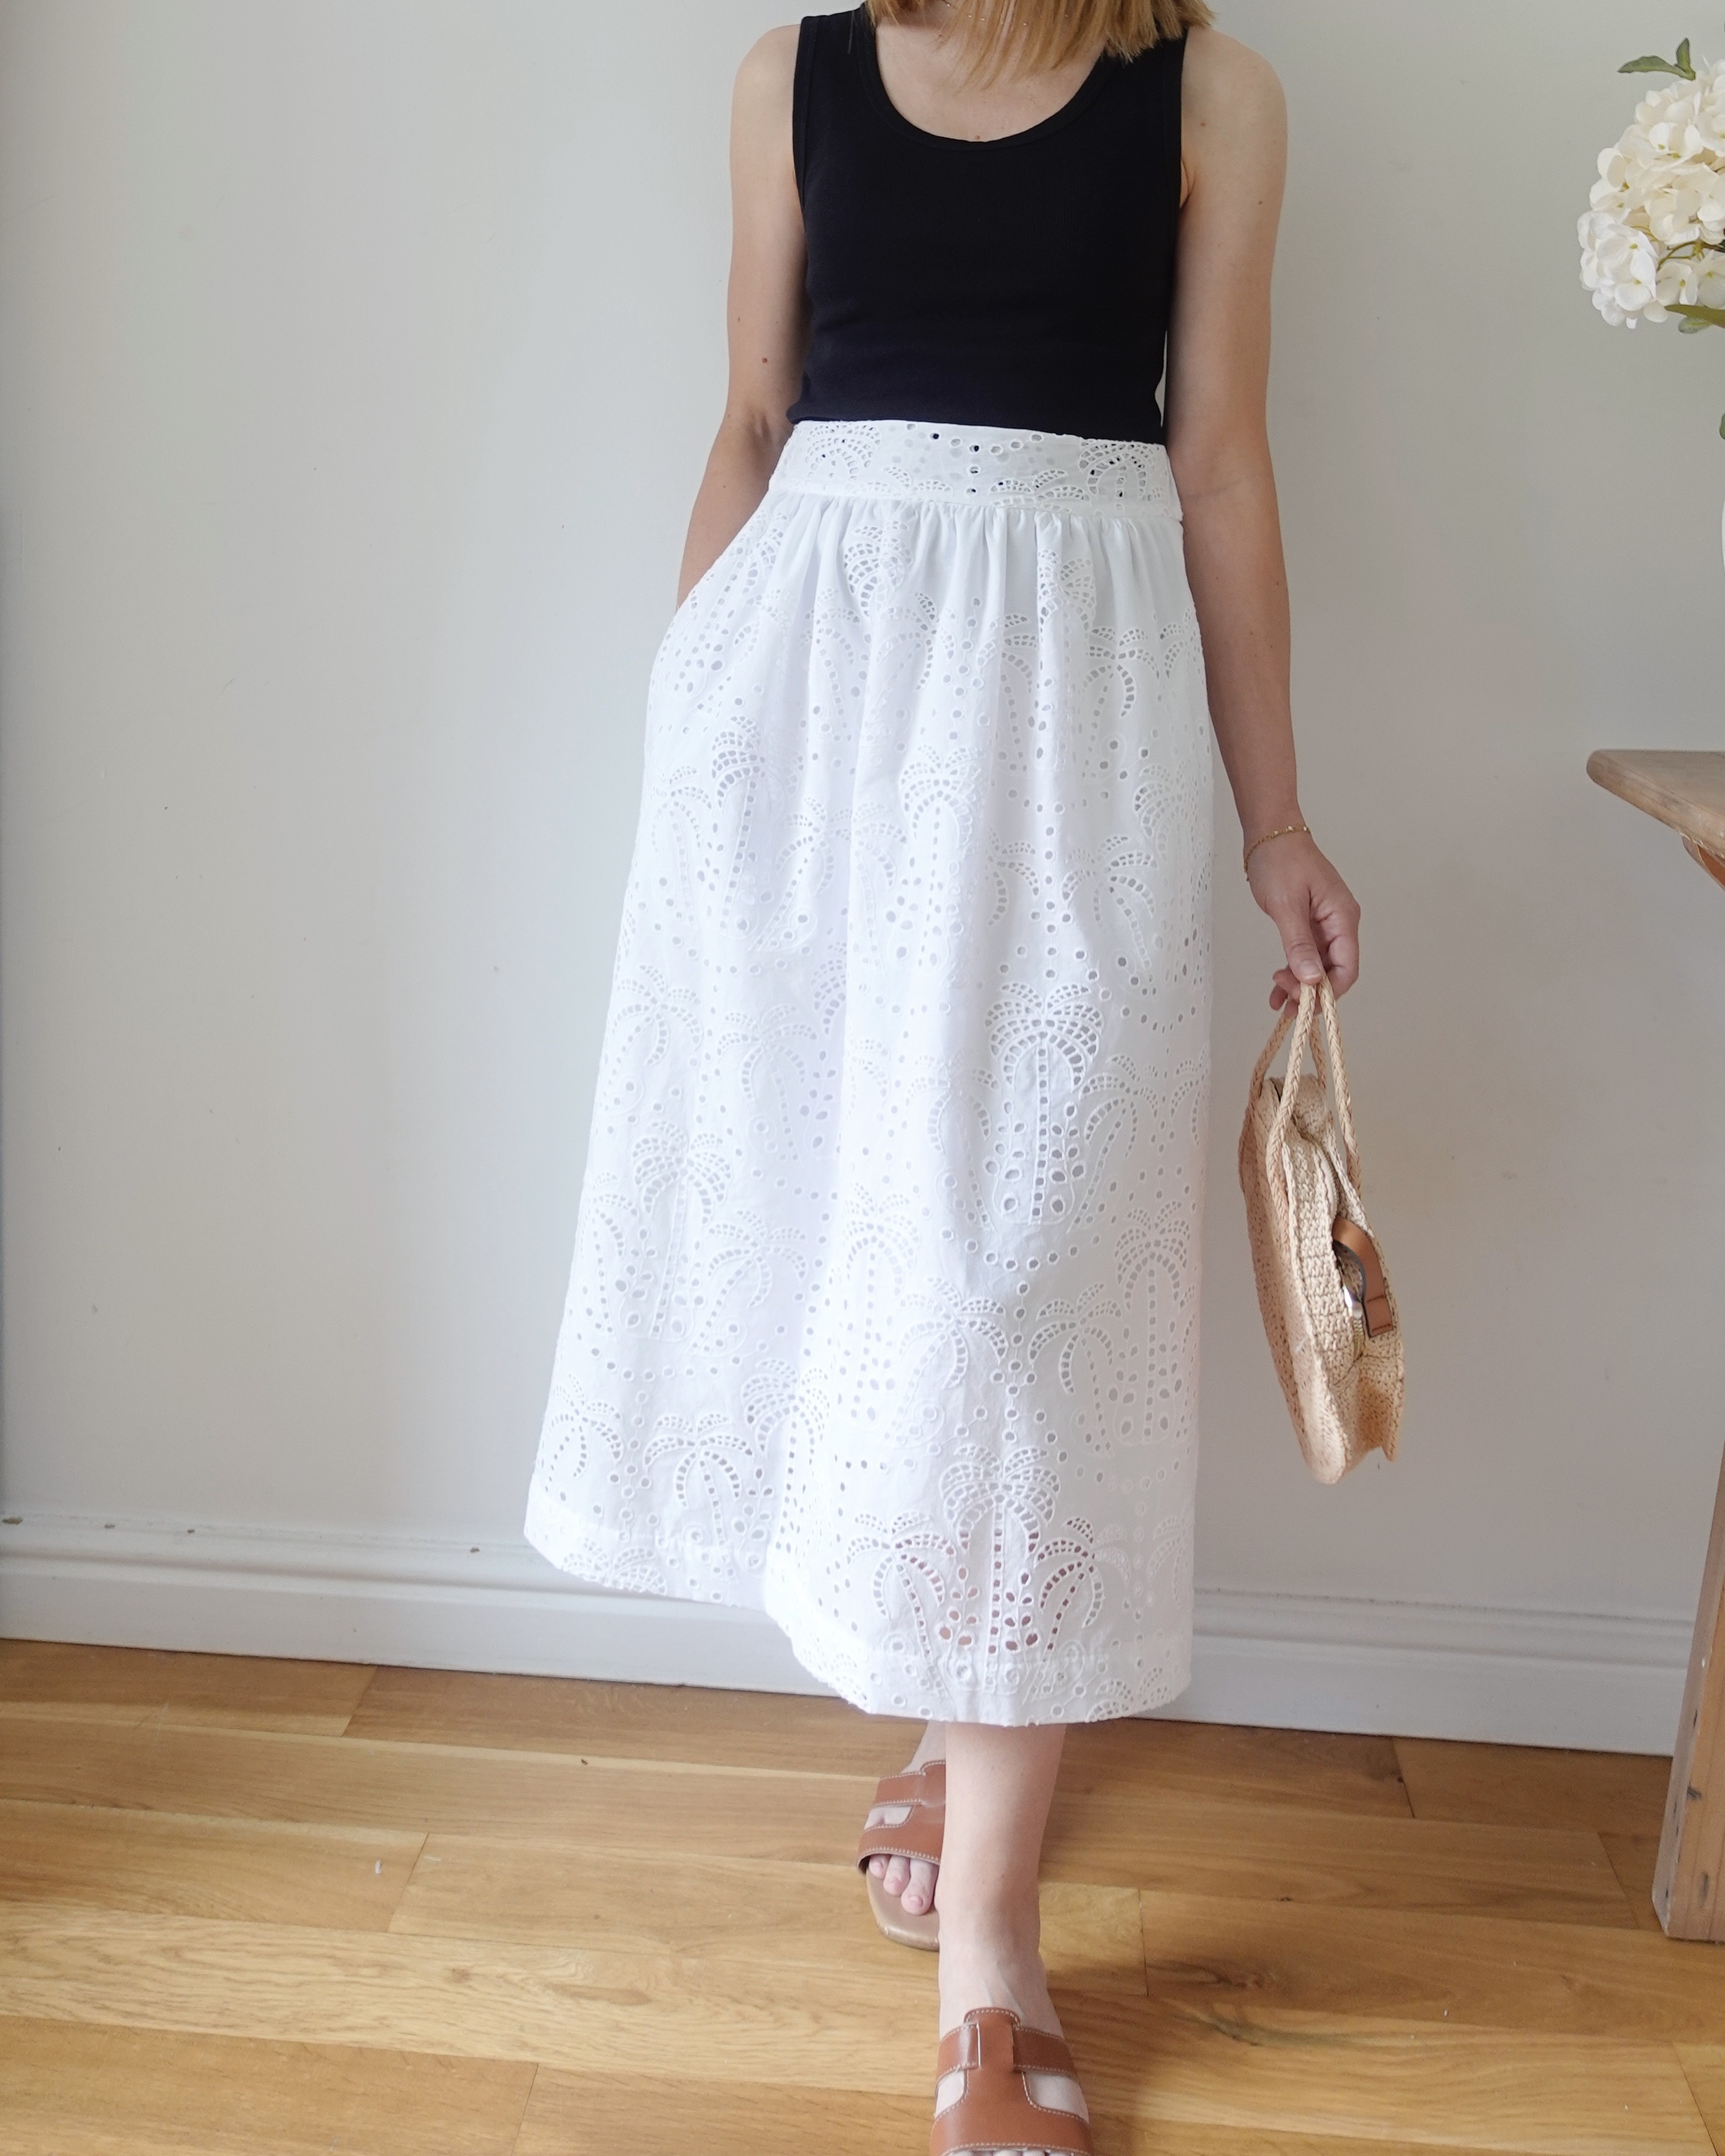
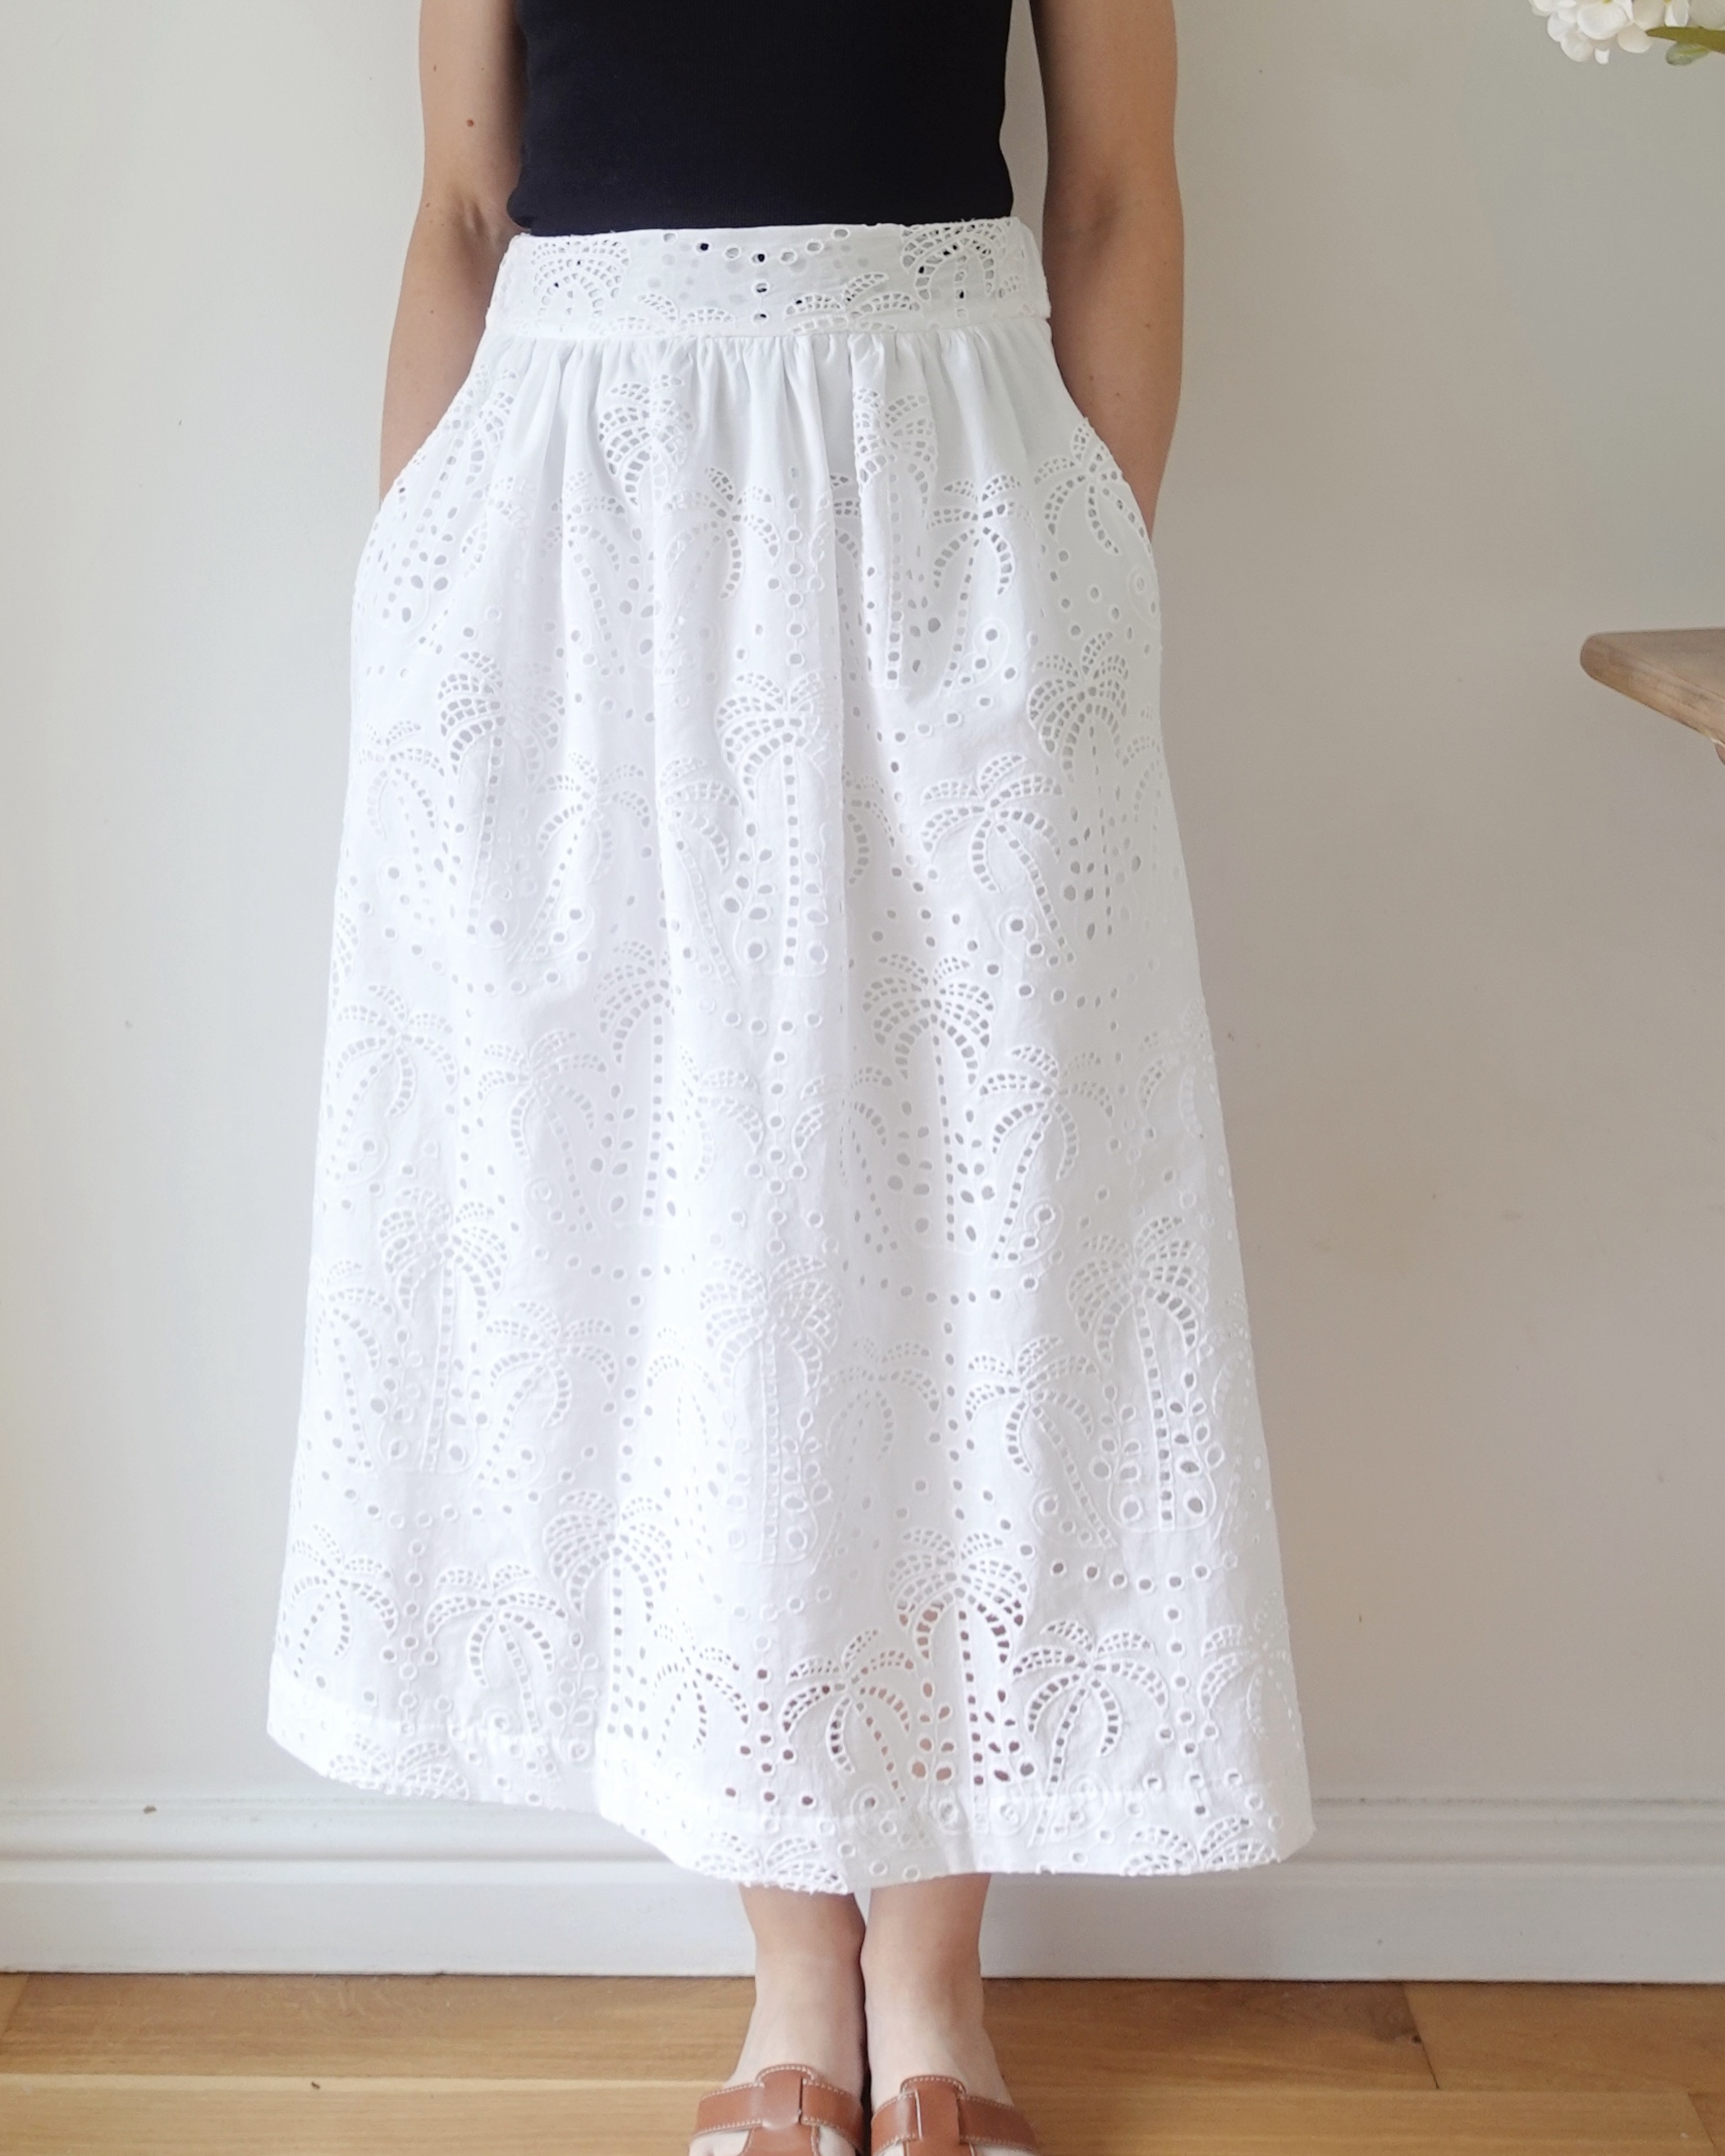
In today’s video I’m sharing everything I’m planning to sew for my autumn wardrobe complete with a bit of Pinterest and High Street inspiration as always 🙂
Grab a cuppa and enjoy and as always please do let me know what you’re planning to sew this fall! All sewing patterns mentioned are linked in the video description.
Put out request on Instagram and on my YouTube community tab to ask what you would like to see coming up – content wise- this autumn time and a jacket pattern round up was highly requested.
So, in this week’s YouTube video, I’m sharing with you inspiration for TEN great jacket sewing patterns that you might like to sew up this autumn.
Some of these patterns I have already sewn and some I haven’t (yet) but as we go through I share the sewing level, fabric recommendations, how I HAVE sewn it up if I have made it in the past or how I WOULD sew it up if it’s a new pattern to me.
I hope you enjoy the video and find some jacket sewing inspiration for your own wardrobe this fall. Links for all patterns mentioned and suggested fabrics are linked in the video description too 🙂
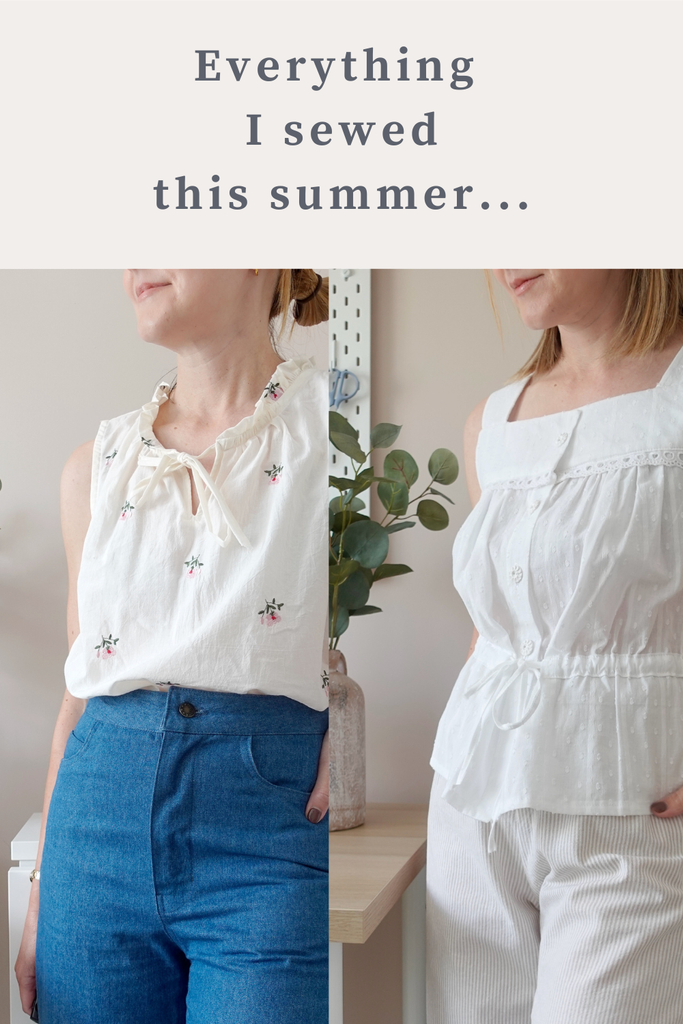
I’m back (after a little break) sharing with you everything I sewed this summer with a little try on for good measure 😆
I’ll be sharing the sewing pattern, the fabric I used and how I’ve found the garment works in my wardrobe if I’ve had time to wear it.
I still think summer is my favourite season to sew for and this summer was no exception, despite the many heatwaves we had here in the UK! There was just so much inspiration around on the High Street and as always, I enjoyed using some of the patterns I already had in my stash to create something new and a little bit more ‘on trend’.
I hope you enjoy the video and let me know what your favourite piece was, I’d love to know!
If you’ve been following along for a while, you’ll know that the Ashton Top by Helen’s Closet is one of my absolute favourite sewing patterns. I featured it in my Top 10 Summer Sewing Patterns post just a few weeks ago — and for good reason. It’s a beautiful, versatile pattern that I come back to again and again.
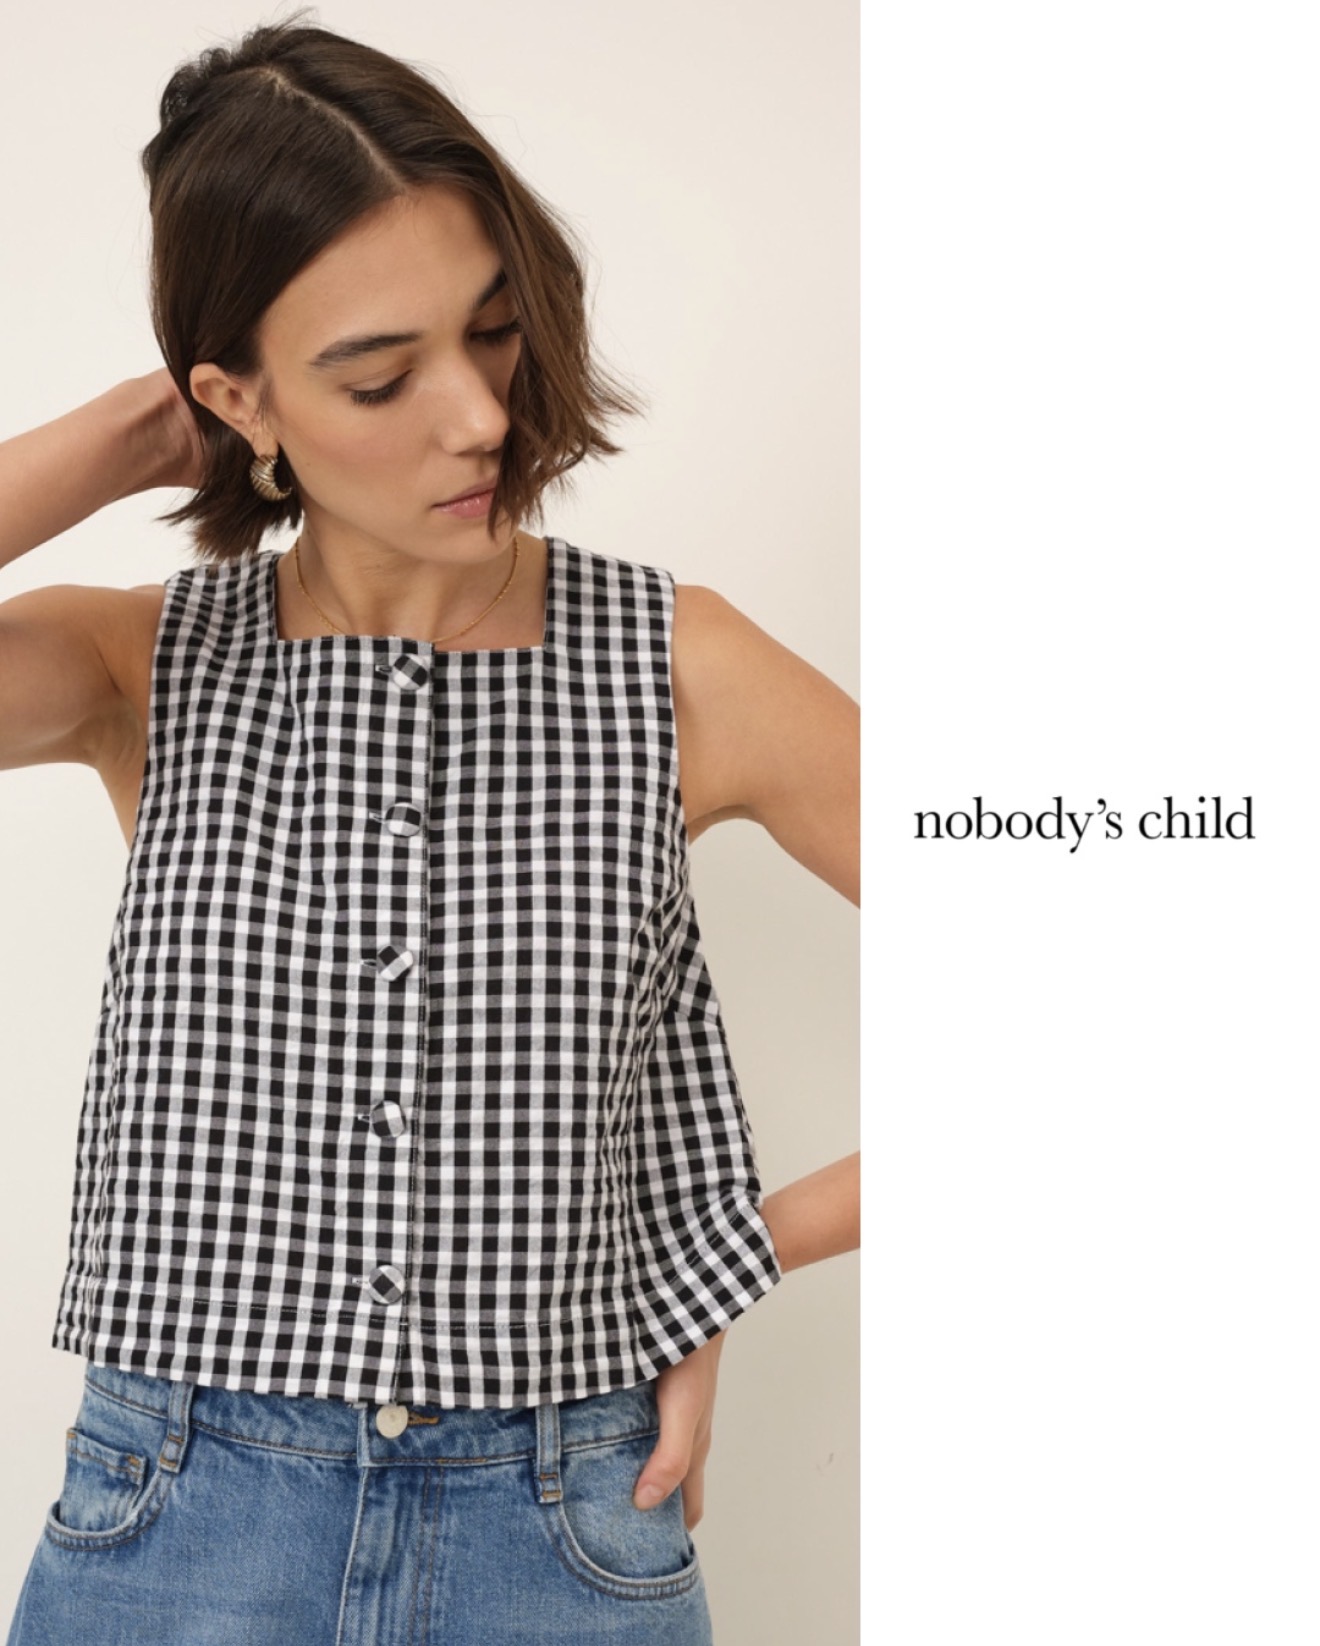
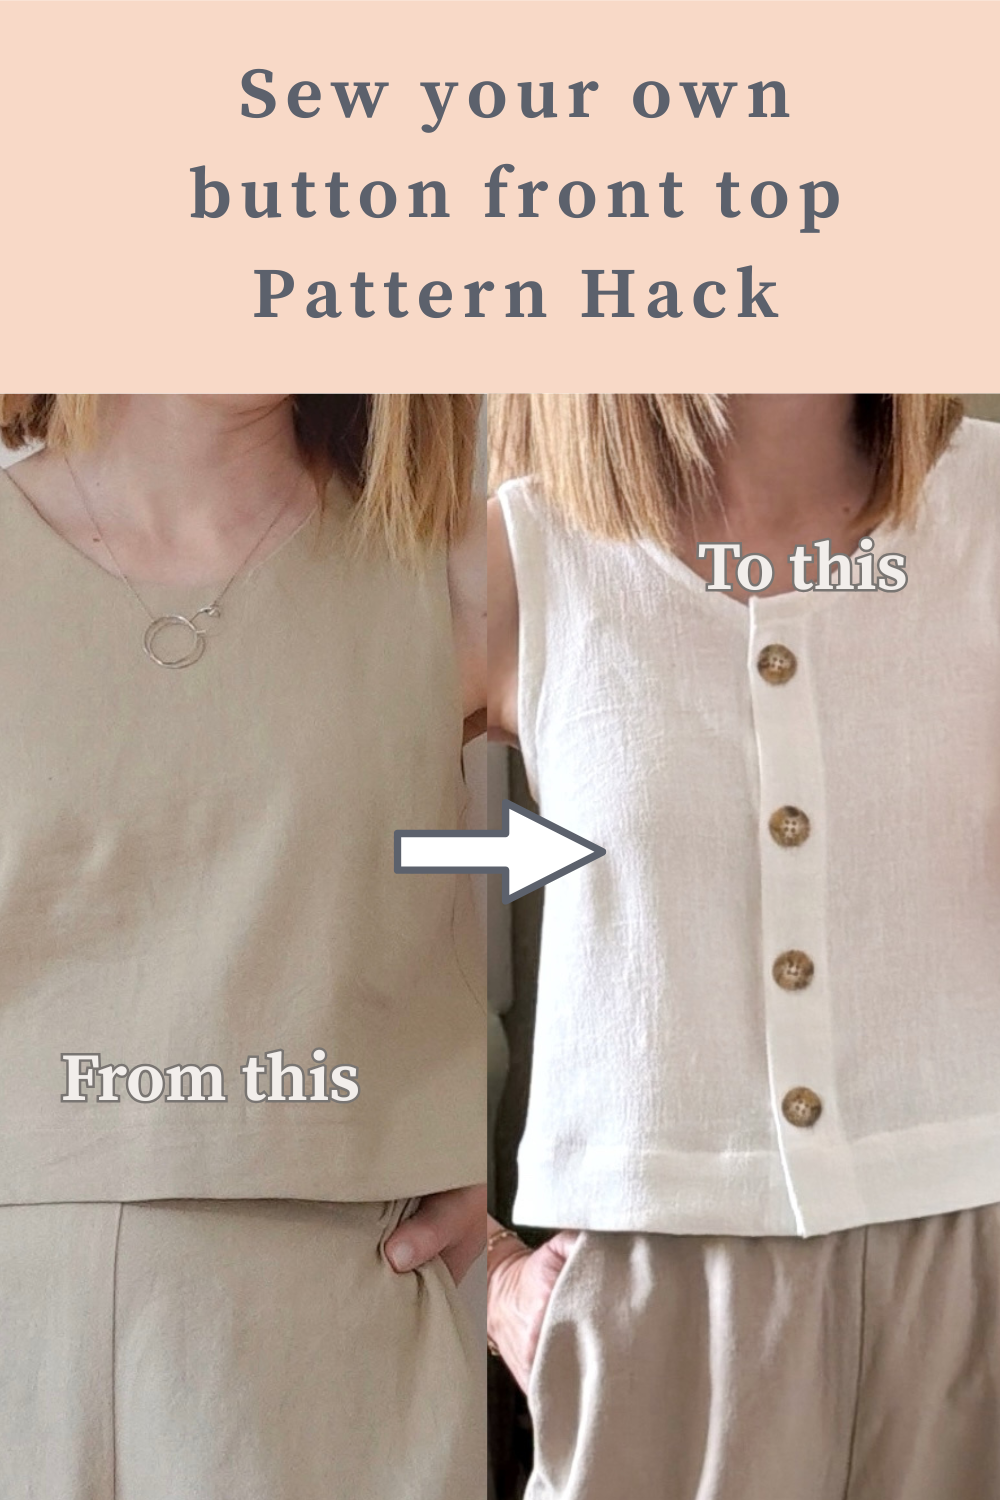
But this time, I decided to switch things up a little. I’d been spotting so many gorgeous button-front tops on the high street lately — the kind that are cool and effortless — and it got me thinking about whether I could create something similar with a pattern I already own rather than buying something new.
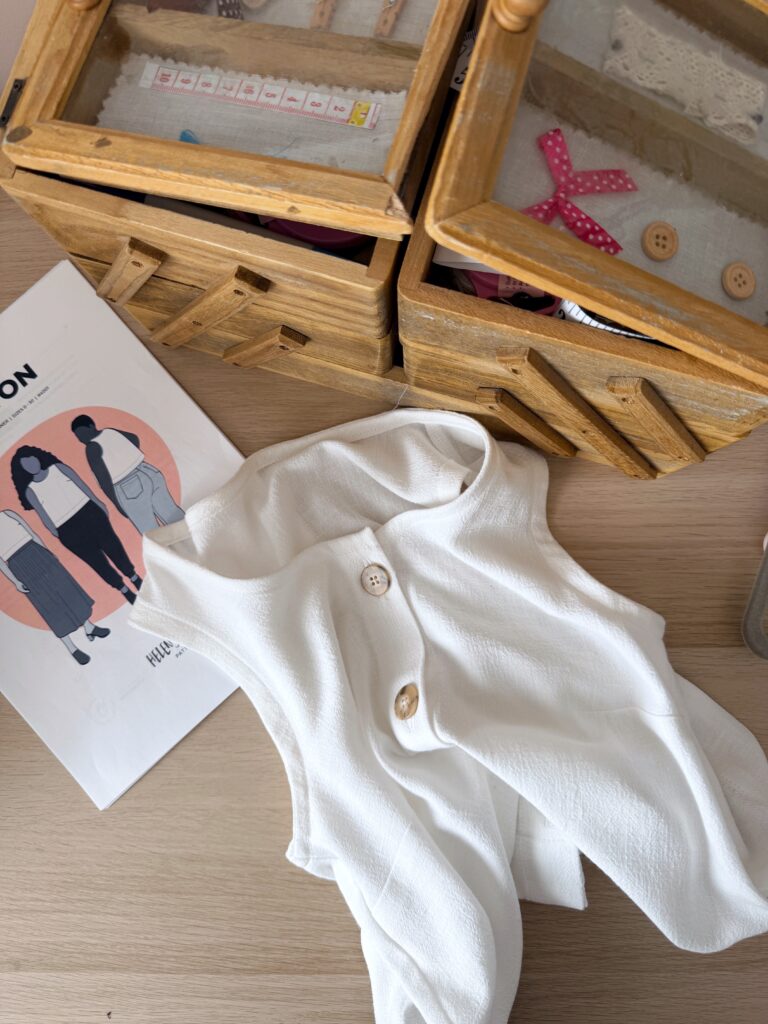
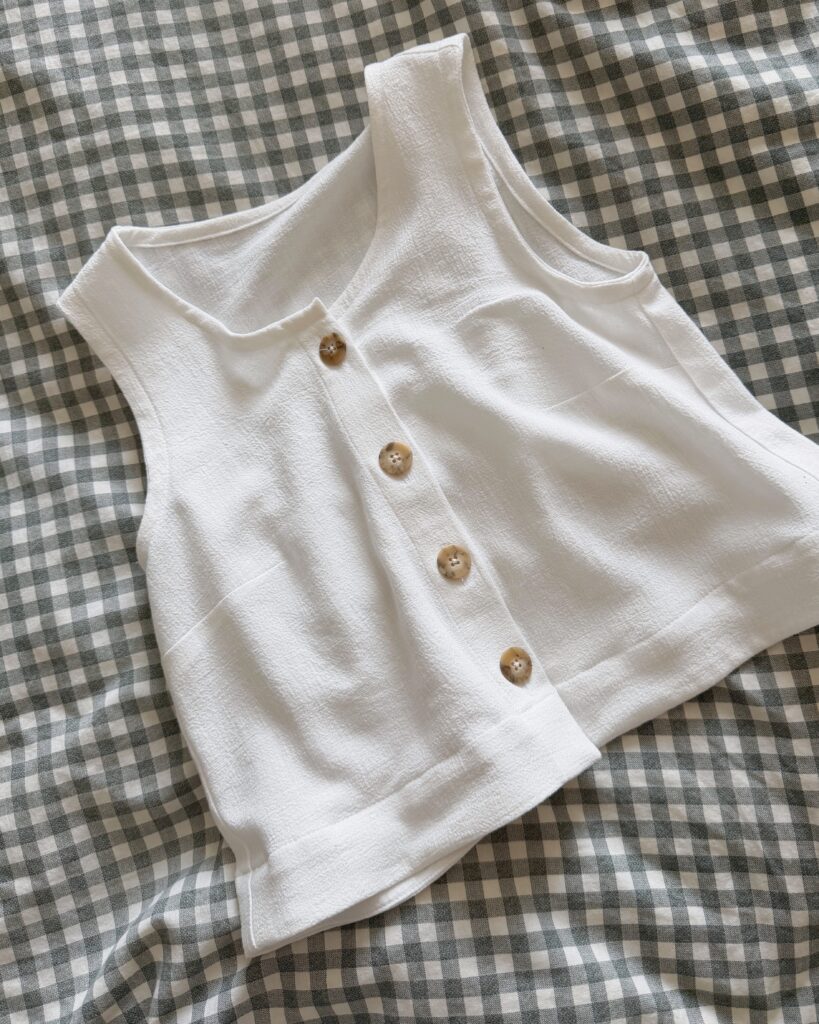
So that’s exactly what I did! In my latest YouTube video, I’m sharing a full pattern hack of the Ashton Top, transforming it into a High Street inspired summer top with a button-down front and a lowered neckline — all sewn up in the most beautiful white slub linen.
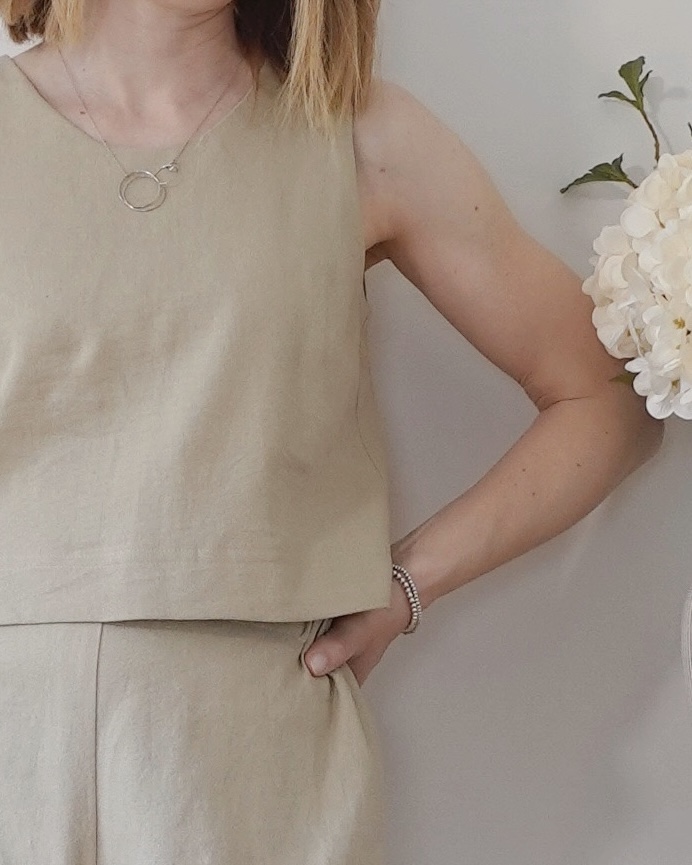
High Street InspirationMy Original Ashton Top
What Is a Pattern Hack, and Should You Try One?
If you’re new to pattern hacking, the idea is simply this: you take a pattern you already have and modify it to create something different. It sounds a bit scary, but it’s actually one of the most satisfying things you can do as a sewist. You already know the pattern fits, which means you can focus purely on the fun creative part!
The Hack: What I Changed
Starting from the standard Ashton Top, here’s what I did to create this new version:
1. Lowered the neckline
The original Ashton Top has a beautiful, clean faced or bound neckband. For this hack, I lowered the neckline slightly to create a more relaxed, summer-appropriate finish. In the video I show you exactly how to do this without losing the shape and structure of the original pattern.
2. Drafted a button band
This is the feature that really transforms the top into something that feels very different. I drafted a button band from scratch — and I promise it’s much more manageable than it sounds and I’ll take you through the whole process step by step.
3. Bias bound the neckline and armholes
Once the neckline was lowered, I finished it with bias binding rather than a facing. This gives a beautifully neat, minimal finish that works so well with the linen fabric. I also bias bound the armholes to match.
4. Sewed a hem facing
I love the faced hem of the original Ashton and I wanted to keep this for my new button up version and so I modified the original facing pattern piece to adapt to the new button band. A hem facing gives a really clean, professional result that sits beautifully and keeps the hem flat and the shape nice and boxy.
The Fabric
I used a gorgeous slub linen for this make — and it was perfect for this design. Linen is one of my favourite summer fabrics because it breathes so well, and the slub texture of this one adds a lovely natural character to it. It also presses beautifully, which is really helpful when you’re working with techniques like bias binding and button bands.
I’ve linked a similar slub linen in the video description if you want to track something down!
Watch the Full Video
All of the steps above are explained in much more detail over on YouTube — this really is a project where seeing it done makes all the difference! Whether you want to follow along in real time or just get a feel for whether this hack is for you, head over to watch:
And if you love a good pattern hack, you might also enjoy my other pattern hack videos — I have a whole playlist of them over on YouTube called ‘Sew the Look‘ which you can find linked in the video description!
Have you ever hacked a pattern before? I’d love to know which one — drop it in the comments below! And if you give this hack a go, please do share a photo with me over on Instagram — I absolutely love seeing your makes!
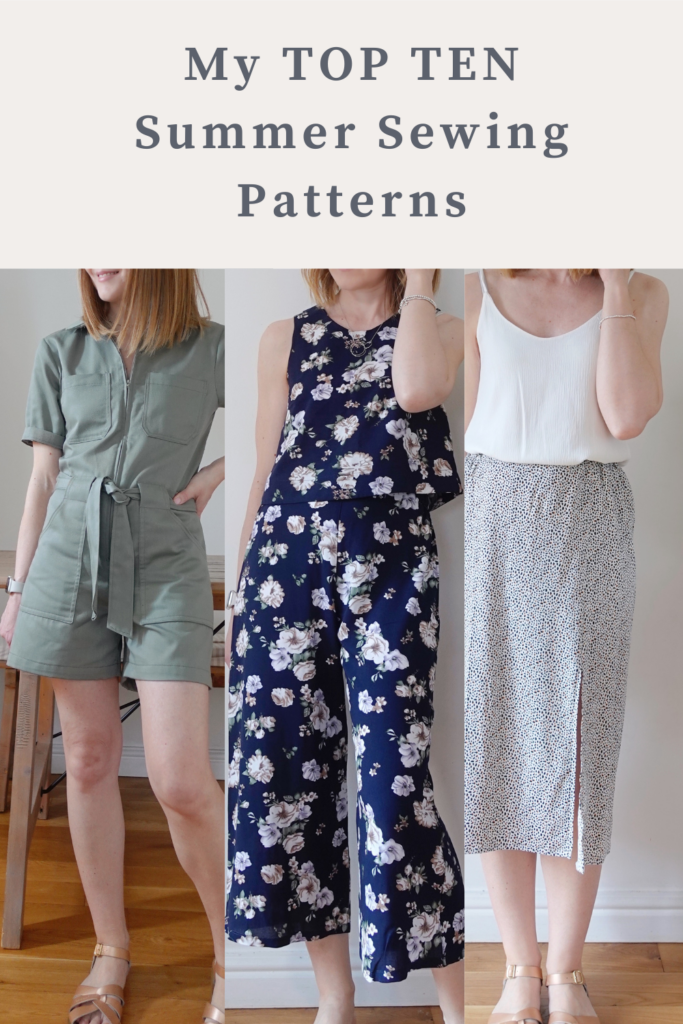
A few weeks ago I shared 10 summer sewing patterns over on Instagram — and honestly, the response absolutely floored me! It had thousands of views and thousands of saves, and I also had quite a few questions about fabric choices and sewing levels for each one. So I figured it was time to do a proper full video and blog post version!
In today’s post (and YouTube video!), I’m talking you through all 10 patterns — sharing the sewing level, the types of fabrics that work well for each one and why, and who I think each pattern is best suited to. I really do think there’s something here for everyone, whether you’ve been sewing for six weeks or six years!
*All sewing patterns are linked in the video description over on YouTube*
The Top 10 Summer Sewing Patterns
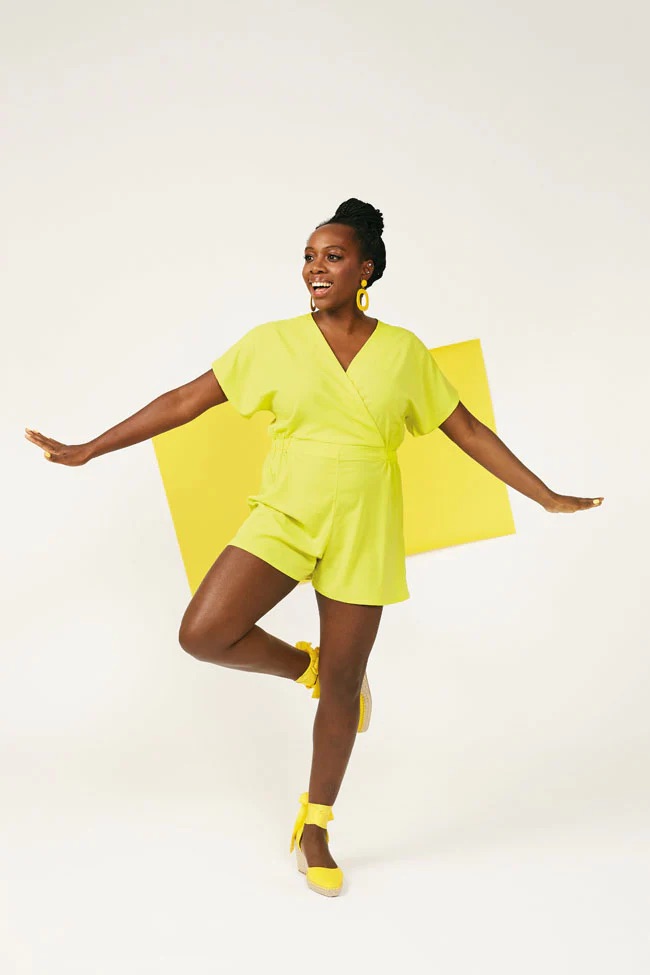
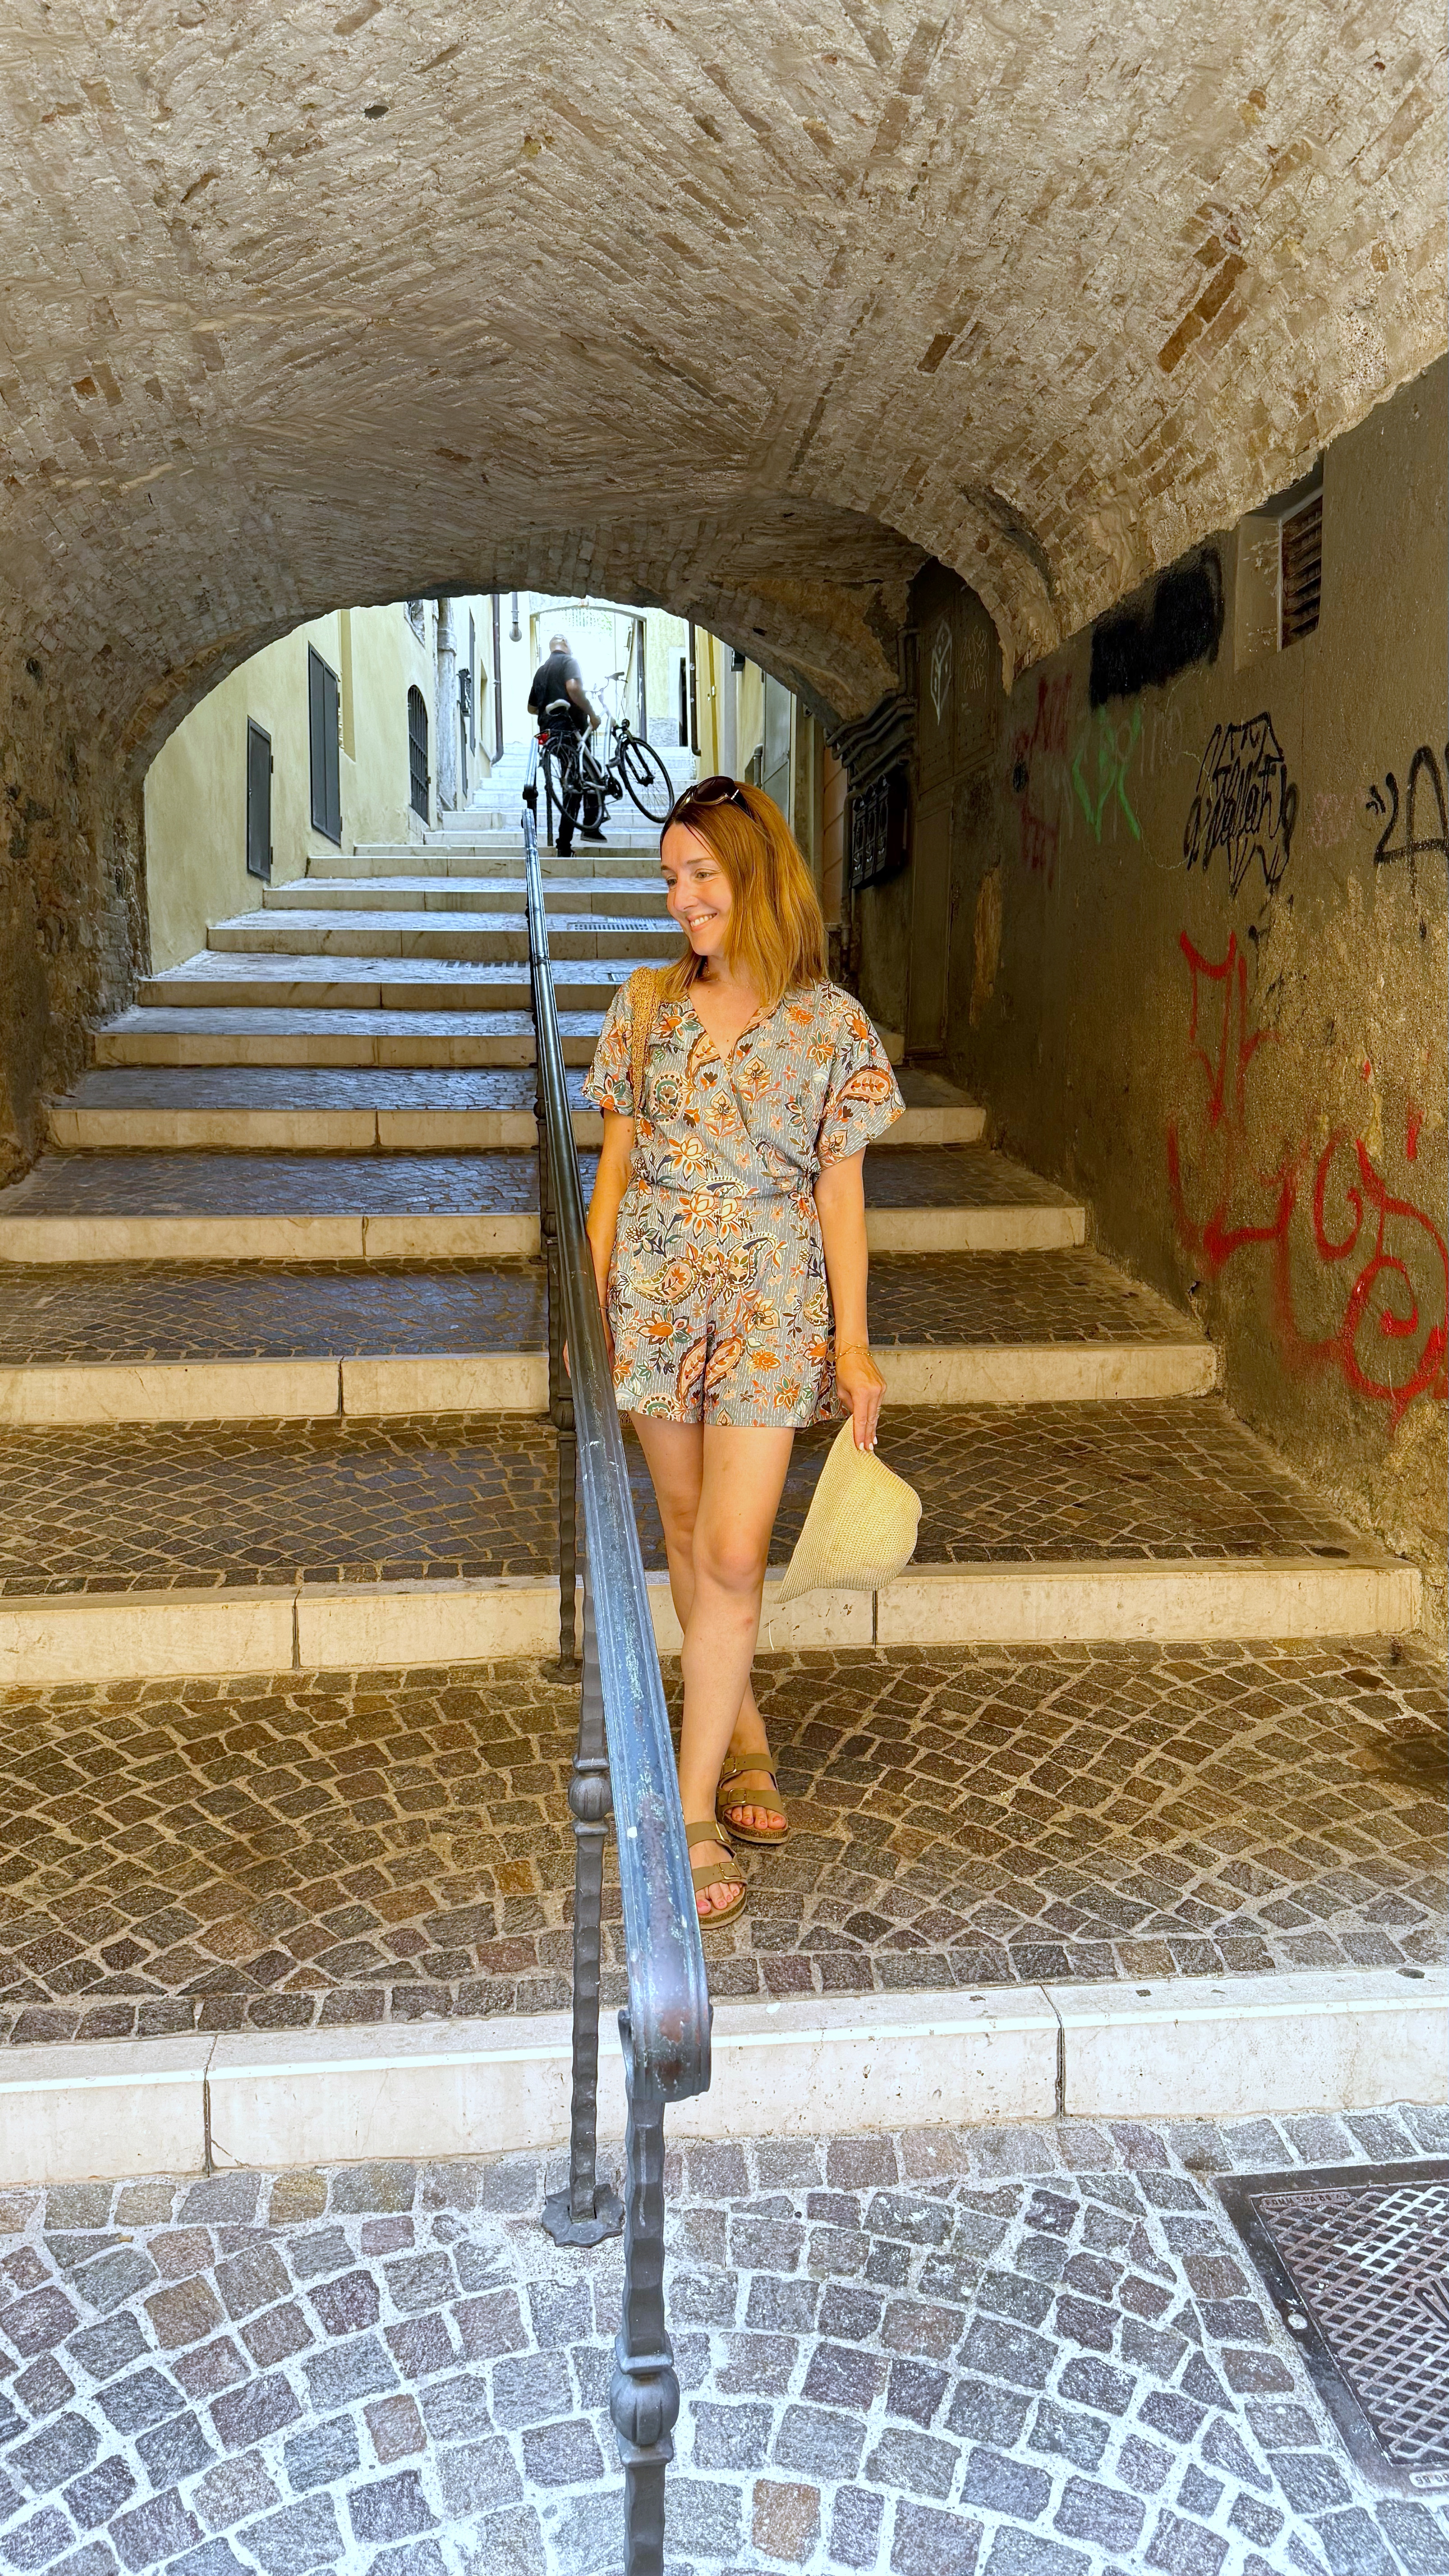
1. The Safiya Playsuit – Tilly and the Buttons (Make It Simple Book)
My first pick is the Safiya Playsuit by Tilly and the Buttons, from the Make It Simple book. This is an easy-to-sew, easy-to-wear elasticated waist playsuit with a flat front, a faux wrap bodice with grown-on sleeves, and the option to sew it with either short or long legs. I whipped up a couple of these really last-minute before a hot holiday last year and honestly got so much wear out of them. There is something brilliant about a playsuit — you just throw it on and you’re good to go!
Sewing level: Beginner. The Make It Simple book is designed with beginners in mind, and if you’re more experienced you can easily sew this in a couple of hours.
Fabric: You can use a variety of fabrics here. My preference is something with a little drape — a floaty, swishy viscose or rayon gives a lovely result. If you want more structure and want to emphasise the A-line shape, try a cotton or linen. Cotton and linen are also much easier to sew if you’re a beginner, and they’re wonderfully breathable in hot weather too!
2. The Almy Blouse – Stylearc
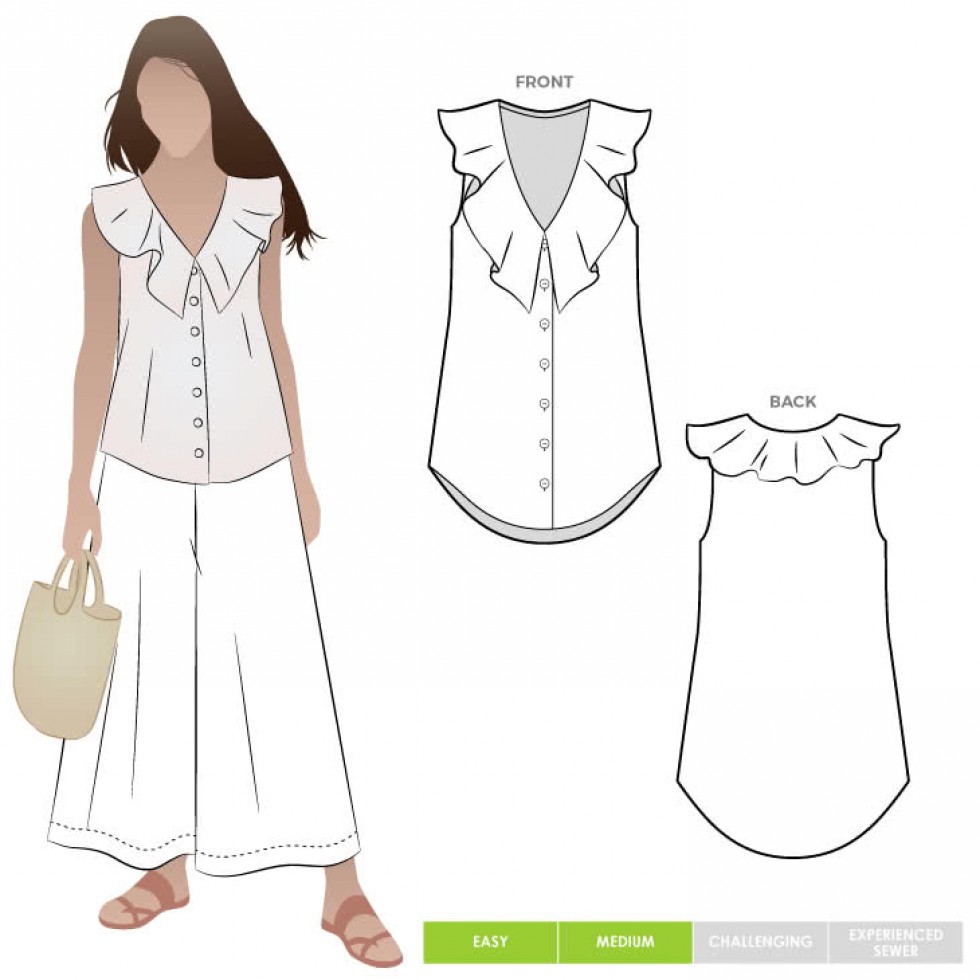
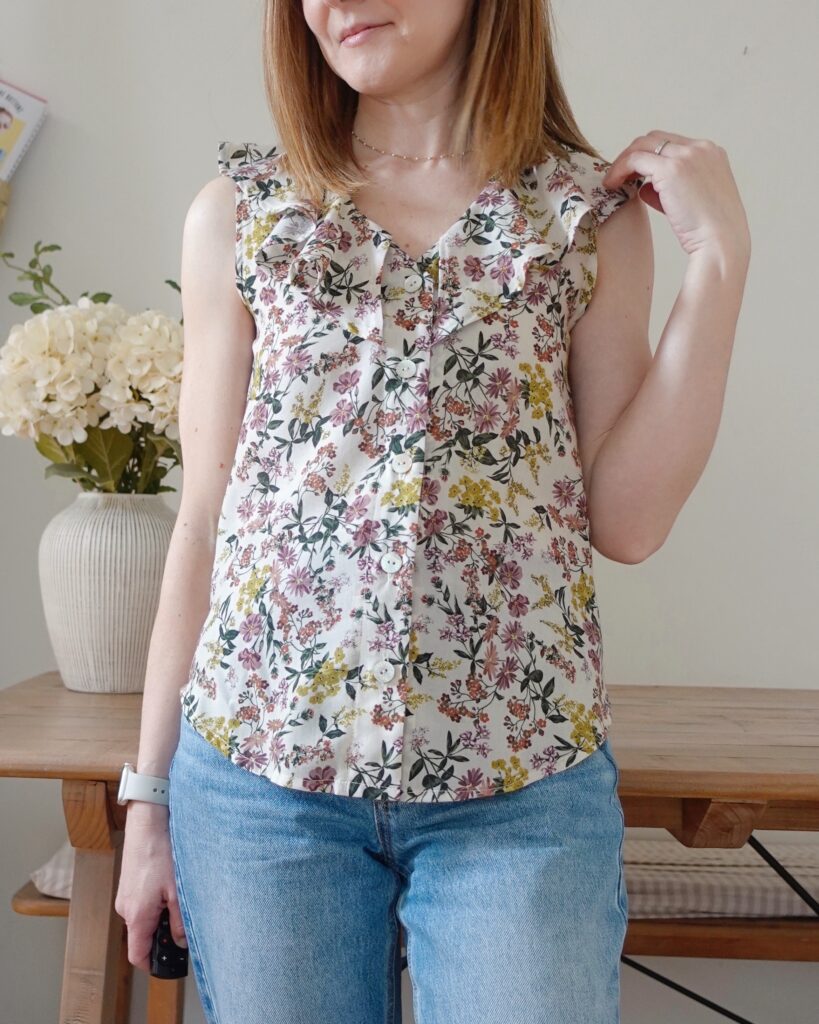
I had to include the Almy Blouse by Stylearc because it’s just so floaty and cool to wear in hot weather. It’s a fully button-up blouse with a turn-under button band, bias-bound armholes, and a gorgeous flounce detail at the front that really elevates it. I absolutely love sewing this one — it’s such a pretty summer blouse.
Sewing level: Intermediate. Stylearc patterns can be slightly vague in their instructions, but because the design is actually quite simple I think if you’ve sewn blouses before you’ll be fine. I do have a video of me sewing this blouse which I’ll link below if that helps!
Fabric: This works beautifully in something with drape — I’ve sewn mine in a cotton lawn. You could also try a viscose, rayon, or crepe. A cotton or linen works too since the blouse’s flounce is cut on the bias, giving you that drapey effect with a slightly more structured feel.
3. The Blanca Flight Suit – Closet Core Patterns
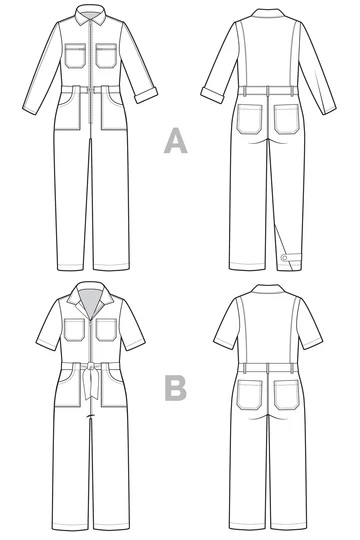
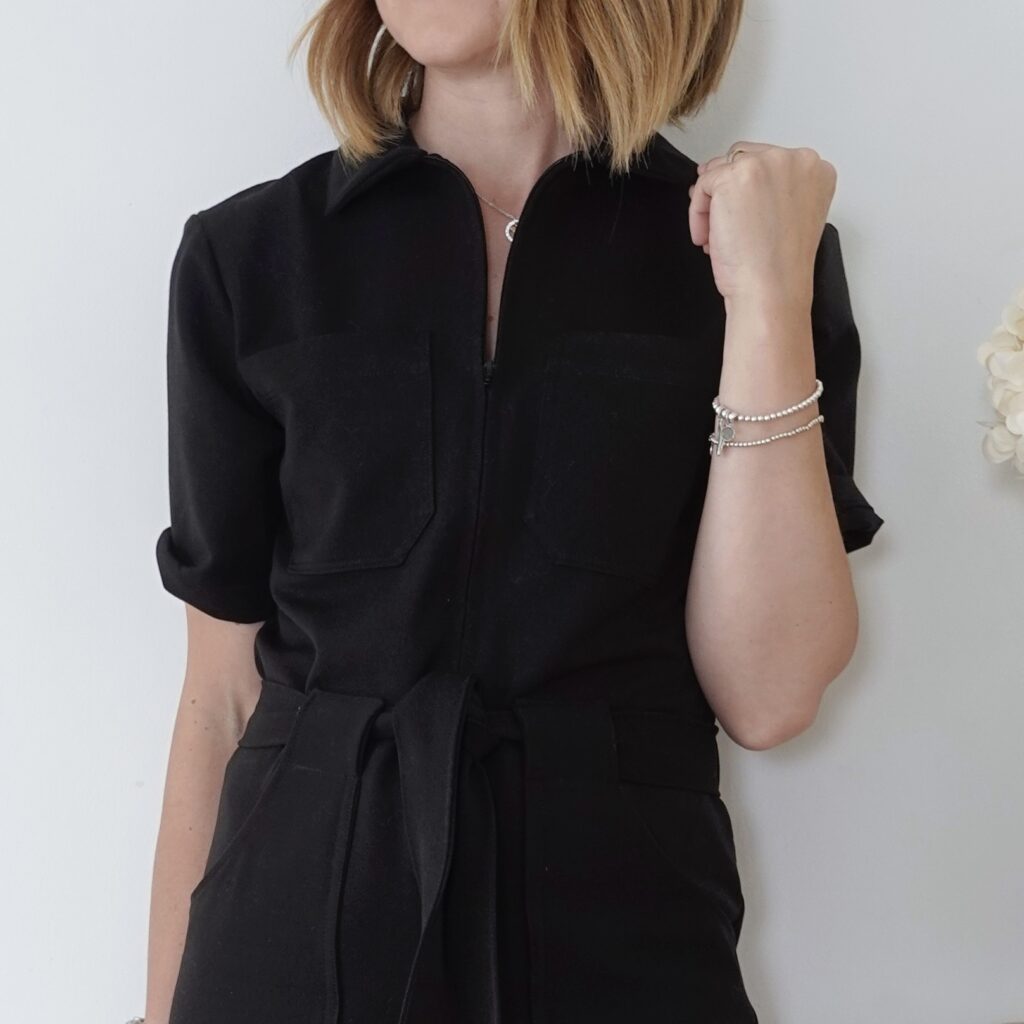
The Blanca Flight Suit by Closet Core Patterns is probably one of my absolute favourite patterns to sew — it’s one you can really get your teeth into! It’s a fitted jumpsuit with a long zip at the front, contrast details at the back, and various sleeve and leg options. Like the playsuit, a flight suit is brilliant if you don’t like thinking too much about getting dressed — just throw it on!
Sewing level: Intermediate to advanced. There are some trickier details that might not suit complete beginners.
Fabric: You need a little structure here — something that can hold its own, fit a zip neatly, and give you crisp pockets and a sharp collar. Canvas, denim, and heavy linen all work beautifully. For my two versions I’ve used a gabardine and a cotton twill, and both felt soft and easy to wear with a little stretch. I have a full shorts version sew-along on Patreon if you fancy trying that variation too!
4. Gathered Elasticated Waist Skirt – My Own Tutorial!
This one is a little different because it’s actually my own tutorial from YouTube! I included it in that original Instagram post and was so delighted by the response. An easy elasticated waist gathered skirt with pockets is just such a perfect summer outfit option. Throw it on with a vest or a t-shirt and you’re done — comfortable, cool, and cute.
Sewing level: Beginner-friendly. You don’t even need a pattern — just a few body measurements and your fabric! You could also leave out the lining and pockets for an even quicker make.
Fabric: Anything goes! A floaty viscose, rayon, or crepe will give you a swishy skirt that hangs close to the body. A cotton, linen, or twill will give you a more structured, poofy skirt that stands away. Cotton is the easiest to sew so it’s a great choice if you’re a beginner working up to something more drapey.
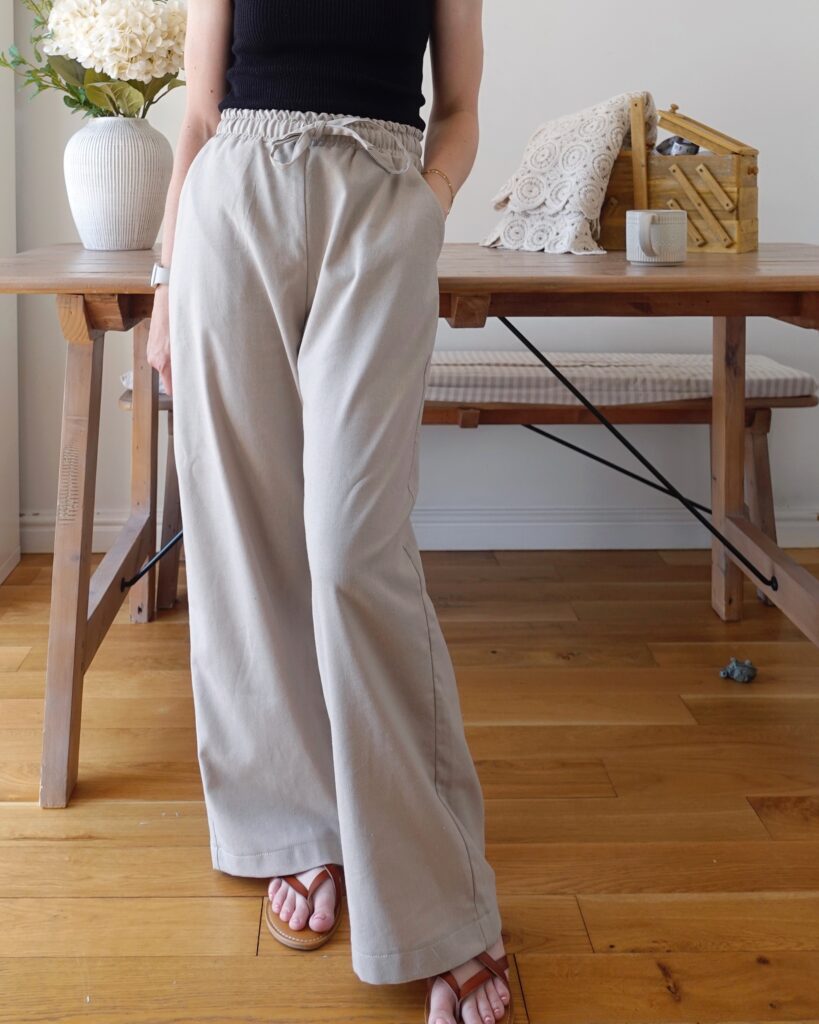
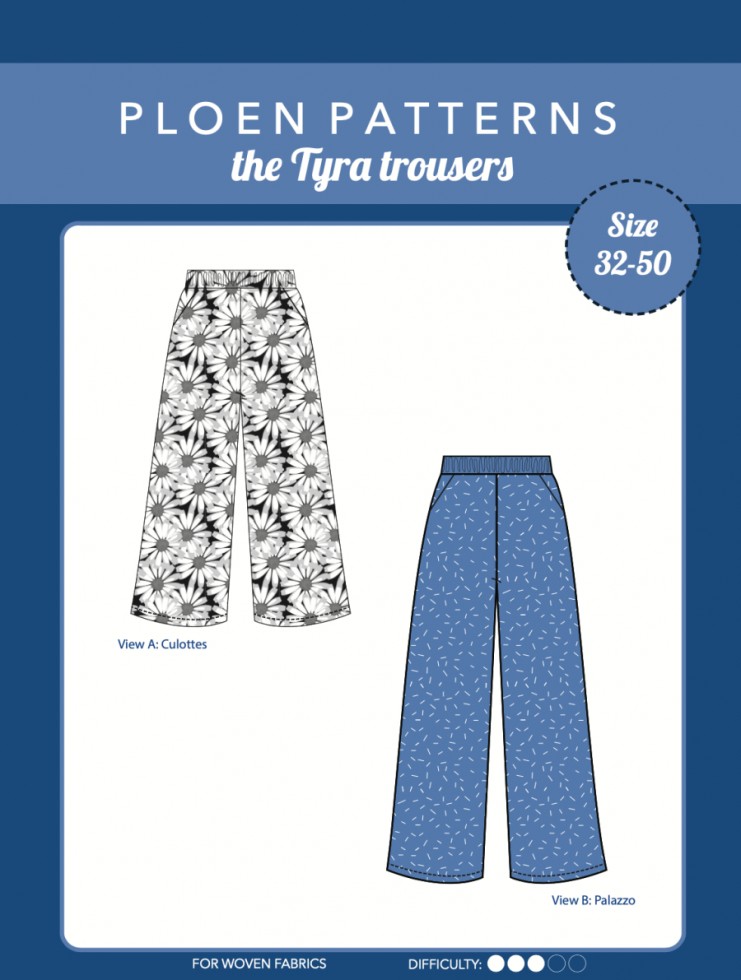
5. The Tyra Trousers – Ploen Patterns
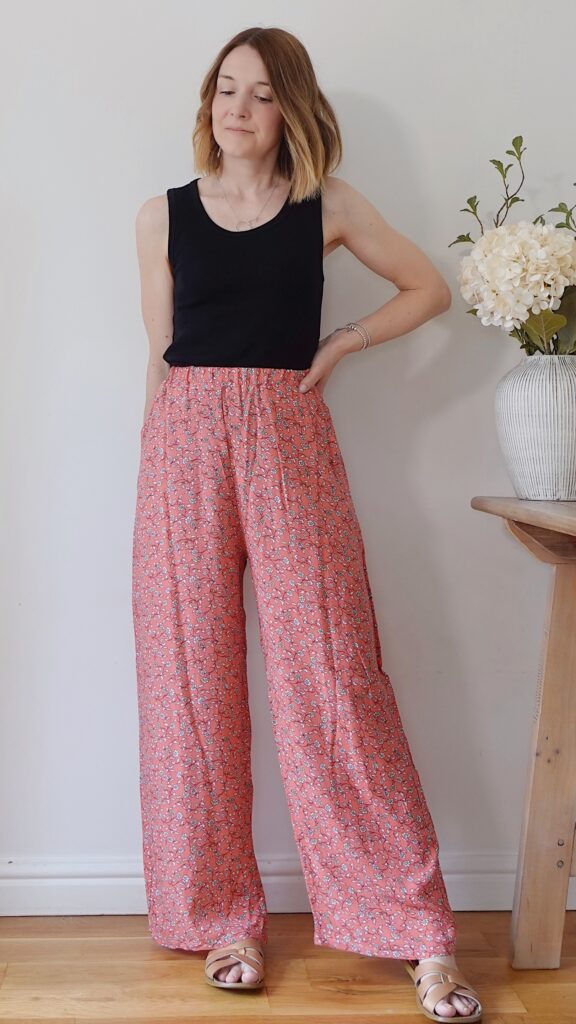
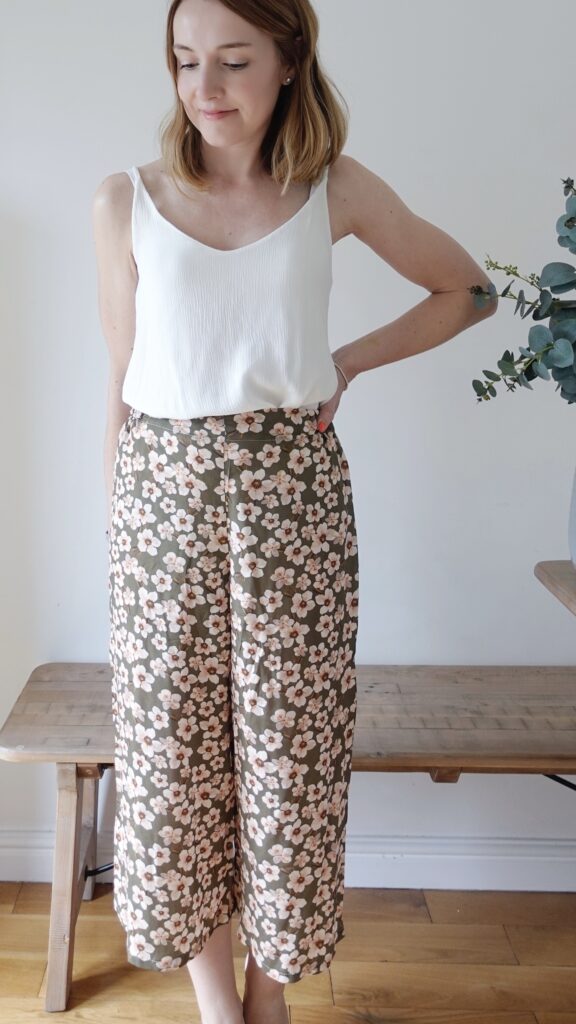
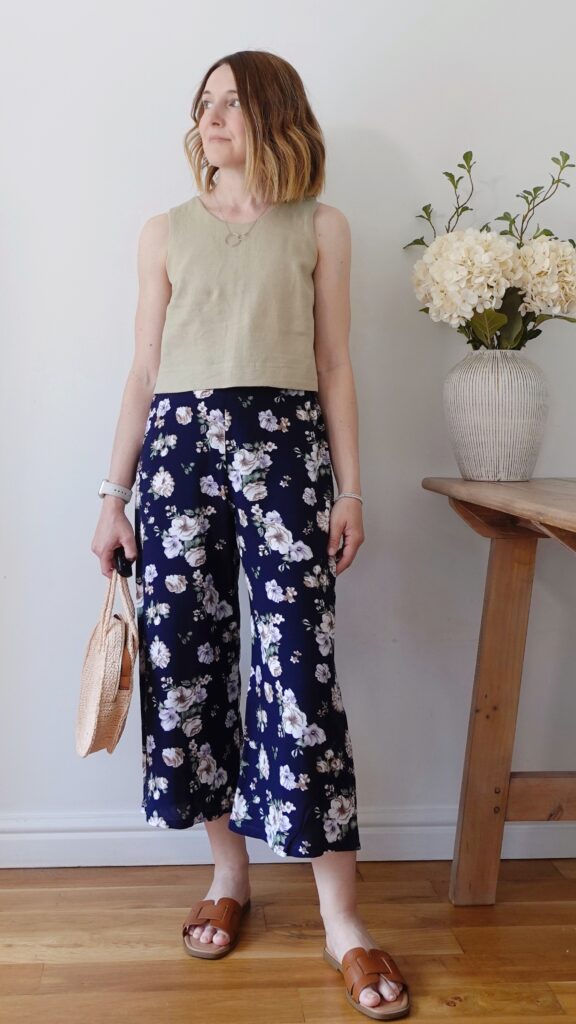
I’ll be honest — I almost feel embarrassed mentioning this pattern yet again because I talk about it so much! But I genuinely could not have a Top 10 summer sewing patterns post without including the Tyra Trousers by Ploen Patterns. I’ve sewn them more than 10 times and I’m even wearing a version in the video that runs alongside . They’re a super simple, easy-to-wear elasticated waist trouser with front pockets, available as a wide-leg palazzo or a shorter culotte style.
Sewing level: Beginner. The elasticated waist makes them easy to fit, and if you’re more experienced you can sew them in a couple of hours.
Fabric: I’ve sewn these from viscoses, linens, jersey, and even a light wool. For summer my preference is a floaty viscose or a viscose-linen blend — they feel slightly more structured and a little smarter but still have that airy, floaty feel. These trousers are the definition of secret pyjamas. When I put them on in the morning I literally feel like I’m swapping one pair of pyjamas for a smarter pair I can actually wear all day!
6. The Ashton Top – Helen’s Closet
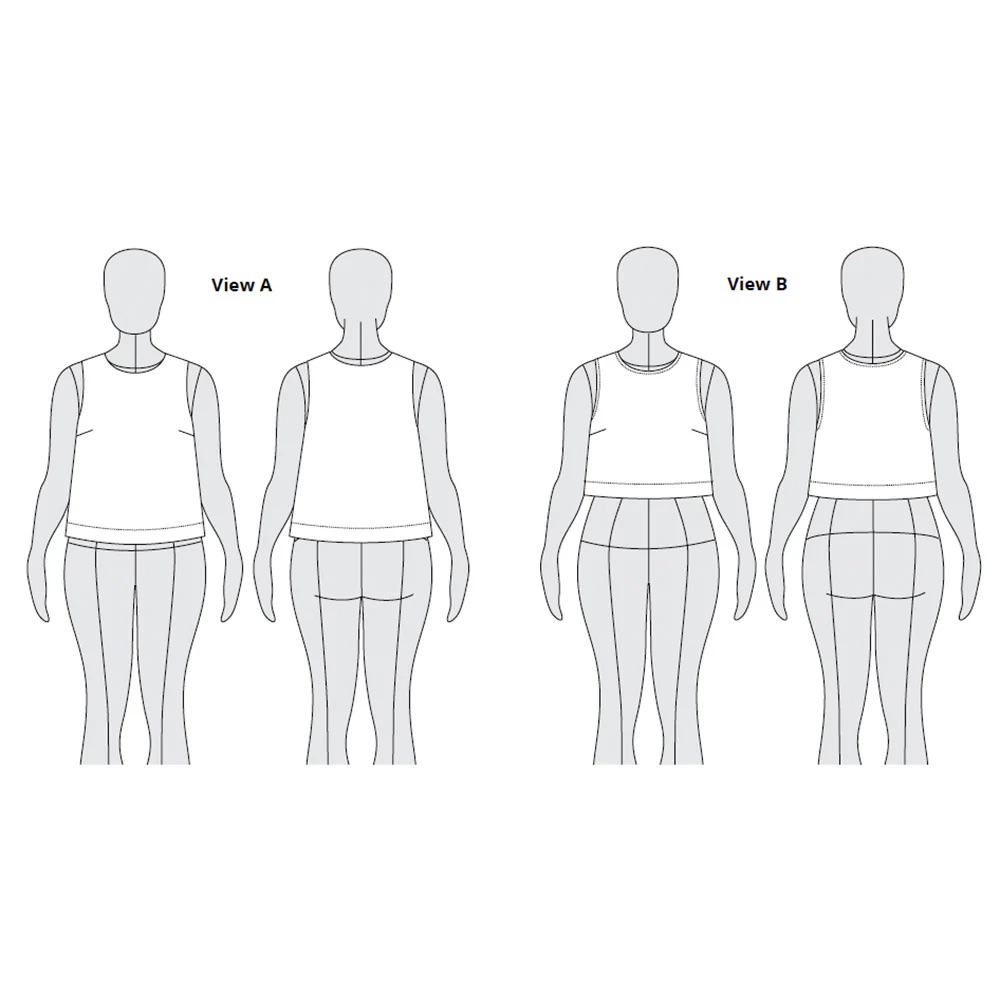
The Ashton Top by Helen’s Closet is my favourite go-to pattern for a sleeveless, cropped, boxy top — perfect for summer. It’s fitted through the bust with bust darts and gently shapes out around the waist in an A-line. My favourite version is the fully faced finish, which really emphasises the beautiful boxy shape. There’s also a sleeve add-on pack if you want to mix things up!
Sewing level: Advanced confident beginner. Some of the finishes — particularly the fully faced version — are more involved, but there are simpler bias binding options included in the pattern that make it more accessible.
Fabric: This pattern is wonderfully versatile. A fabric with structure like linen will hold the shape beautifully. A viscose gives a softer, more fluid result. I have versions in both and they look and feel completely different — both gorgeous in their own way! If you’re a beginner, start with something structured and easy to handle.
7. The Safiya Trousers – Tilly and the Buttons (Make It Simple Book)
From the same pattern set as the Safiya Playsuit (pattern number one!), the Safiya Trousers by Tilly and the Buttons are a brilliant beginner-friendly option for a sleek, easy-to-wear summer trouser. The leg is slightly narrower than the Tyra Trousers, and there are no pockets to distort the silhouette. What makes them especially beginner-friendly is that the waistband is simply turned under as part of the trouser — so there are only two pattern pieces in total!
Sewing level: Beginner (even more so than the Tyra Trousers!).
Fabric: Again, anything you love! My favourite is a viscose-linen blend which I wear as a co-ord set with my Ashton Top. The linen adds a little structure while the viscose keeps things drapey and swishy. Lovely!
Processed with VSCO with a6 preset
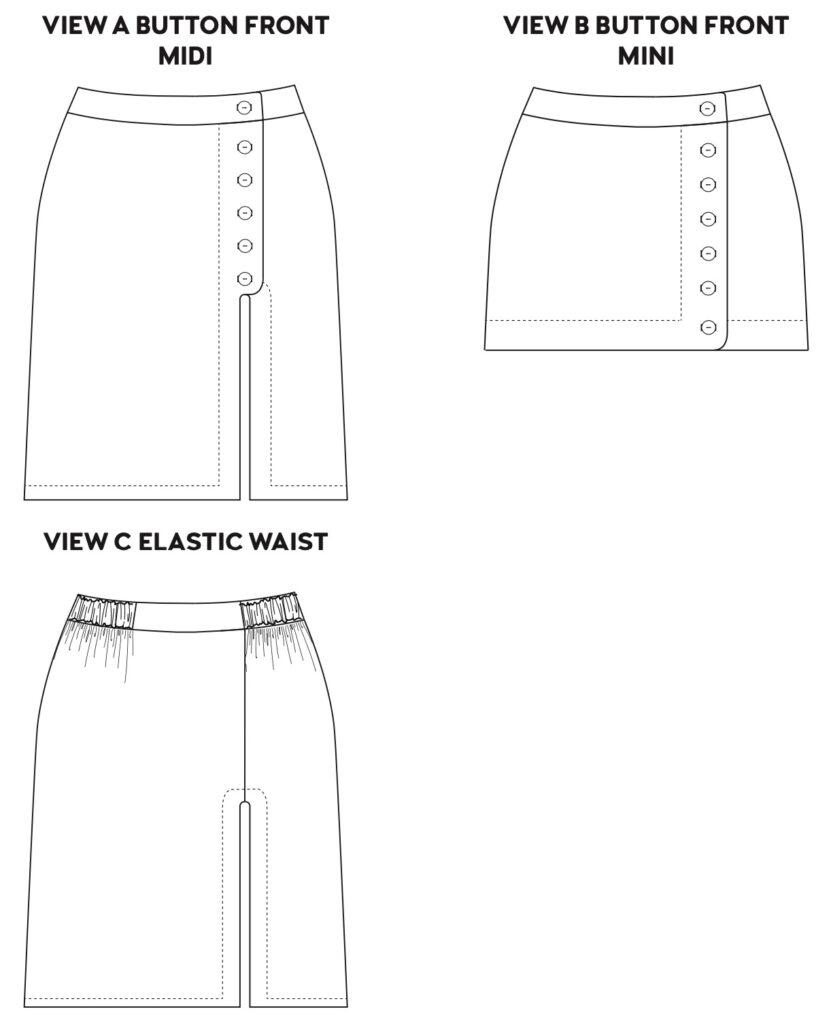
8. The Evelyn Skirt – Chalk and Notch
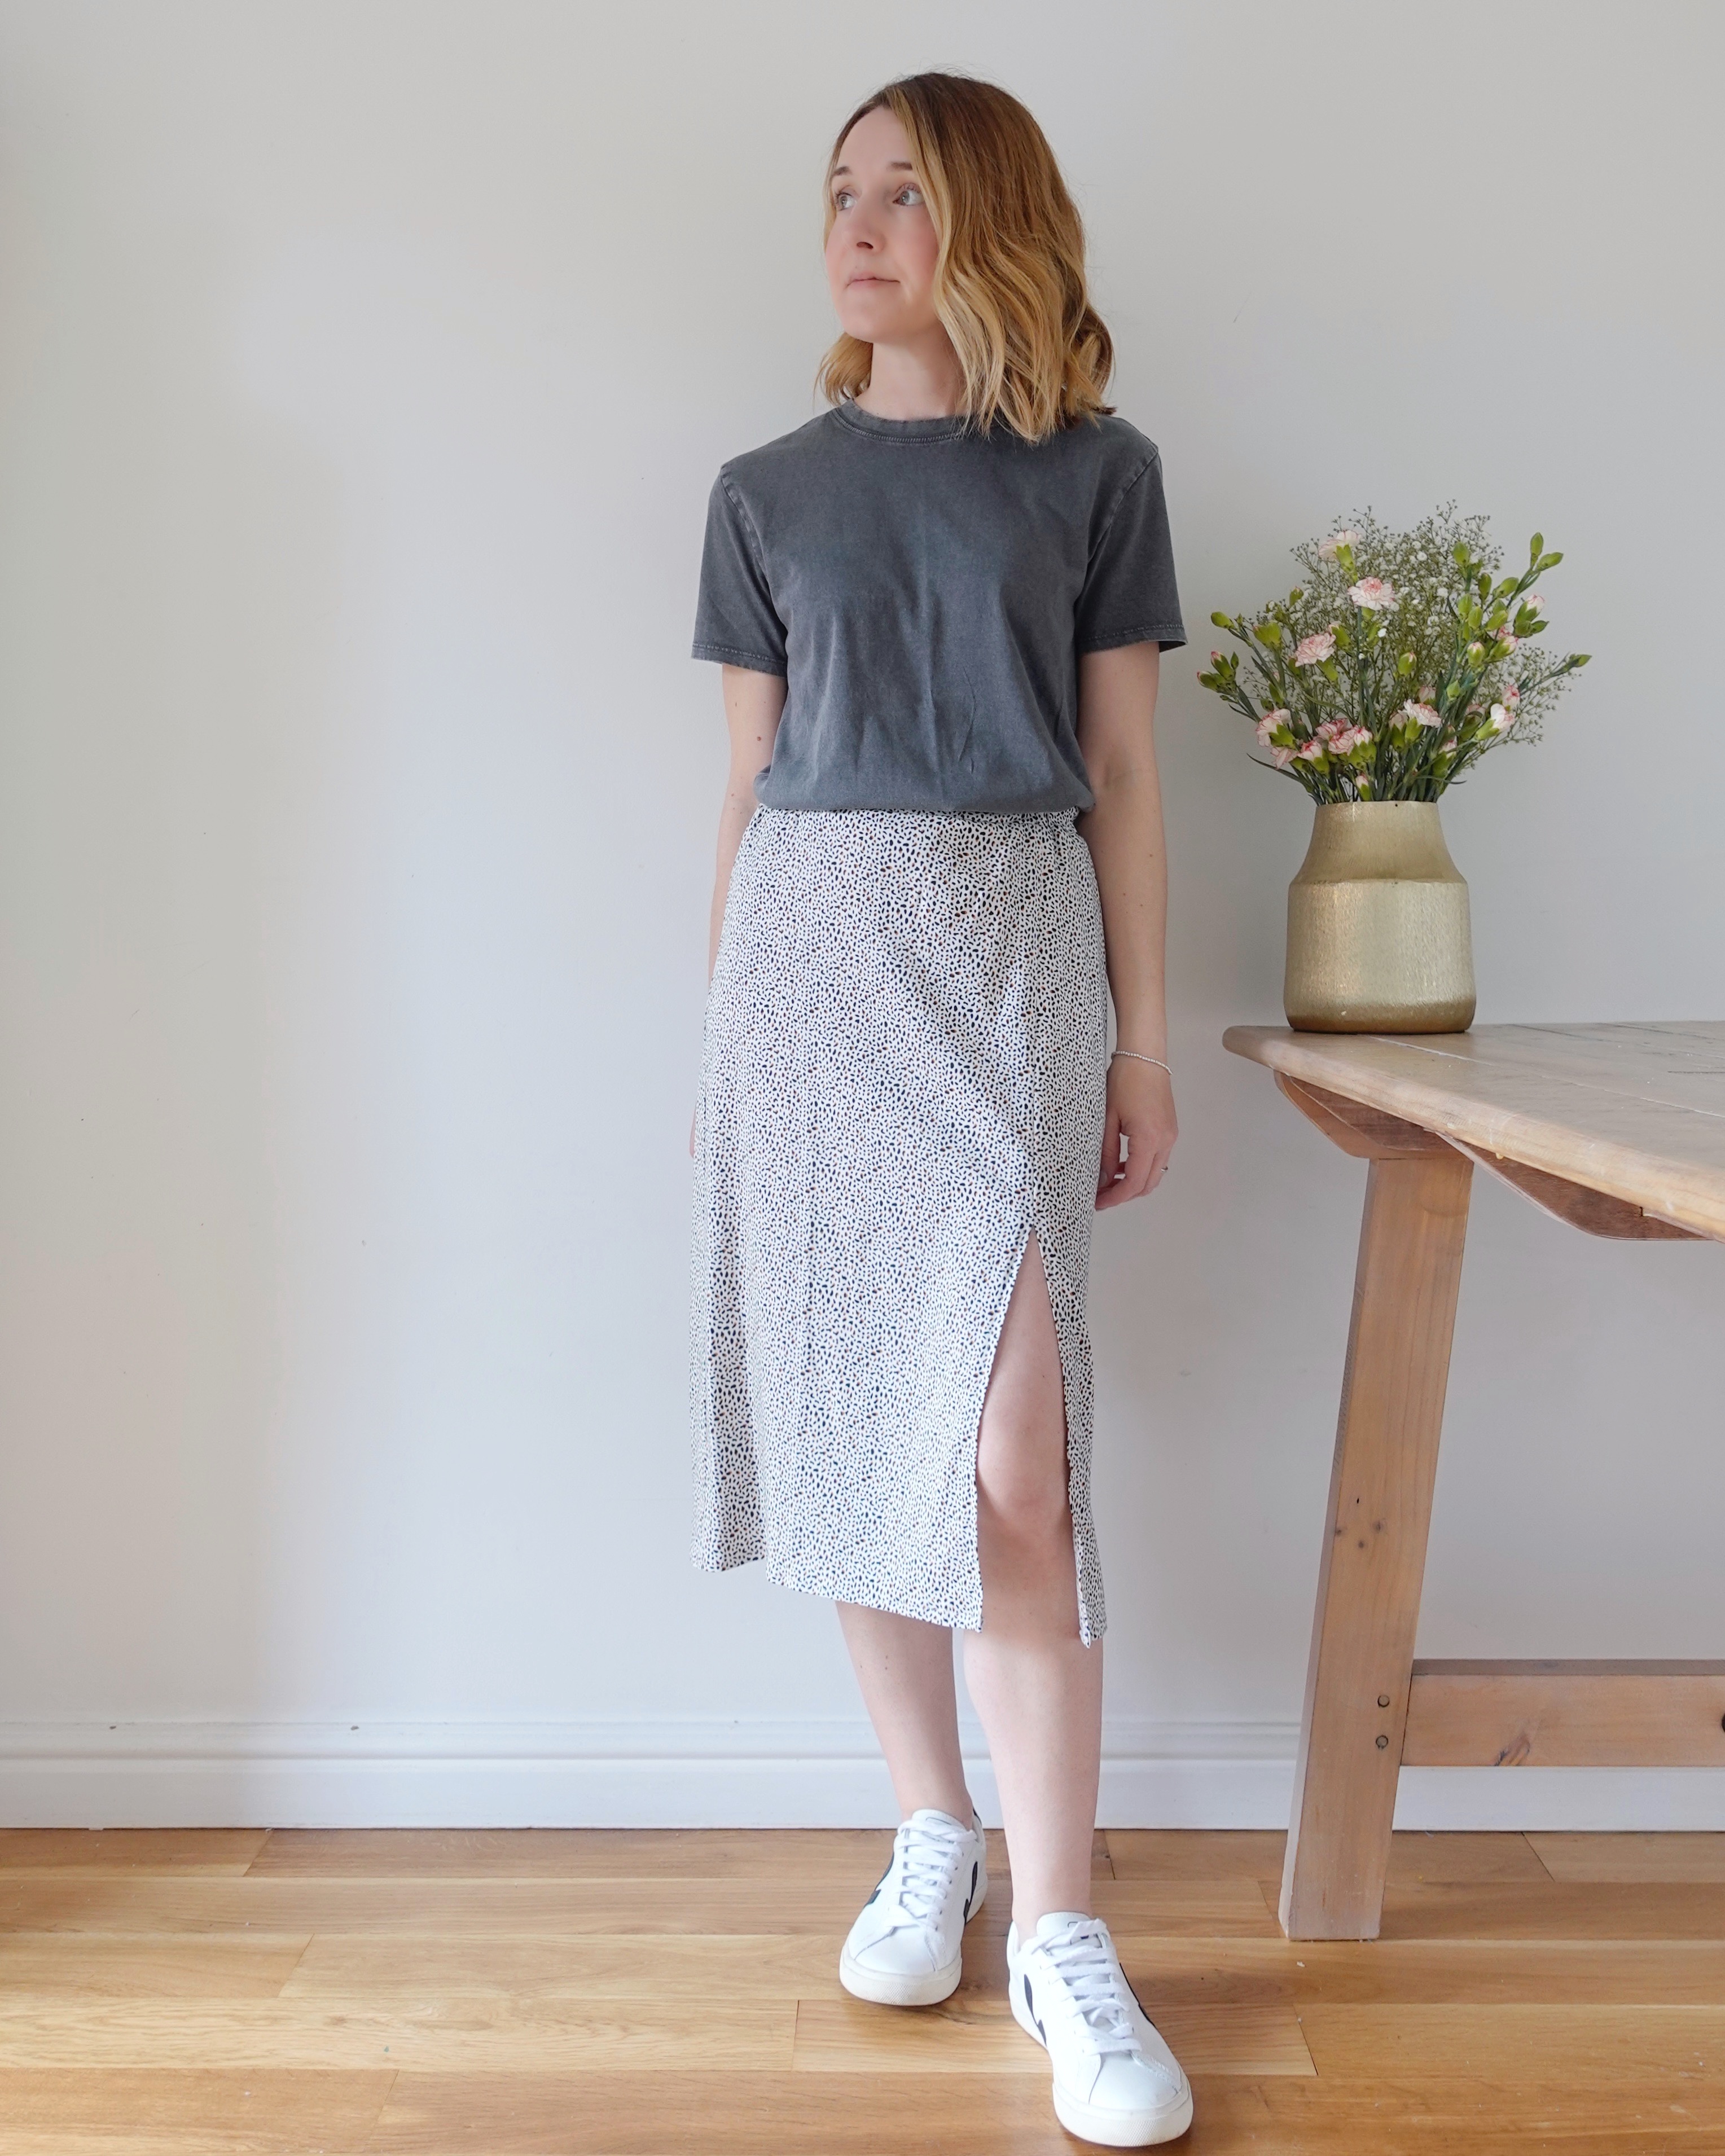
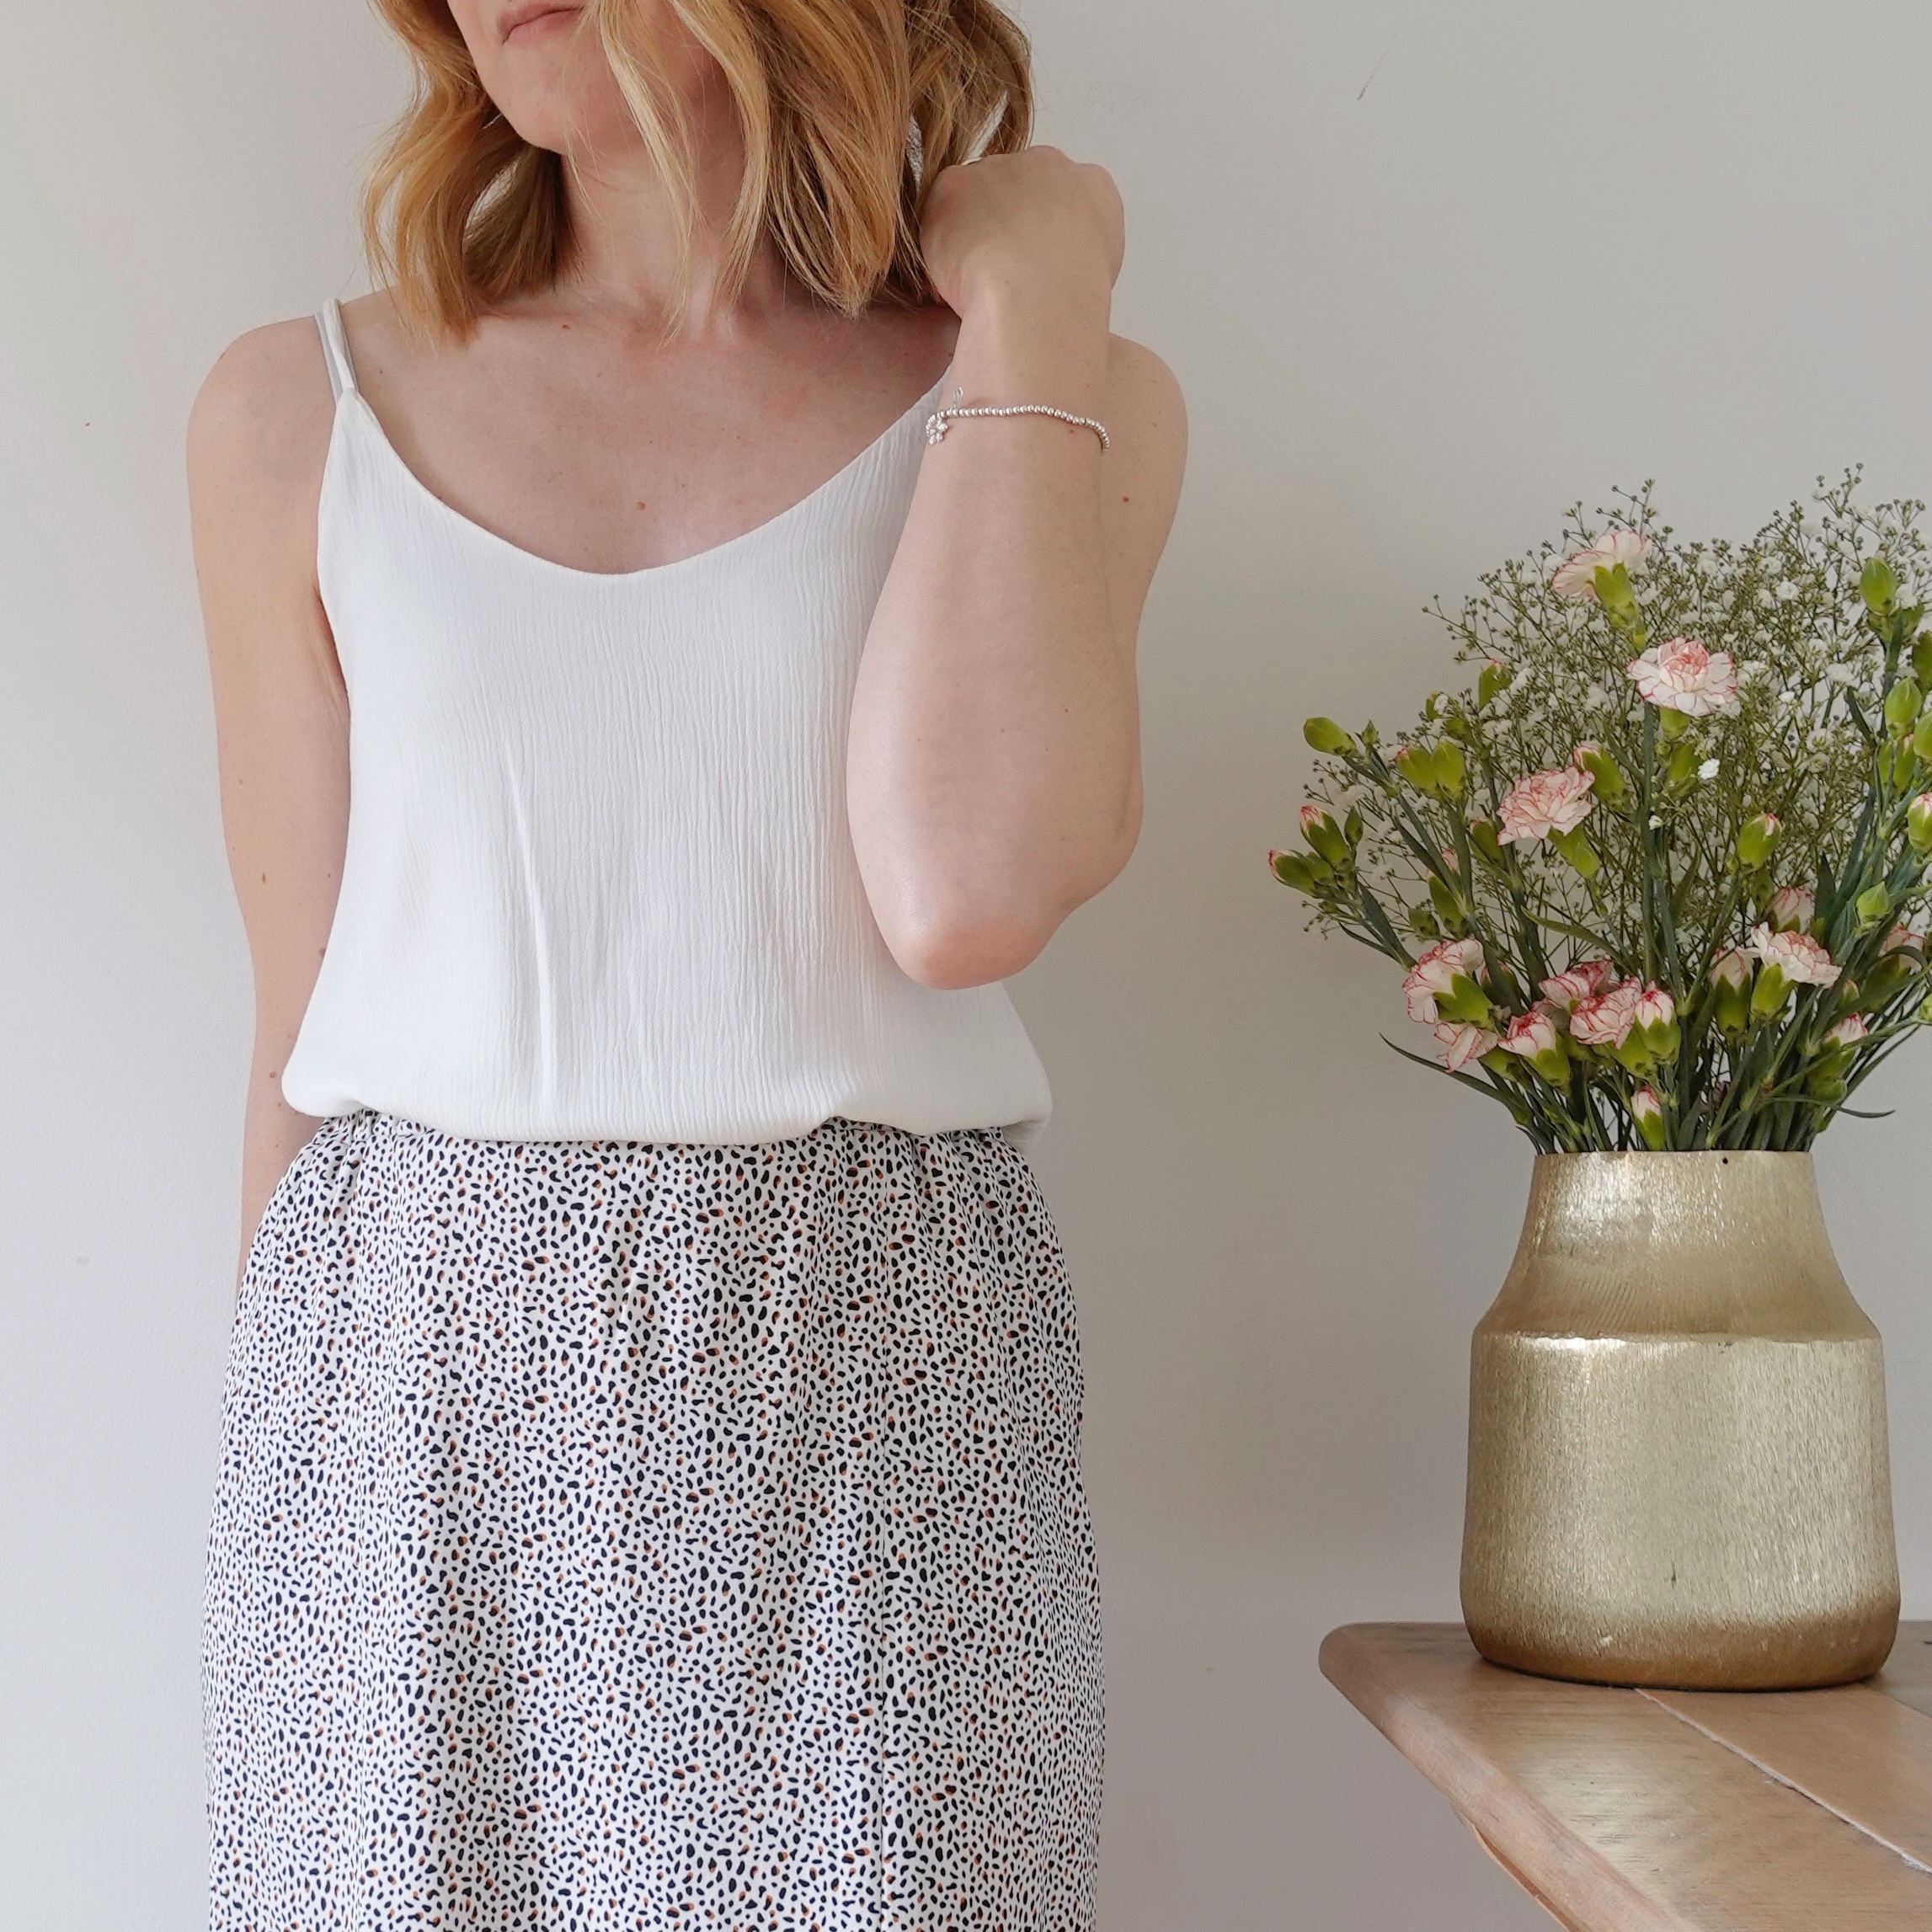
The Evelyn Skirt by Chalk and Notch is a really lovely, versatile summer skirt pattern. My favourite version is the midi length with a flat-front elasticated waist and a split in the leg — such a comfy, easy-breezy summer skirt, and a great alternative if you’re not keen on the more poofy gathered style. Because it’s straighter at the hem, I love to wear it with something oversized on top to balance out the look.
Sewing level: Beginner-friendly. No tricky fastenings, easy fit, and it sews up quickly.
Fabric: I’ve sewn mine in a floaty viscose and I’d say you do want some drape here — something too structured like a cotton poplin might feel stiff and difficult to move in. A viscose-linen blend would also be lovely. Think about how you want it to look and move before you choose!
Screenshot
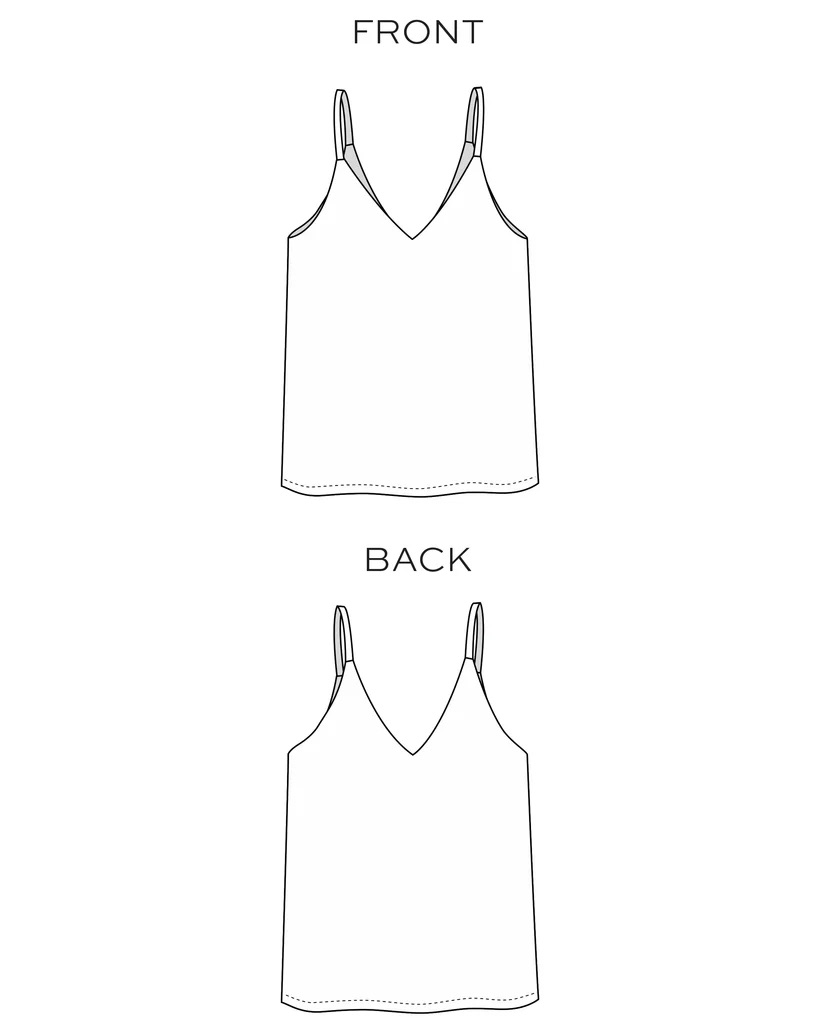
9. The Ogden Cami – True Bias
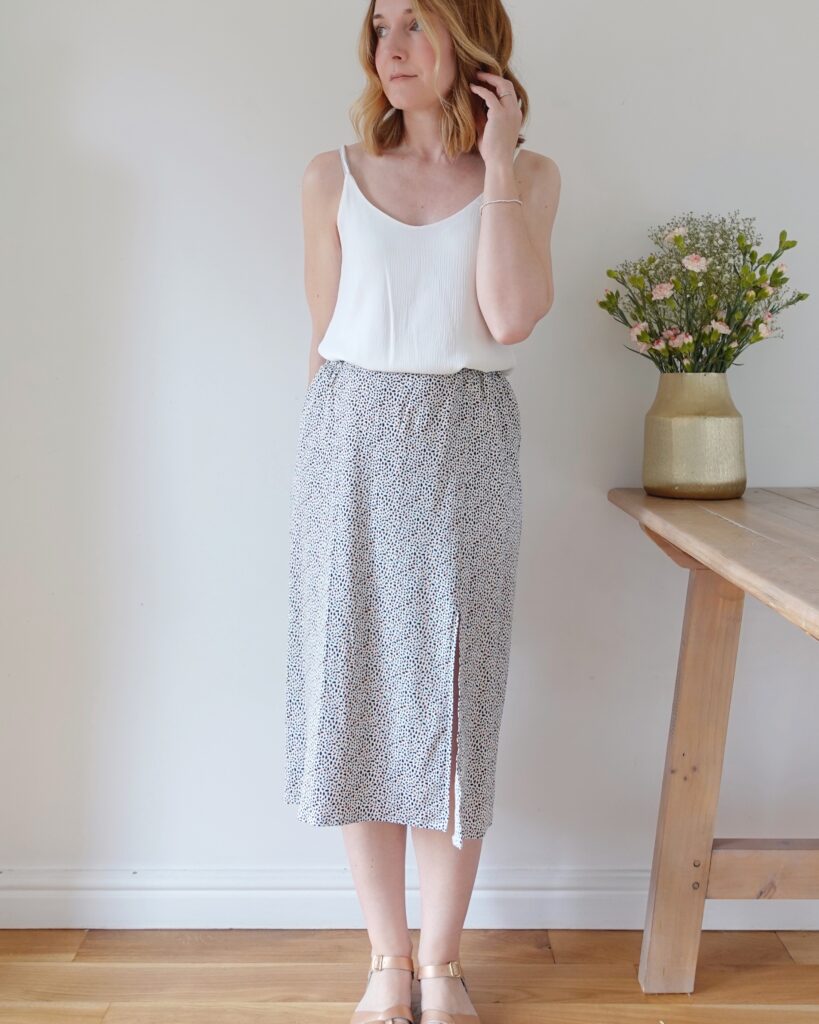
A cult classic in the sewing community for good reason — the Ogden Cami by True Bias deserves its place on this list! It’s such a versatile piece for a handmade summer wardrobe, especially if you’re someone who likes to layer. Wear it on its own, under a shacket, or with any of the skirts and trousers mentioned above — it really goes with everything.
Sewing level: Confident beginner. There are a few fiddly bits like the spaghetti straps and getting the lining in, but it’s very achievable once you have a few makes under your belt. If you’re a beginner I’d recommend practising in cotton first before moving on to slippery fabrics.
Fabric: My preference is always a floaty viscose — it feels gorgeous against the skin and layers beautifully. Cotton works really nicely too, especially in the earlier stages of your Ogden-sewing journey! A cotton version will have a more structured A-line shape, while viscose gives that fluid, floaty finish.
10. The Logan Shacket – Stylearc
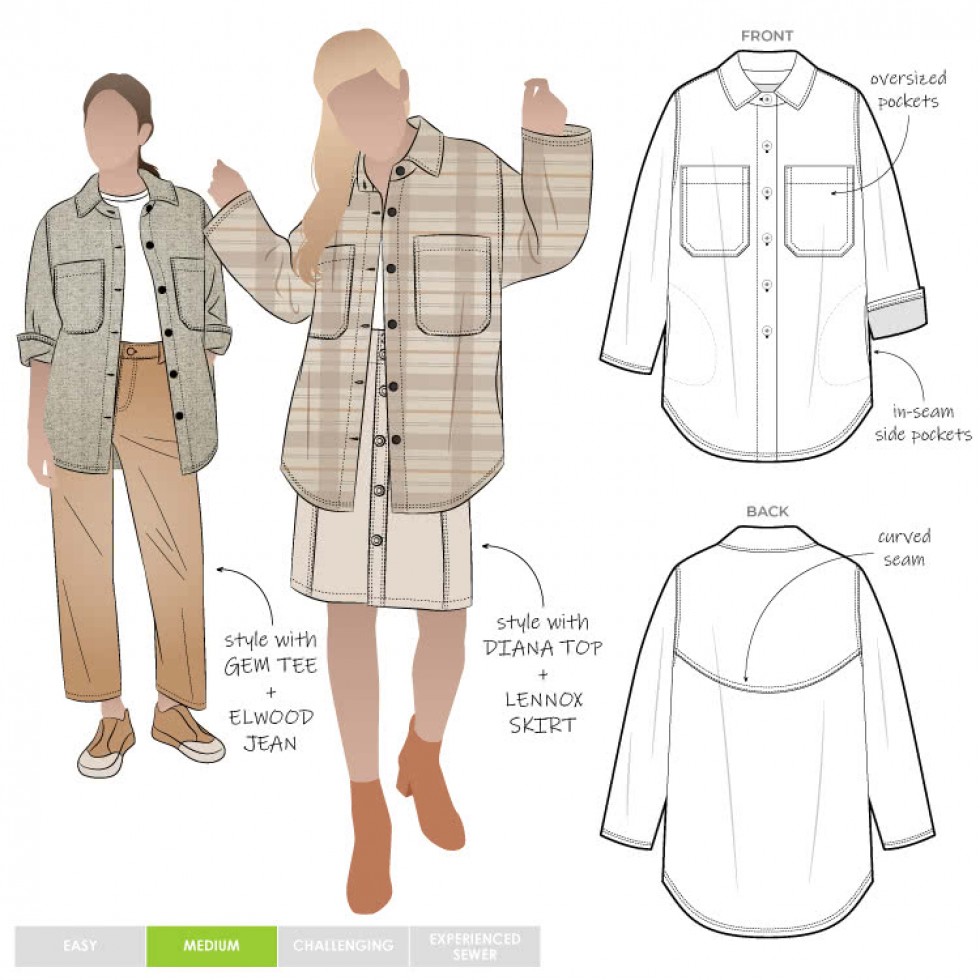
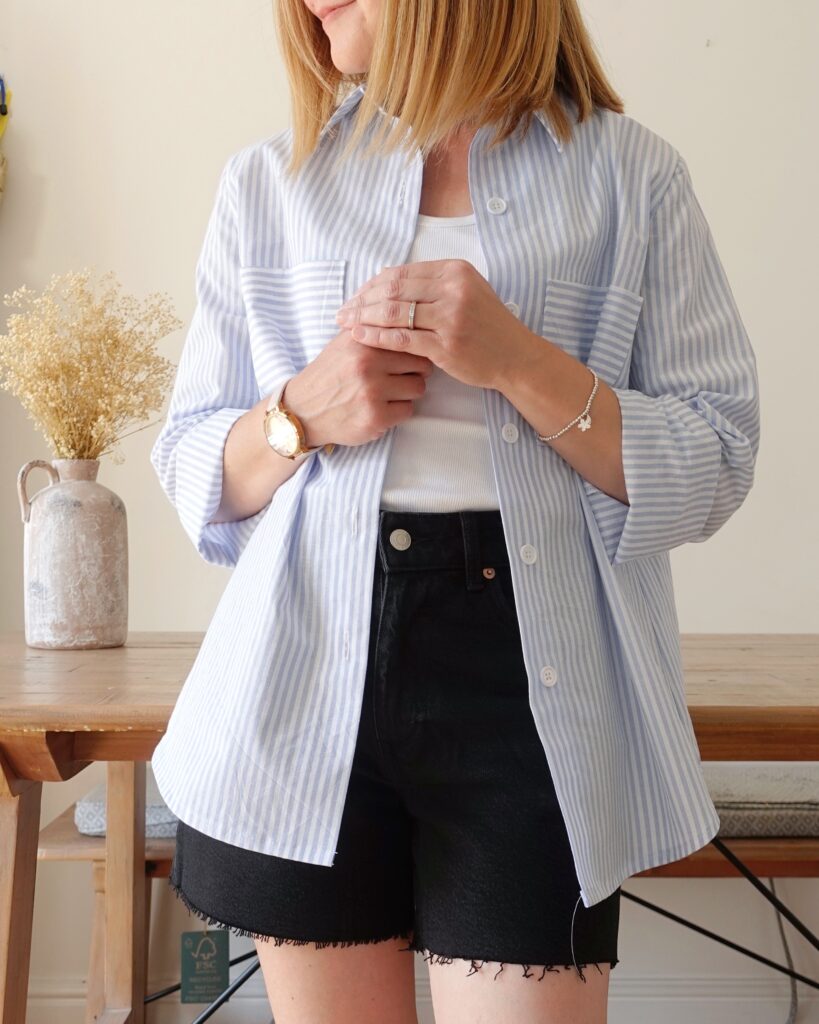
Last but definitely not least — the Logan Shacket by Stylearc. I love this pattern as much in winter as I do in summer, and in the warmer months it’s the perfect lightweight throw-over-everything shirt. It’s oversized and boxy with a back yoke, turned-under button bands, a collar on a stand, and straight sleeves — all of which make it much more approachable than a traditional tailored shirt.
Sewing level: Advanced confident beginner. Stylearc instructions are minimal but the pattern is really well drafted, and I actually sewed this when I was quite new to sewing and found it manageable.
Fabric: This works beautifully in so many fabrics — lightweight cottons, viscoses, denim, quilted fabrics, even a cotton voile. For summer I’d lean towards something lightweight. I sewed a cotton voile version last year that’s perfect for warm weather. It also makes a brilliant co-ord — I sewed a matching co-ord from this shirt and the Sophia Trousers sewn as shorts last year!
Watch the Full Video
Want to see more detail on each of these patterns (with all of the pattern links) and hear my thoughts in full? Head over to YouTube to watch the video — I go into even more depth on fabrics and styling ideas for each one!
I really hope this has given you some inspiration for your summer sewing! Let me know in the comments which of these patterns would make your top 10 — or if there’s a summer sewing pattern you love that I haven’t included, I’d love to hear about it!