If you’ve sewn plenty of clothes but still feel like you have nothing to wear, this post is for you. Welcome to episode three of my Intentional Sewing series!
In the first two posts, we explored why handmade clothes often go unworn and how to choose sewing projects you’ll actually wear. Today, we’re diving into how to plan a handmade wardrobe—so your creations actually work together and get worn. This is about what to do before you buy fabric, choose a pattern, or start sewing.
As always, I’m right here on this journey with you. I’ve moved from sewing anything and everything to slowly building a more curated handmade wardrobe that suits my life—and I’m sharing what’s worked for me in case it helps you too.
You can watch the third YouTube video in this mini series here 👇🏻
1. Think of Your Wardrobe as a System
One of the biggest mindset shifts for me has been thinking of my wardrobe as a system, not just a collection of individual garments. Wardrobes work best when pieces support each other, rather than standing alone.
Think about how your items mix and match, layer, and coordinate. When everything plays well together, getting dressed becomes easier and more joyful.
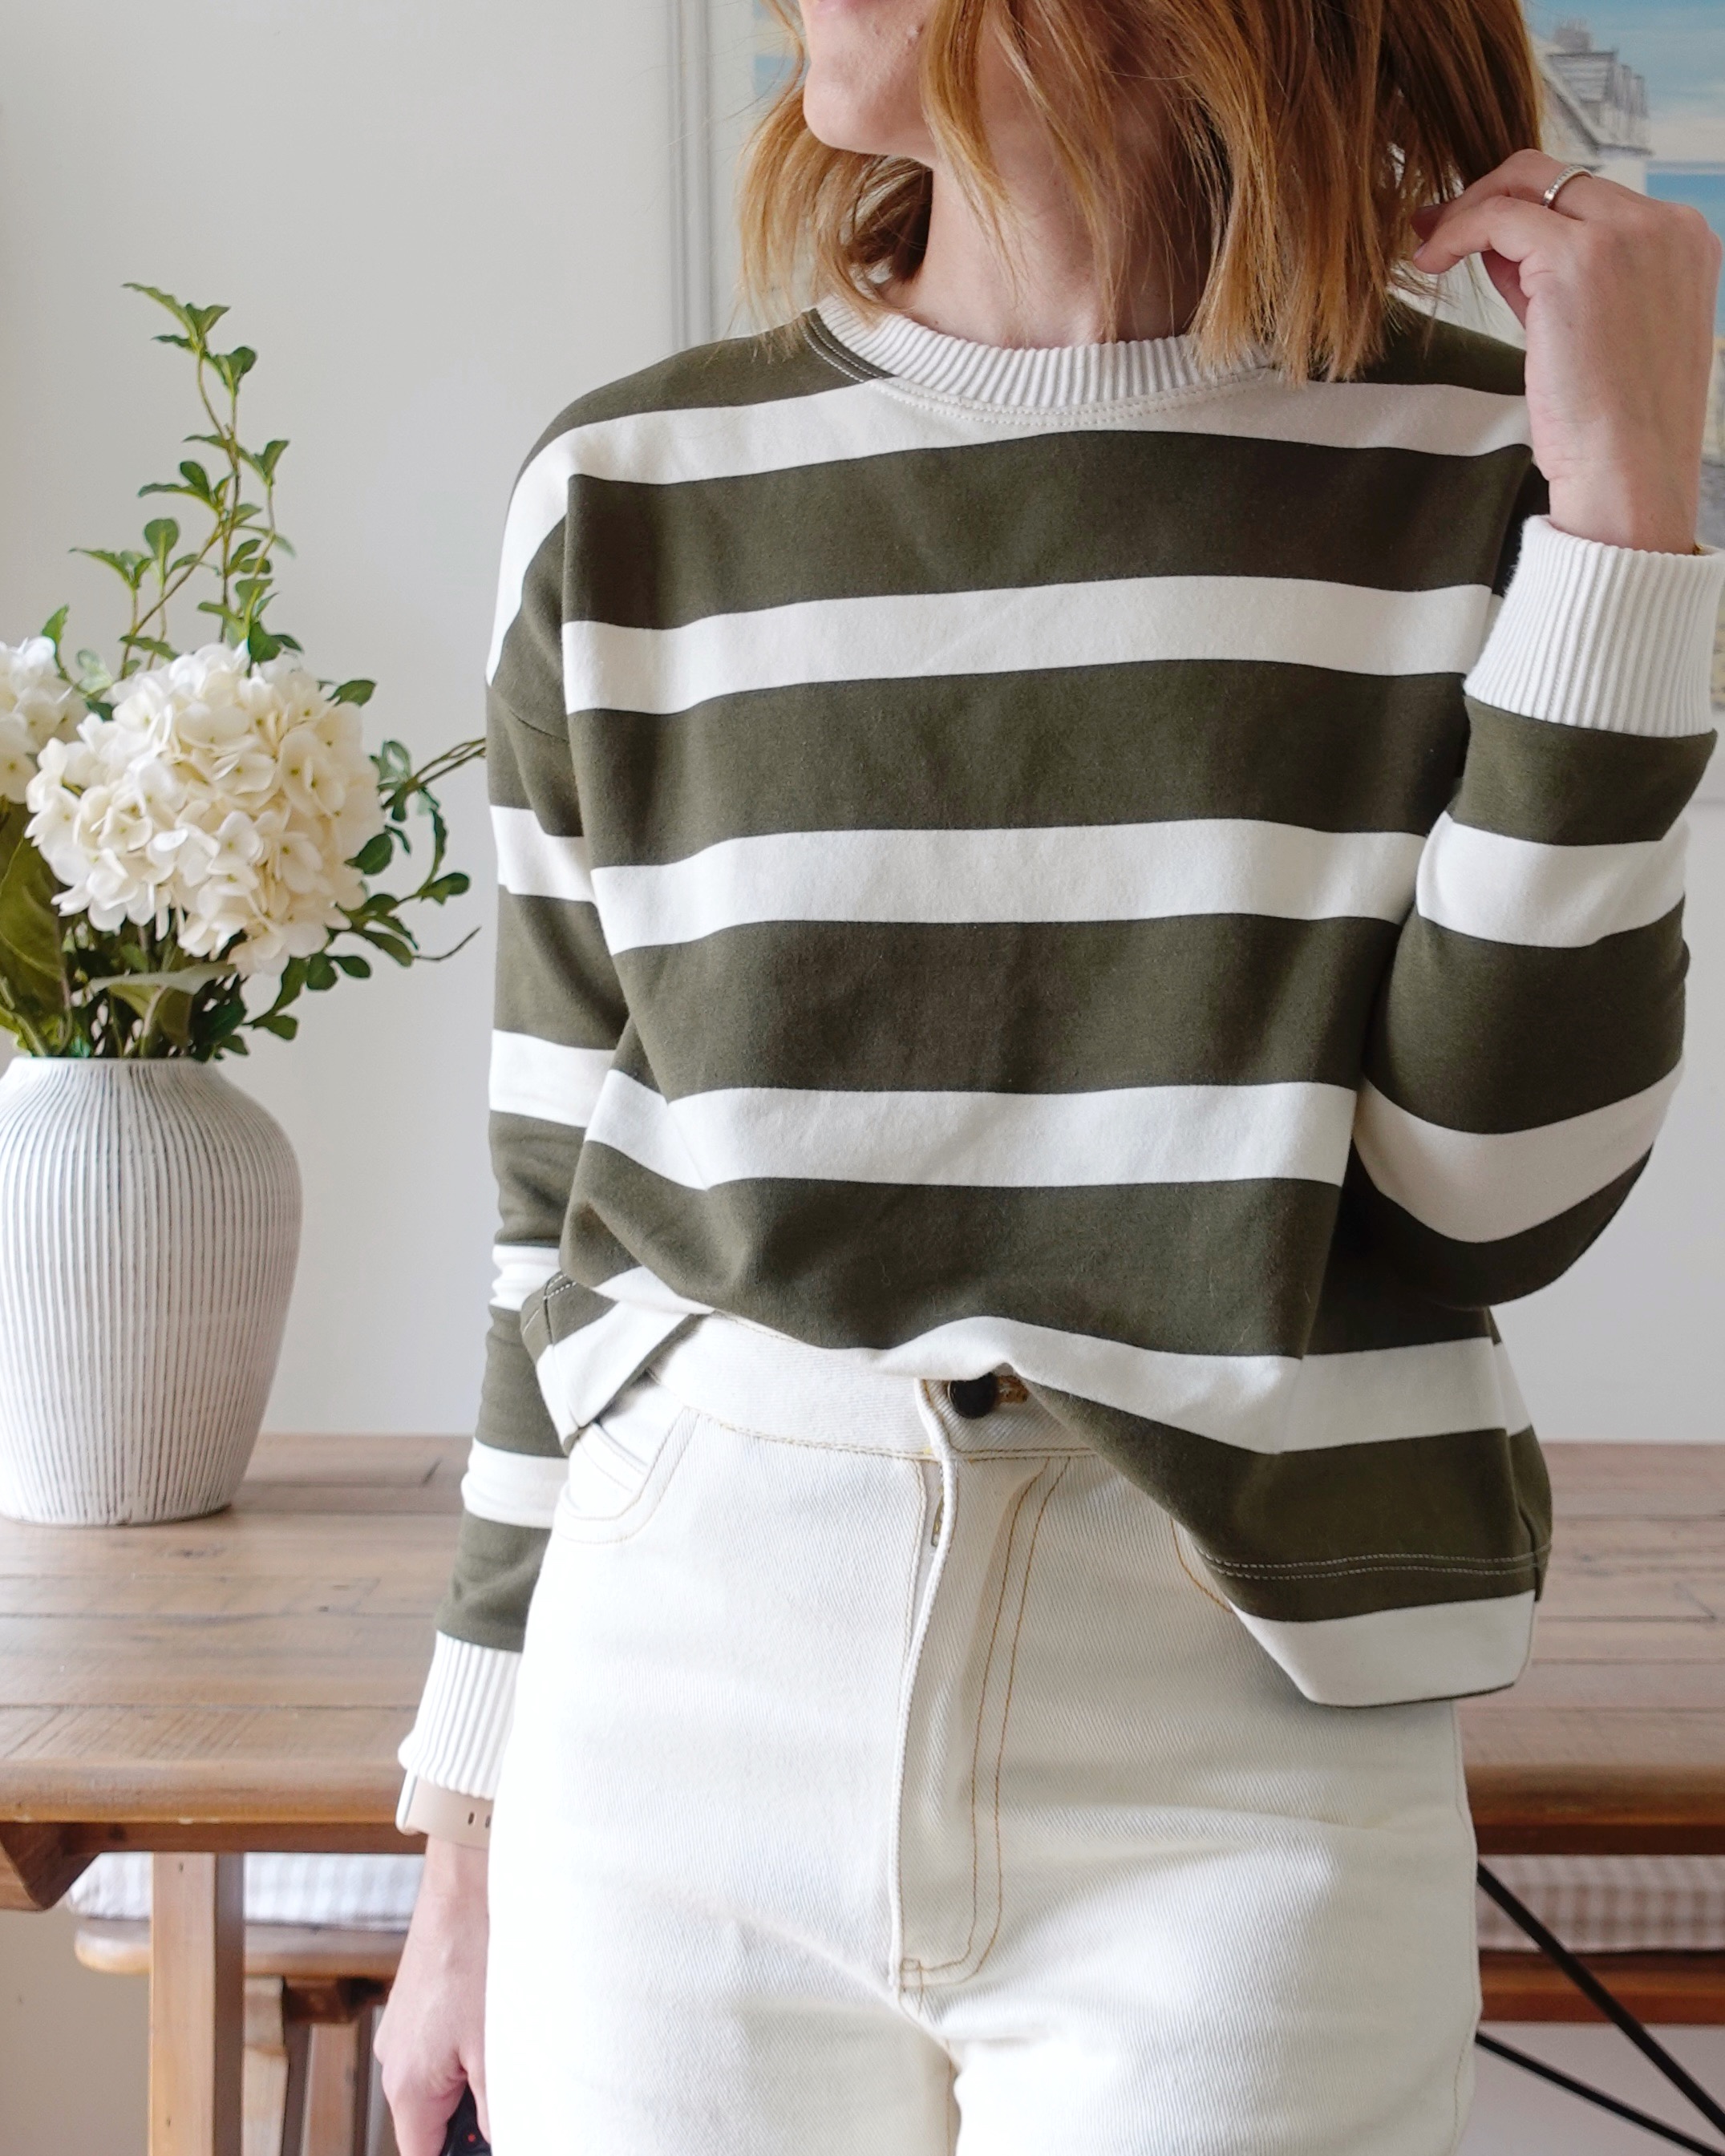
2. Define Your Core Garments
Your core garments are the pieces you reach for most often—the ones you wear multiple times a week without thinking.
For me, my core looks like:
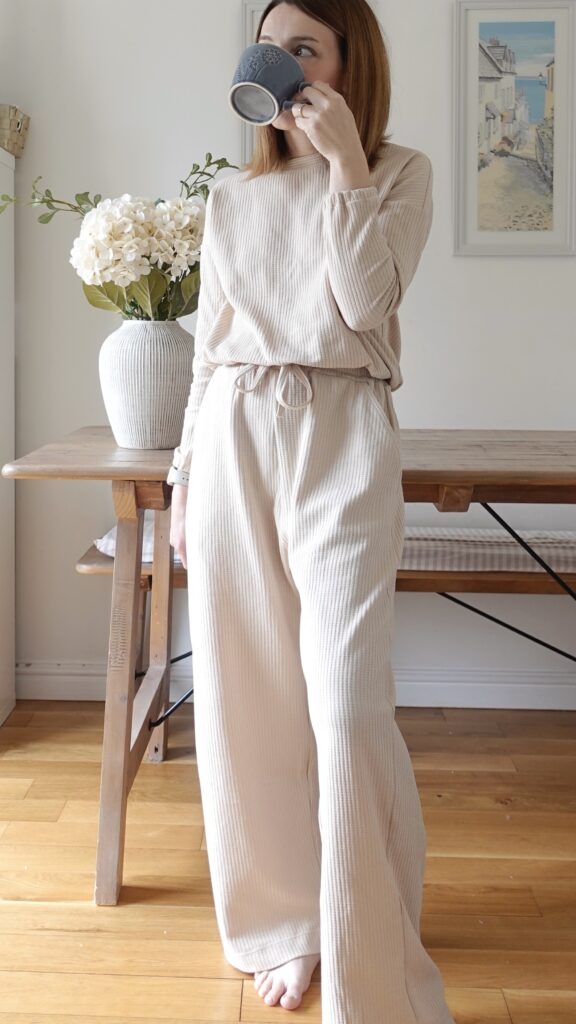
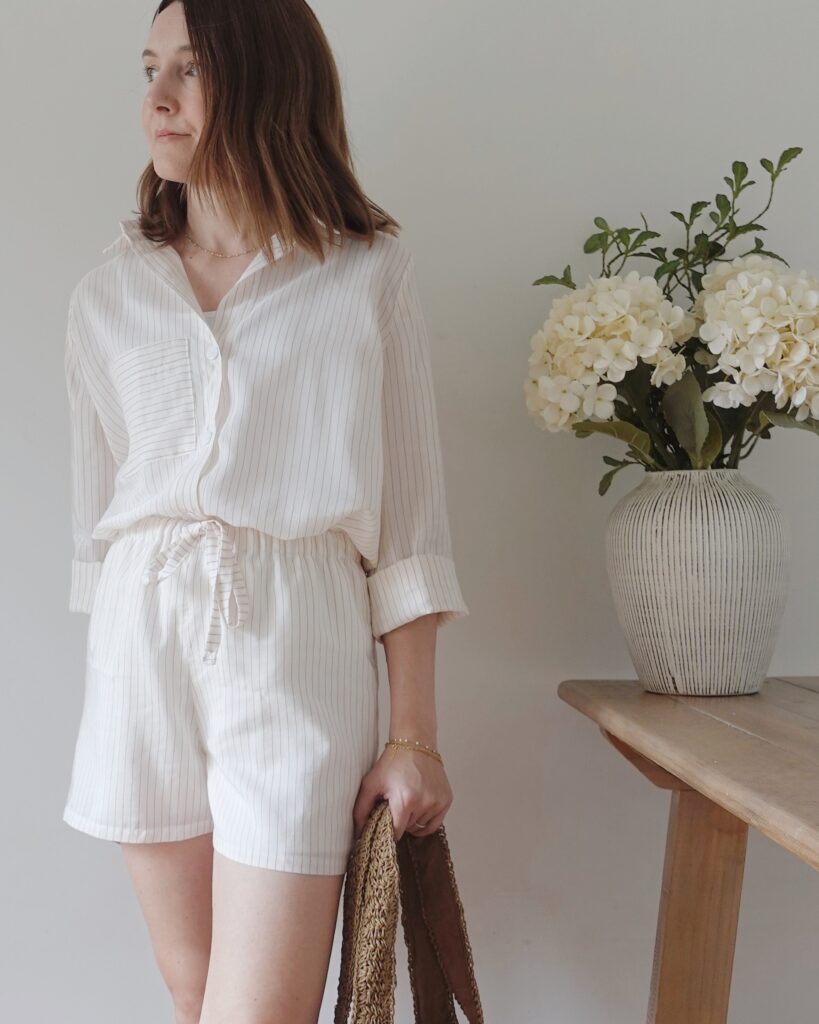
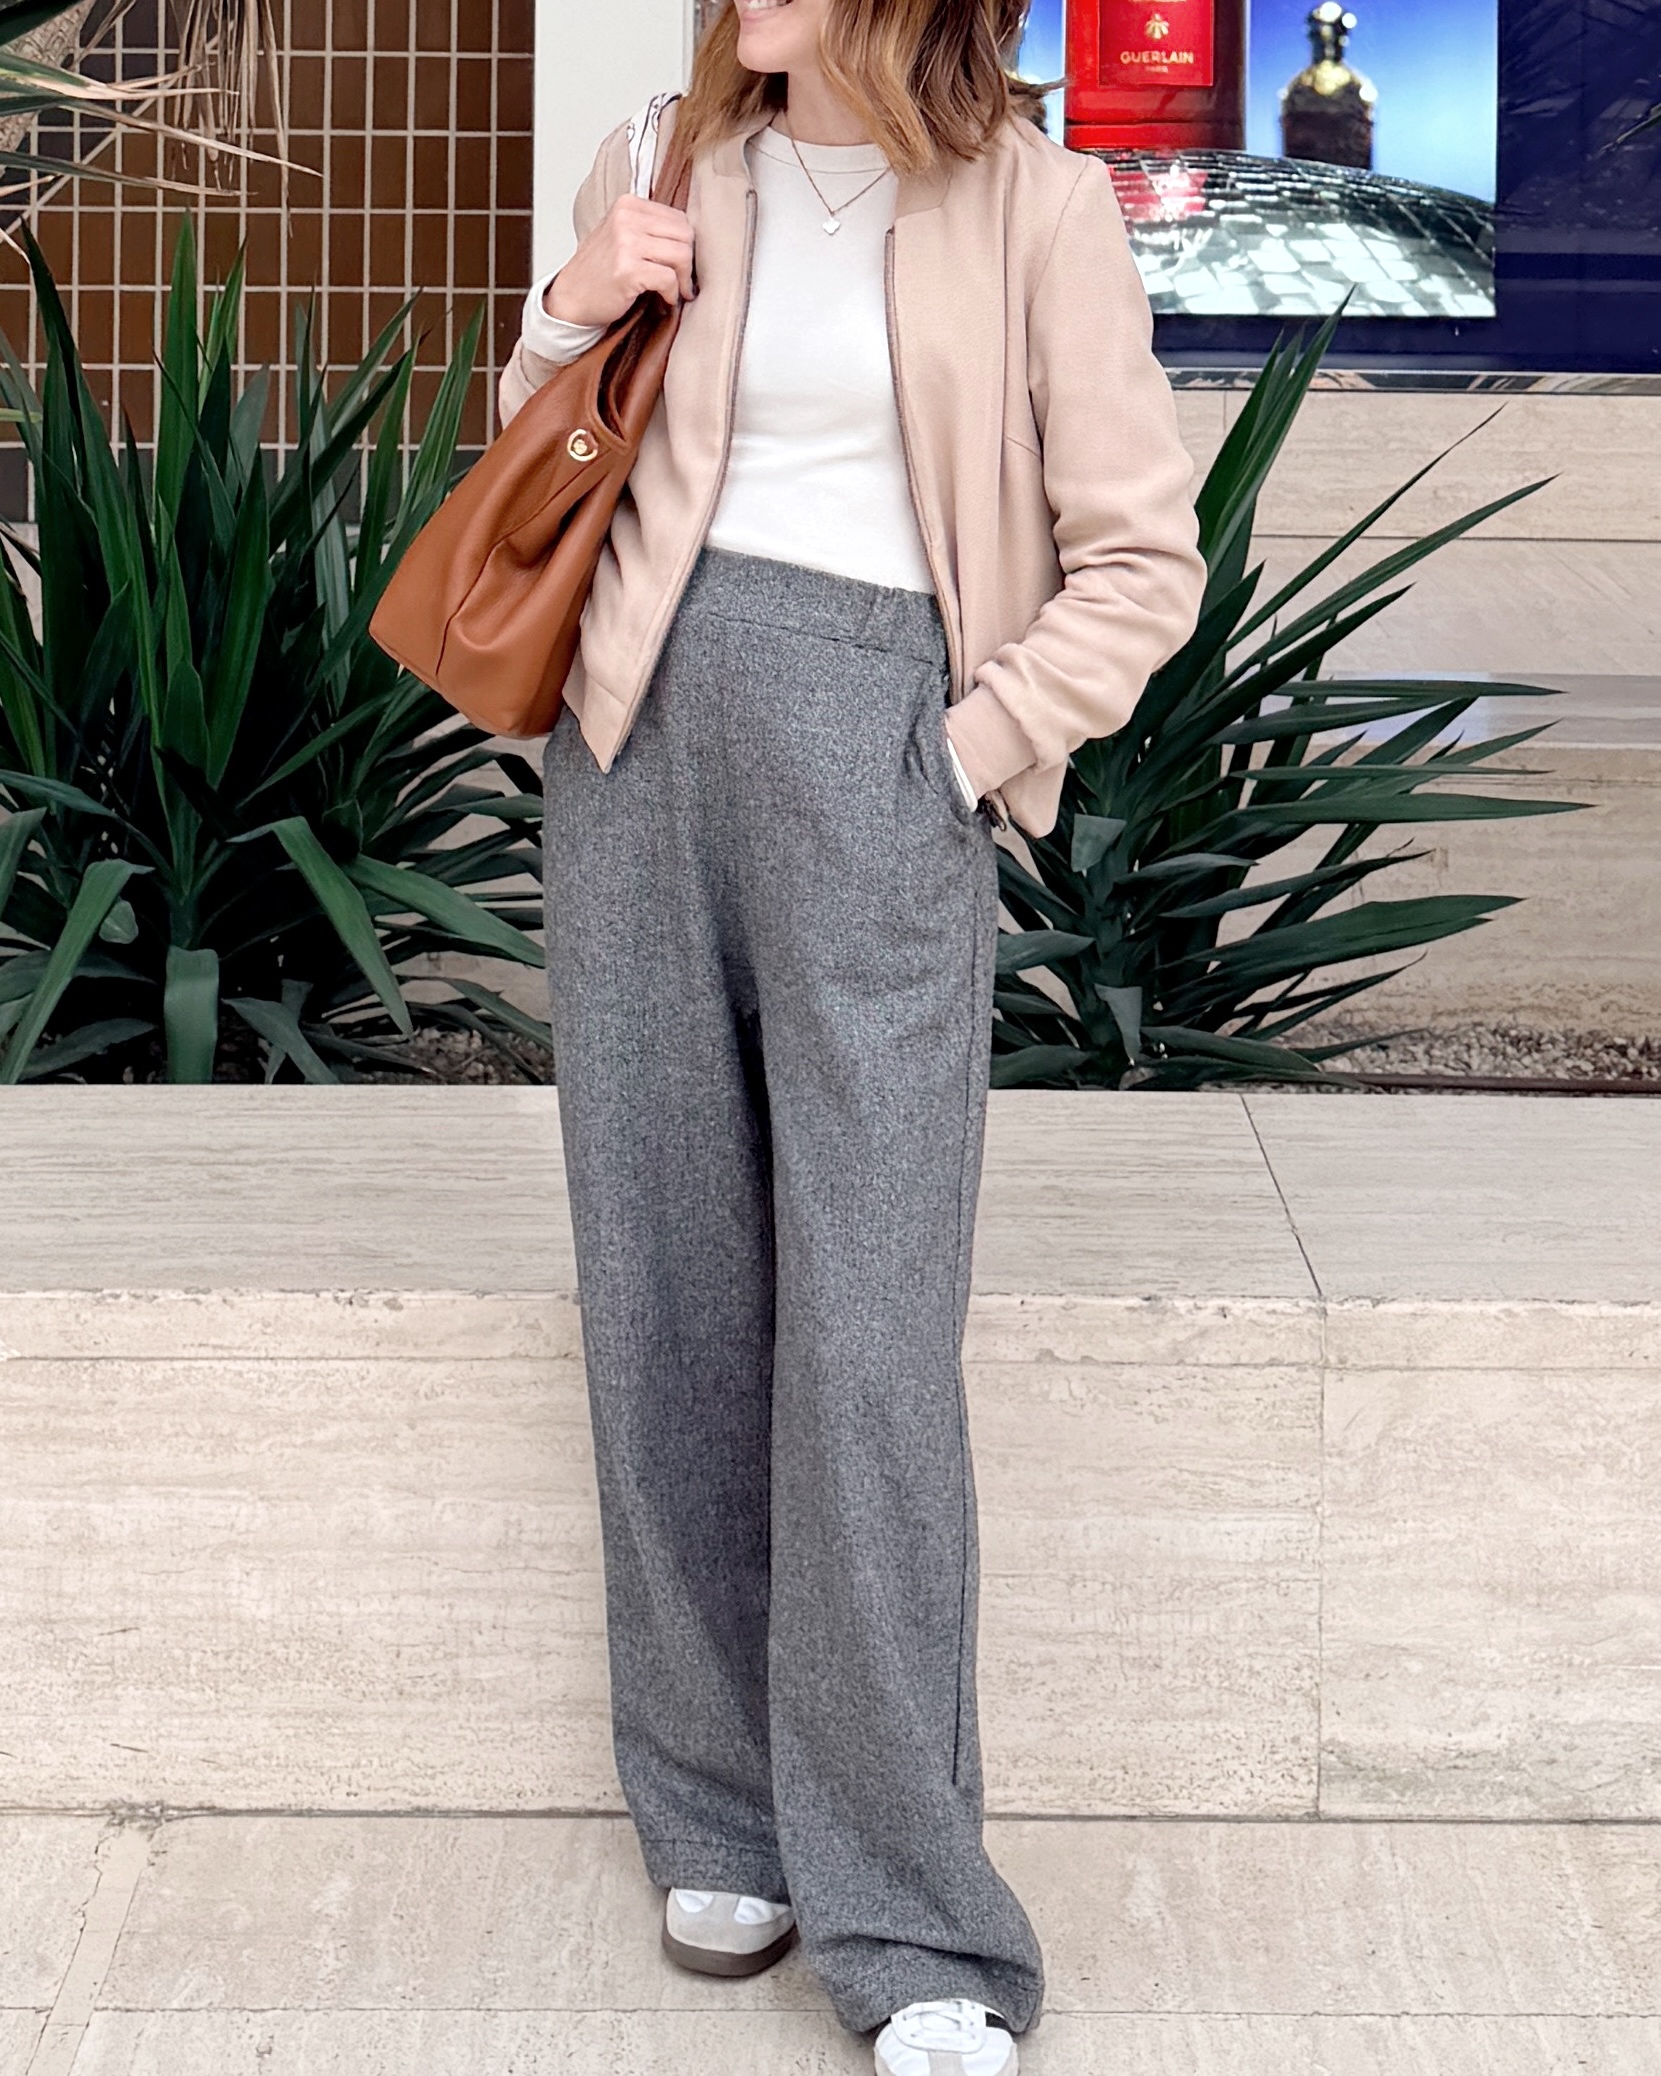
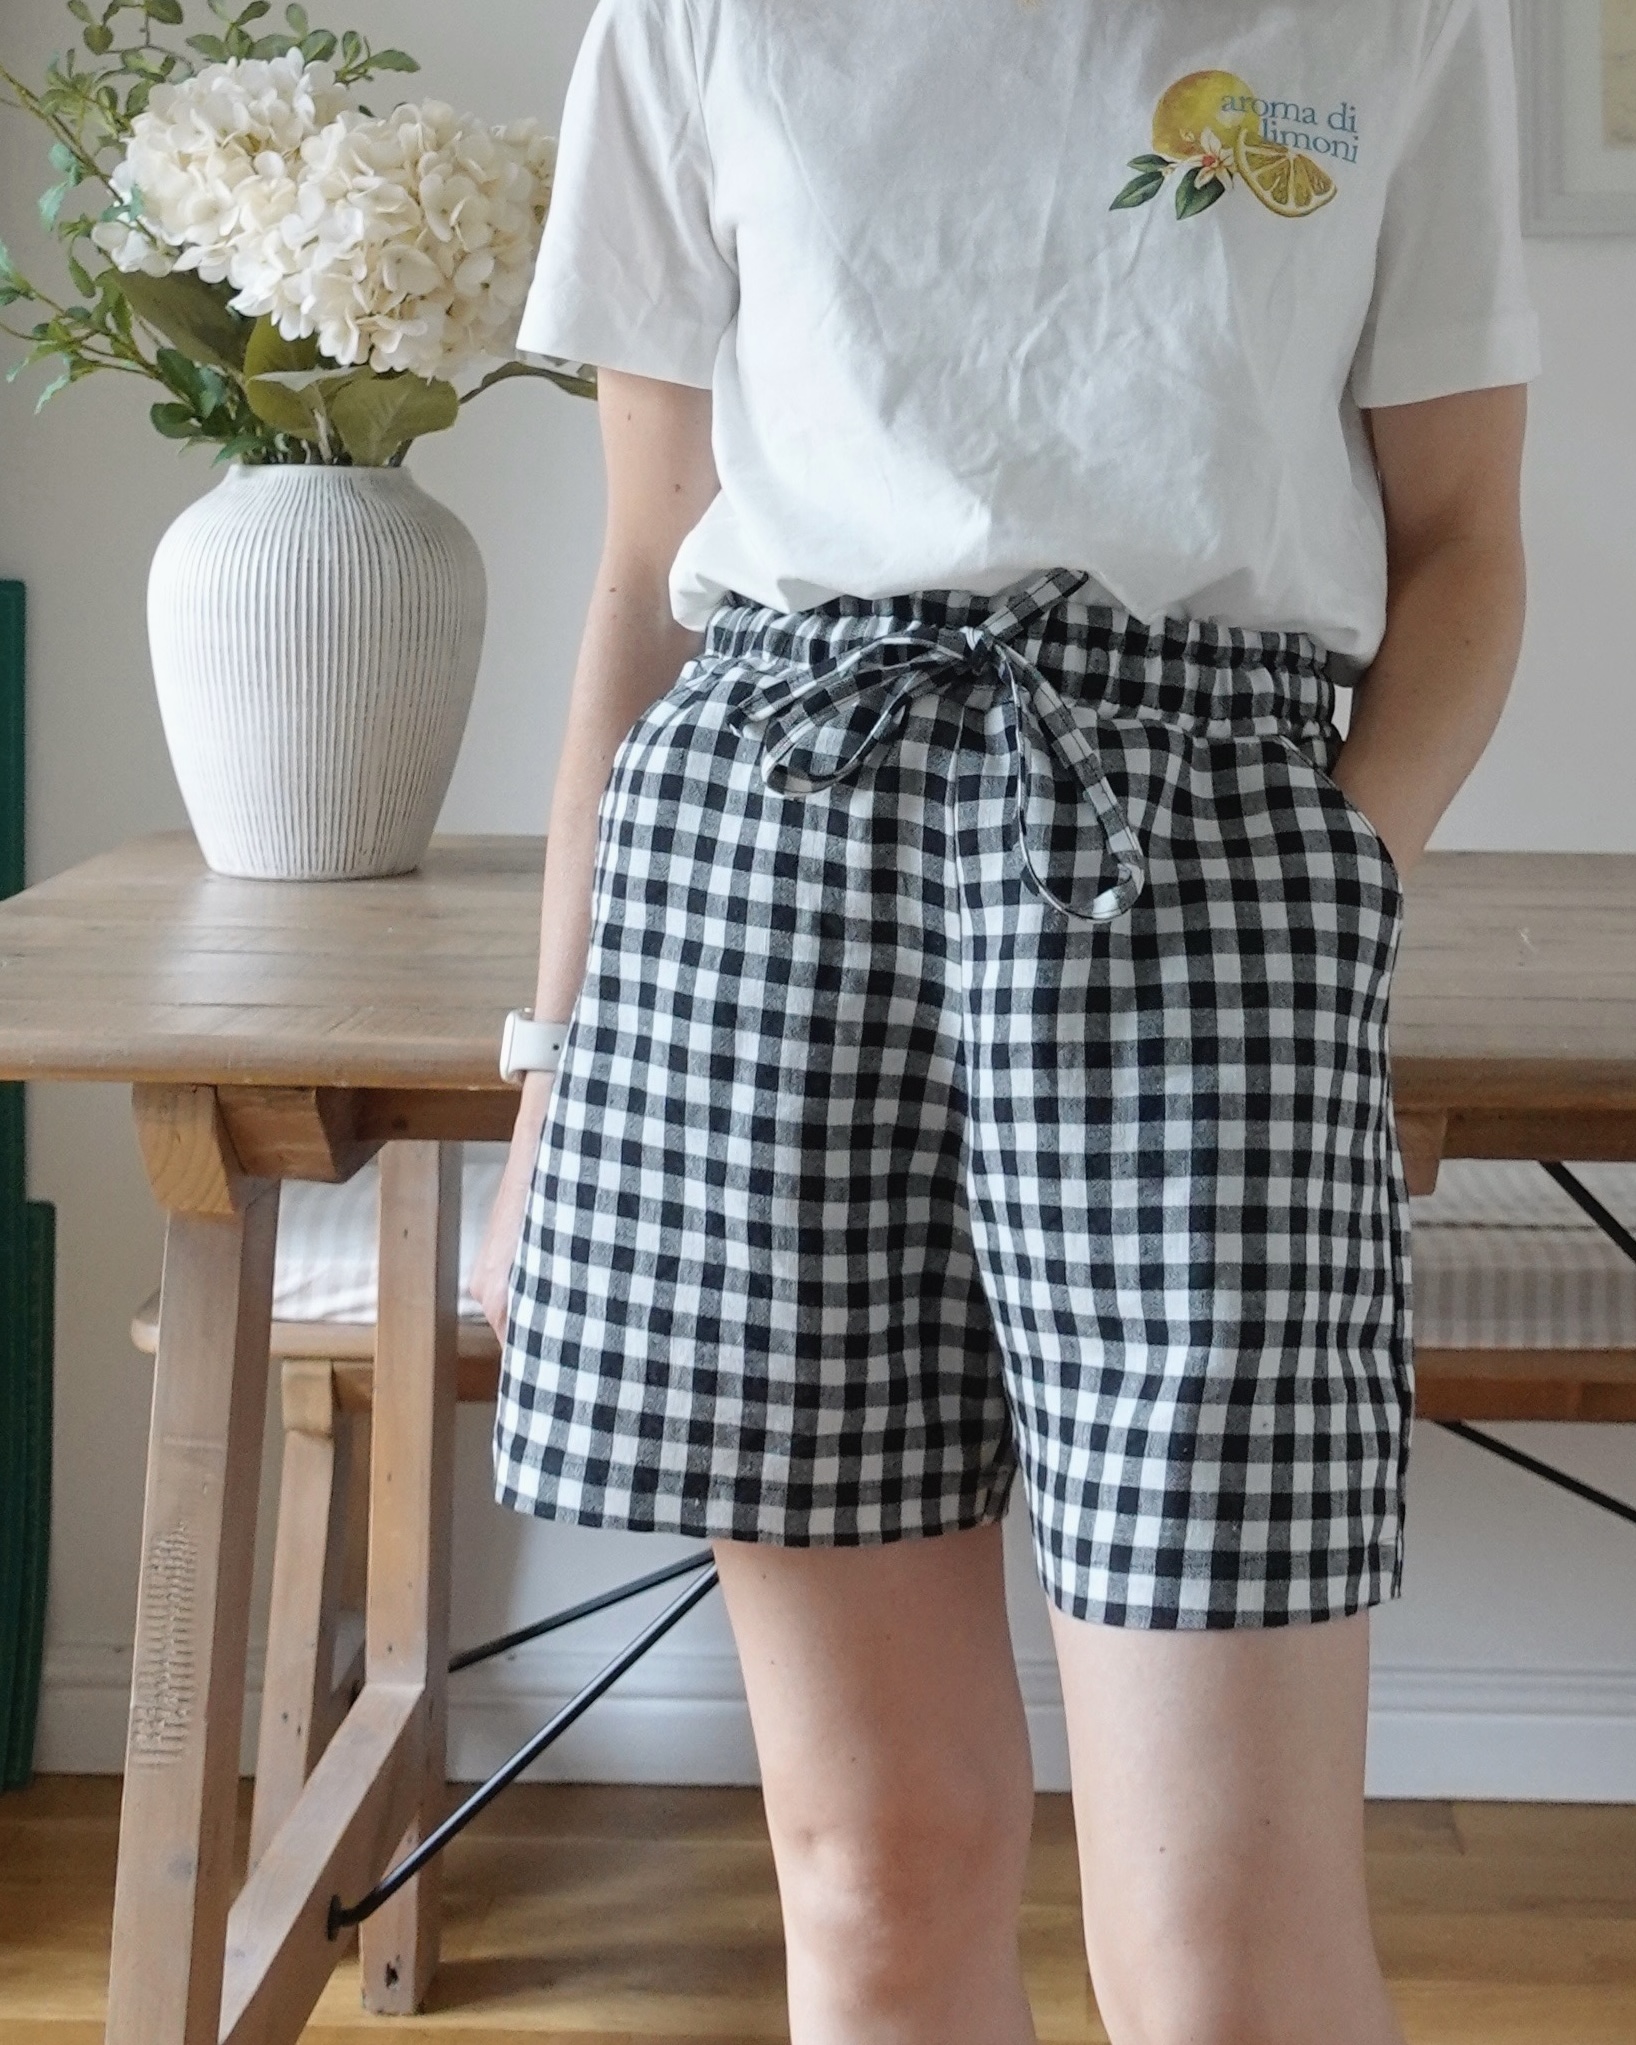
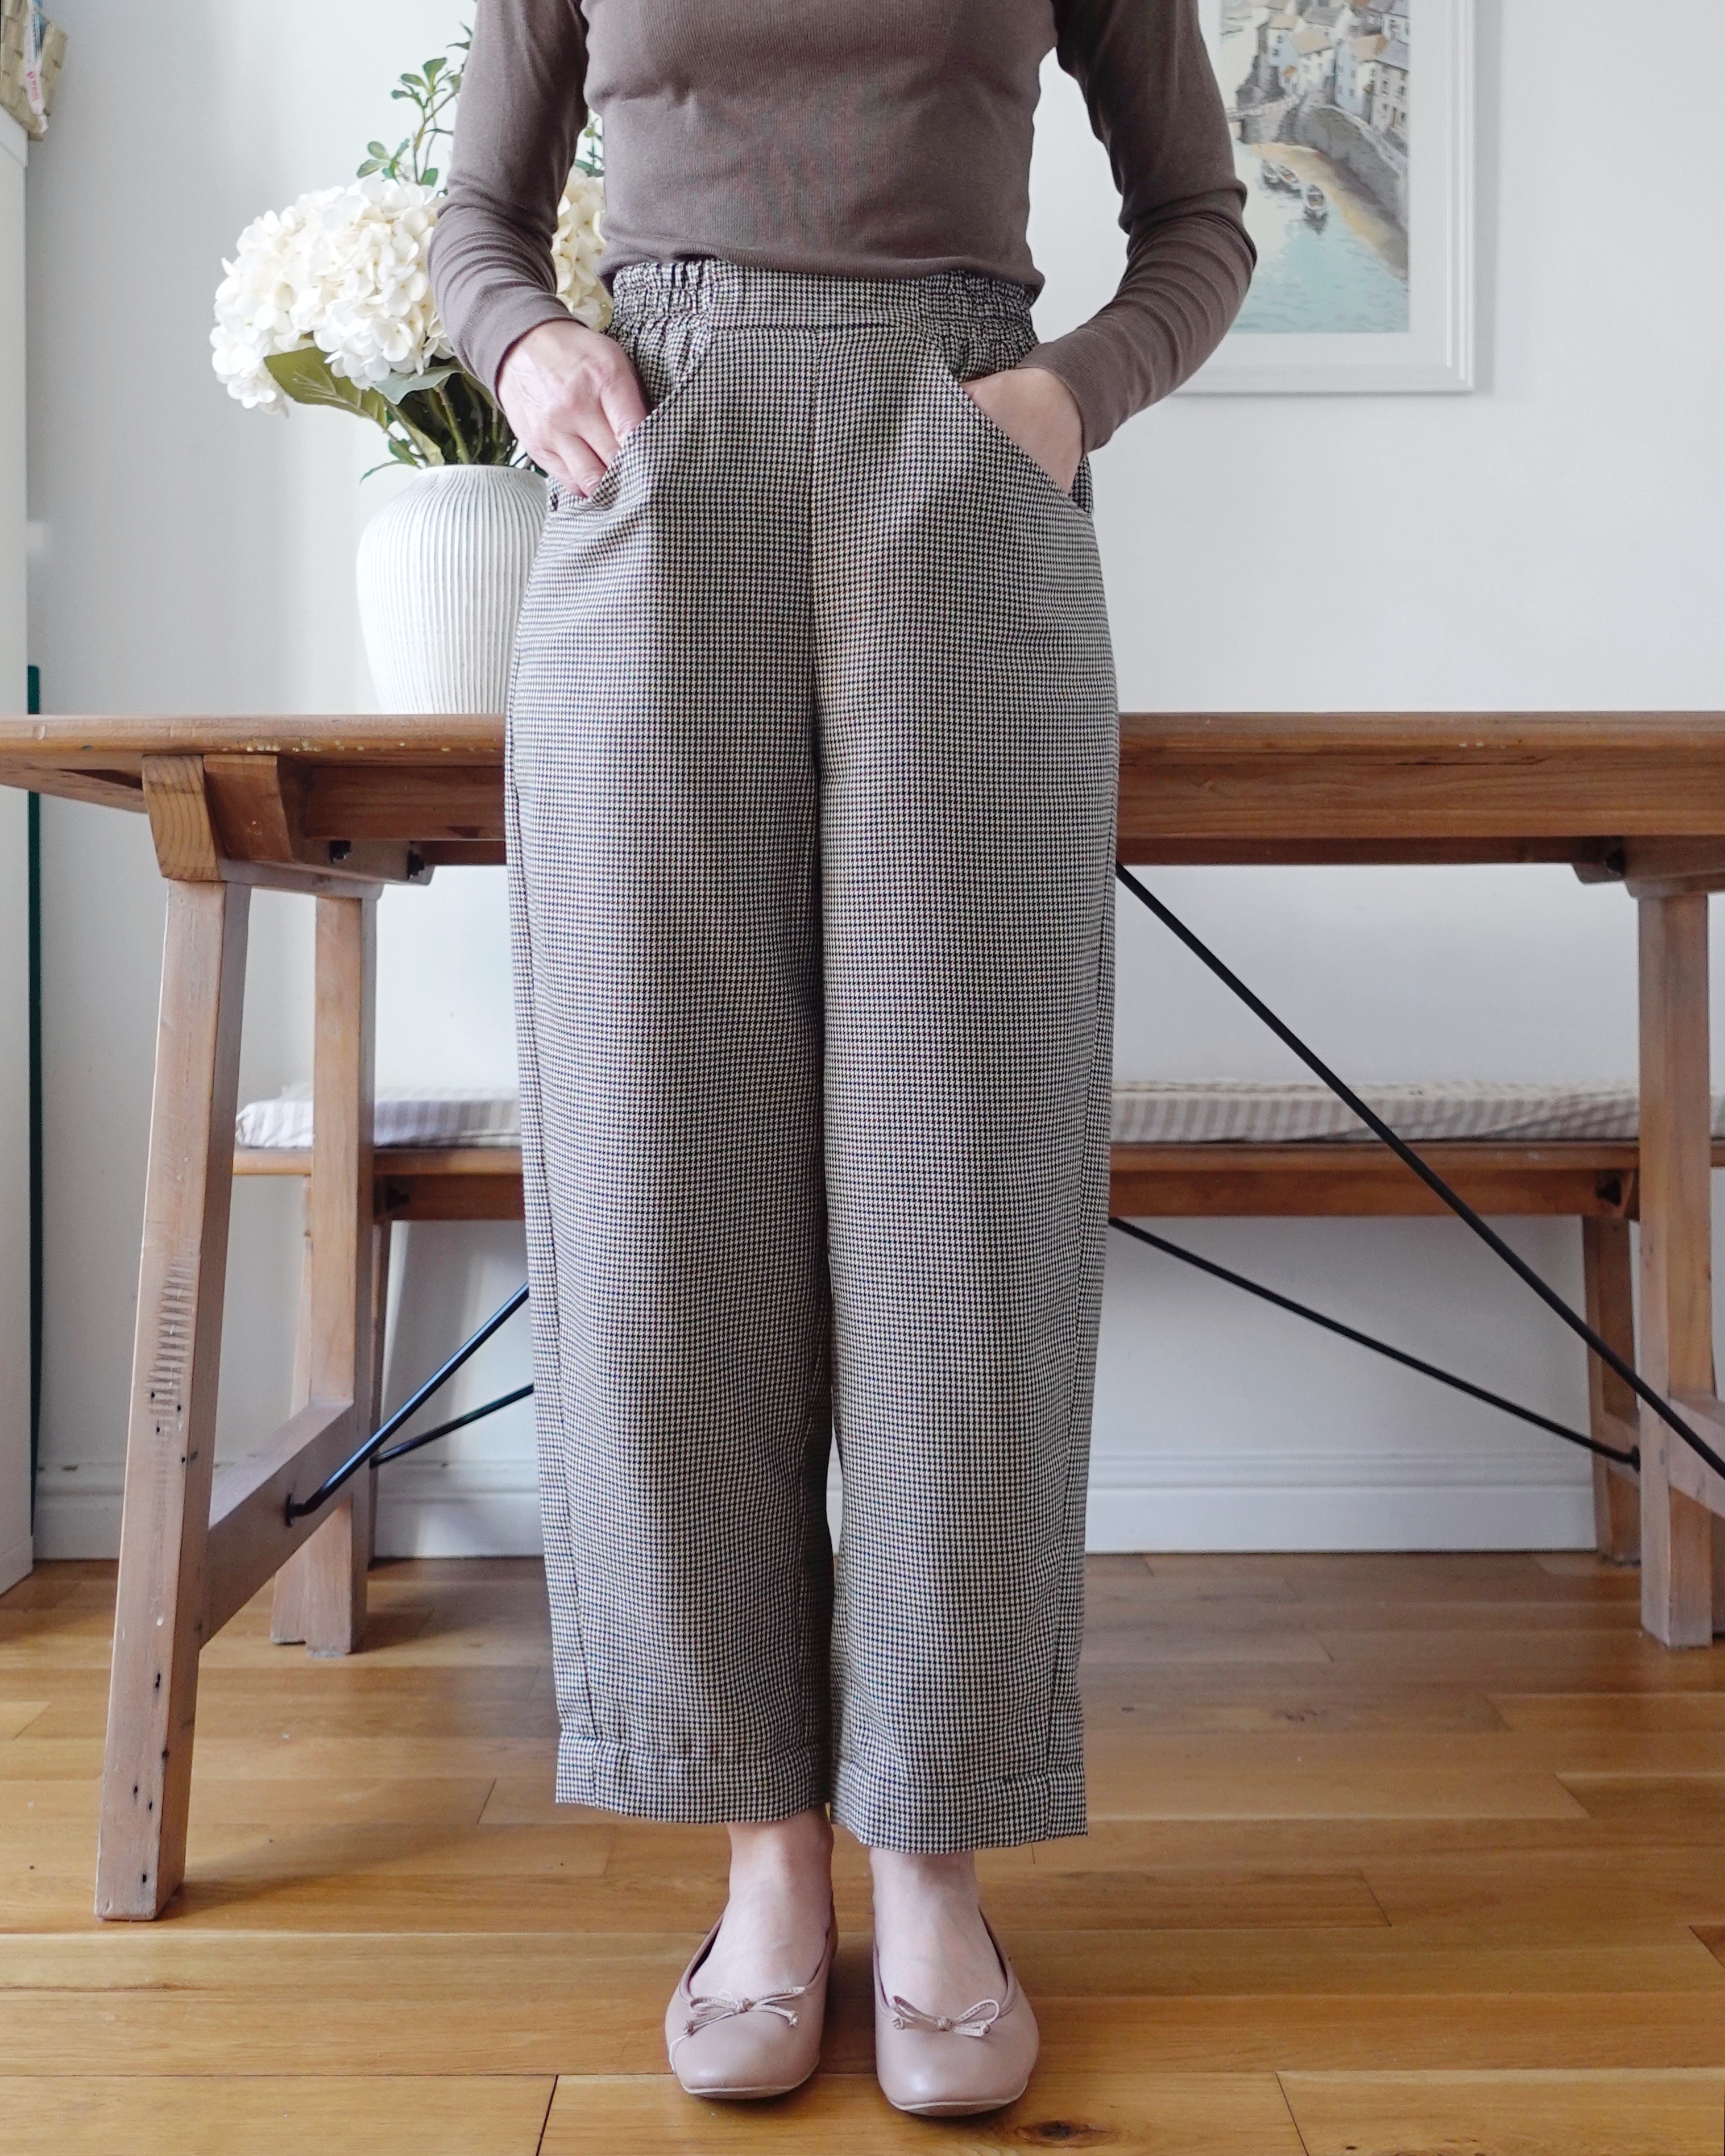
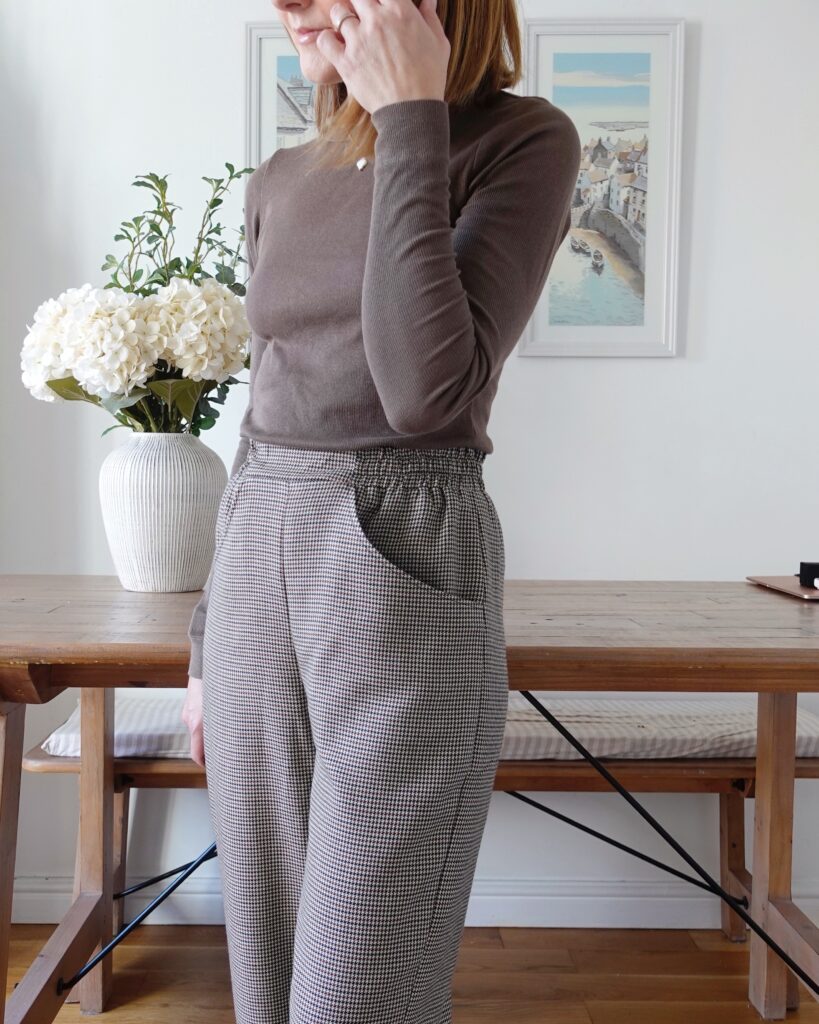
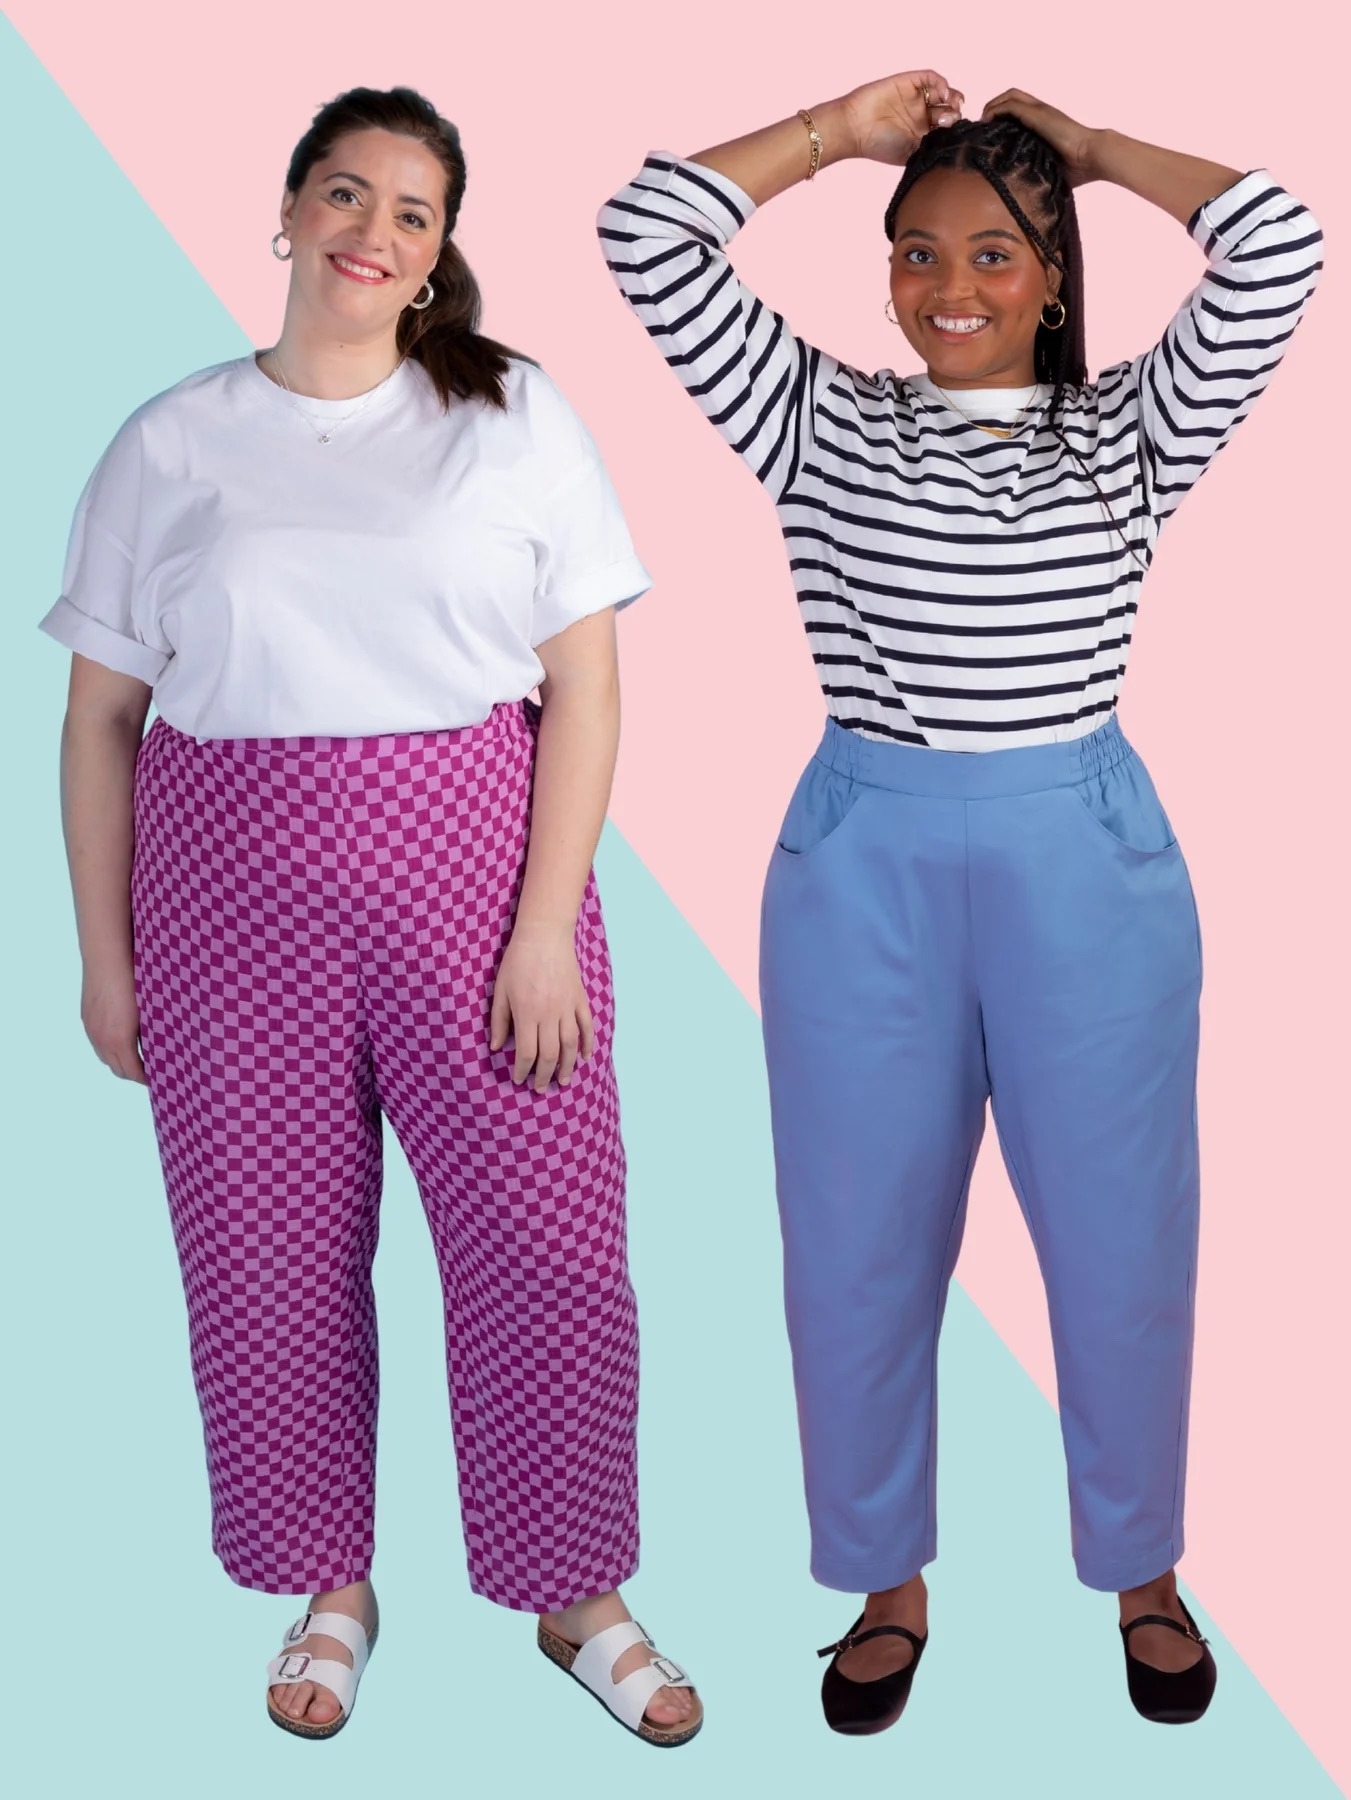
- Wide-legged trousers and jeans
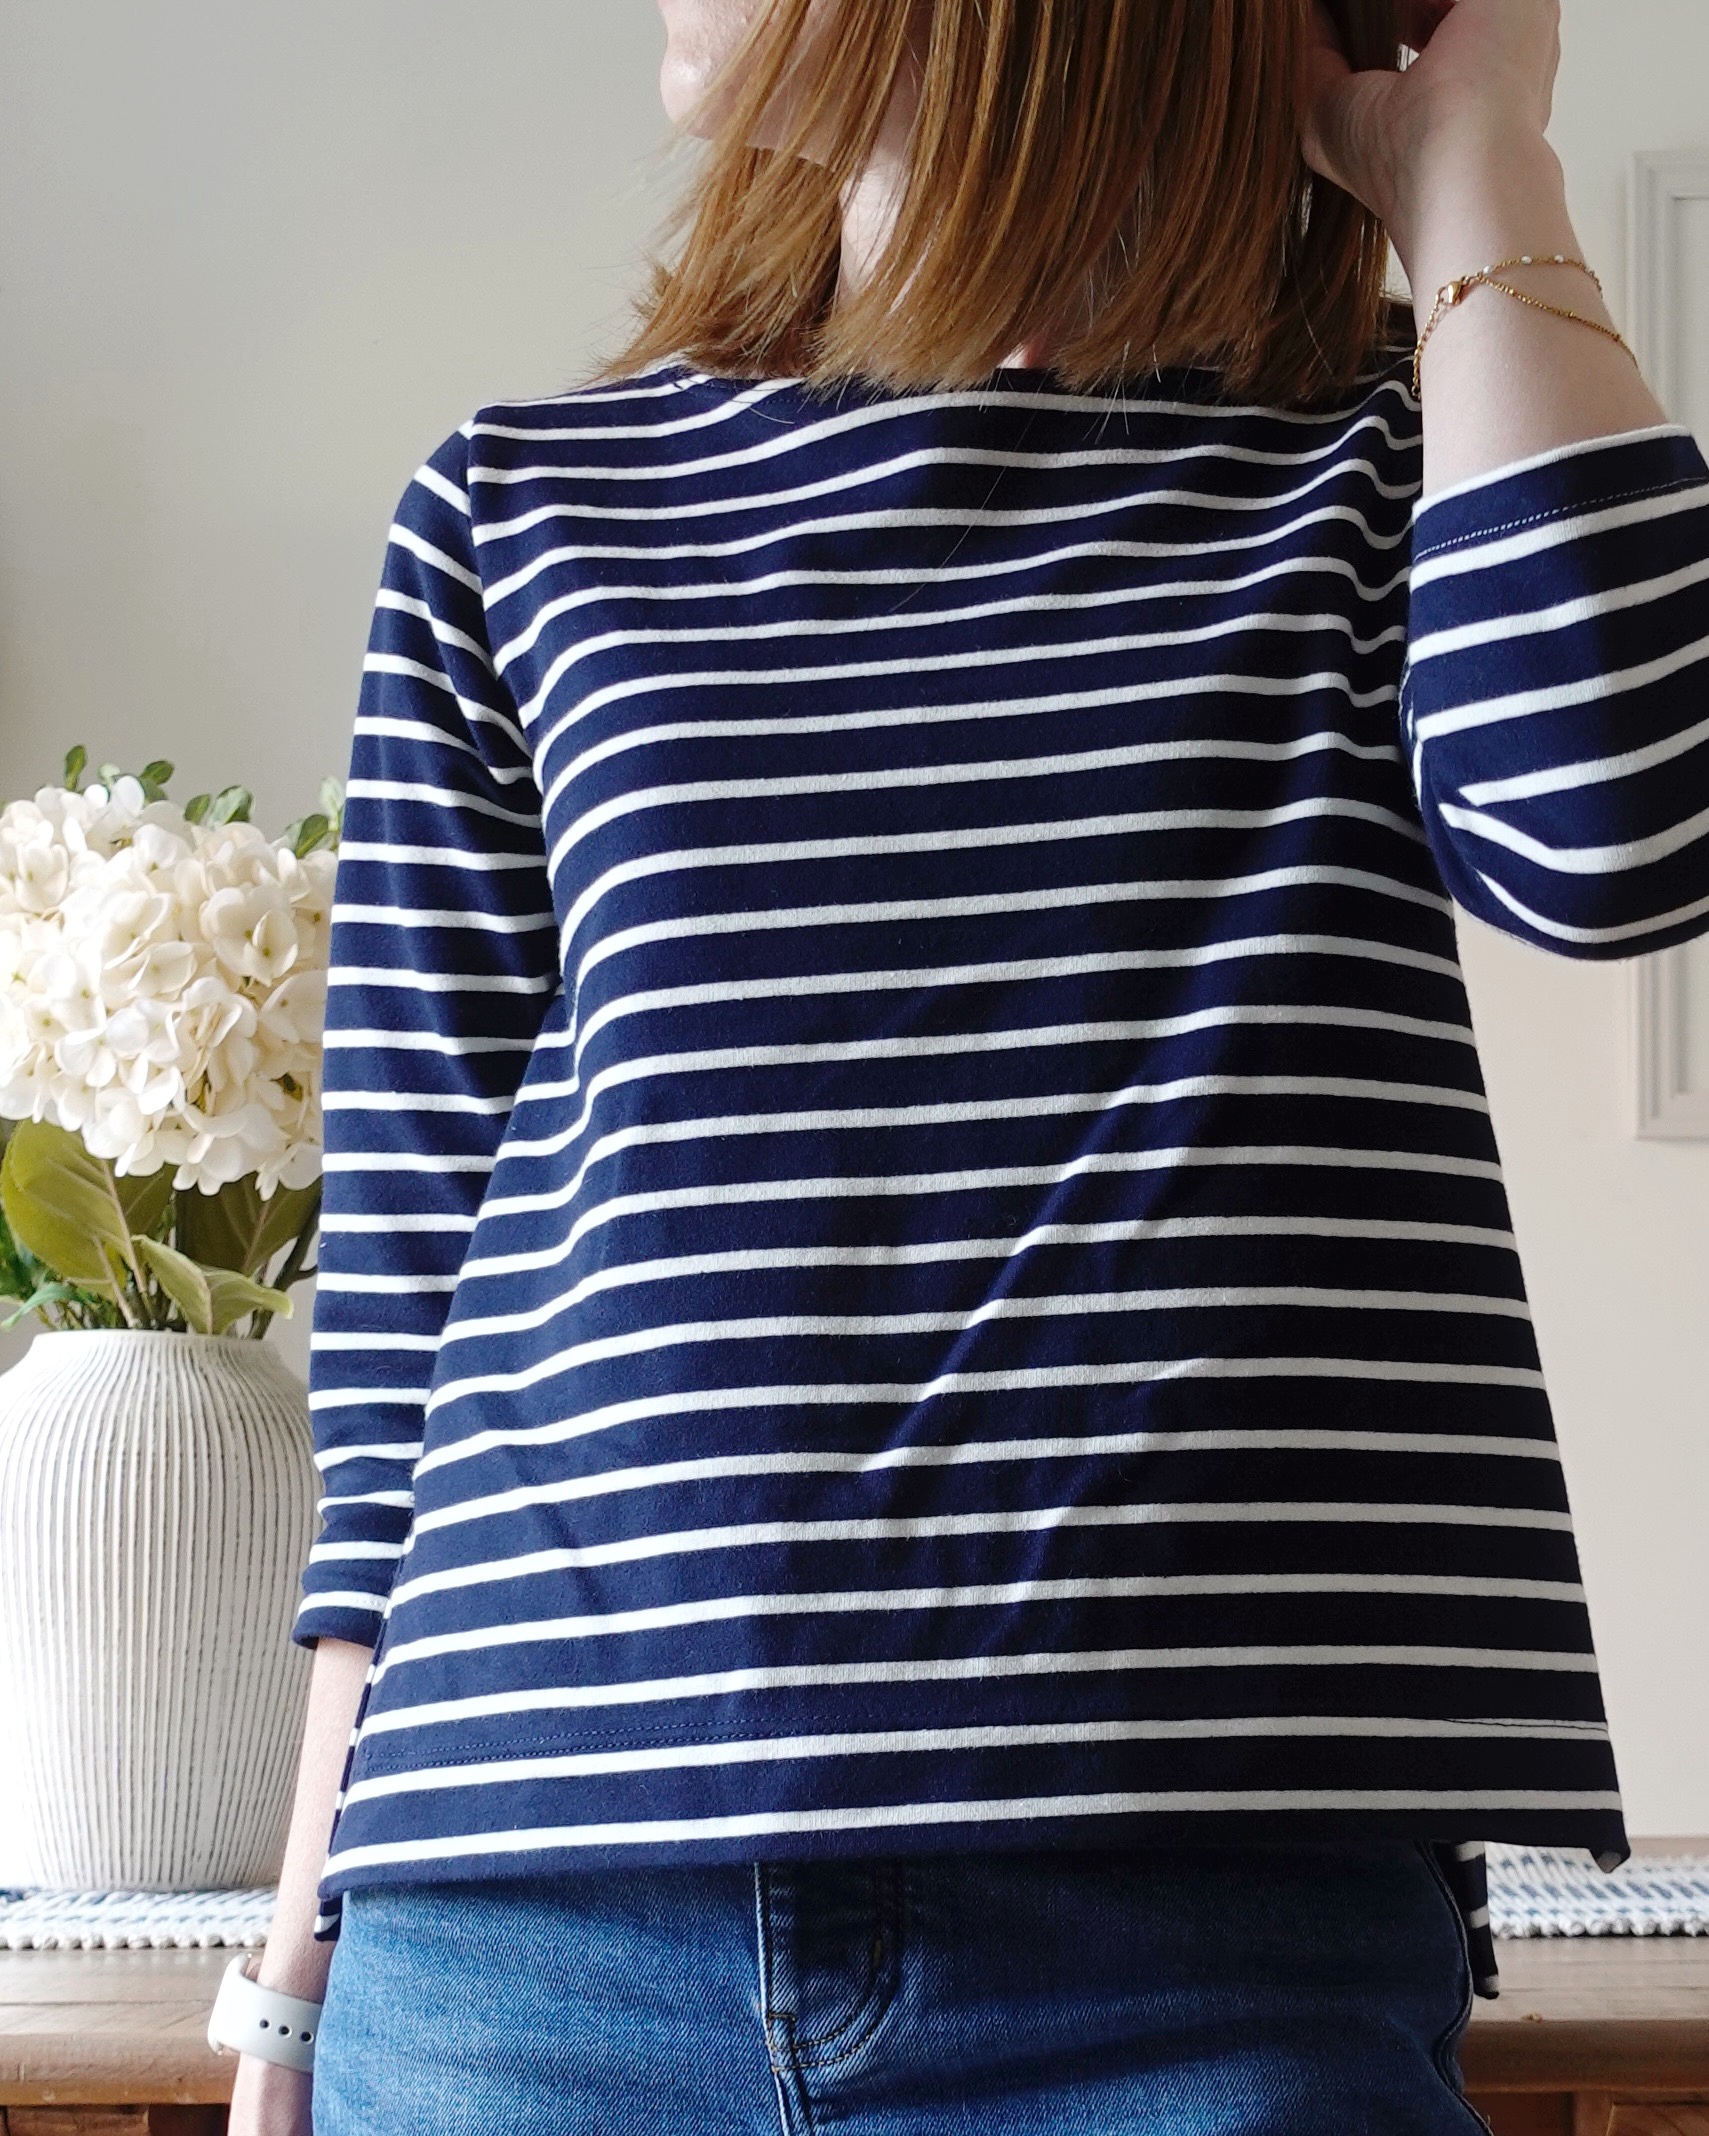
- Lots of layering tops (I’m always cold!)
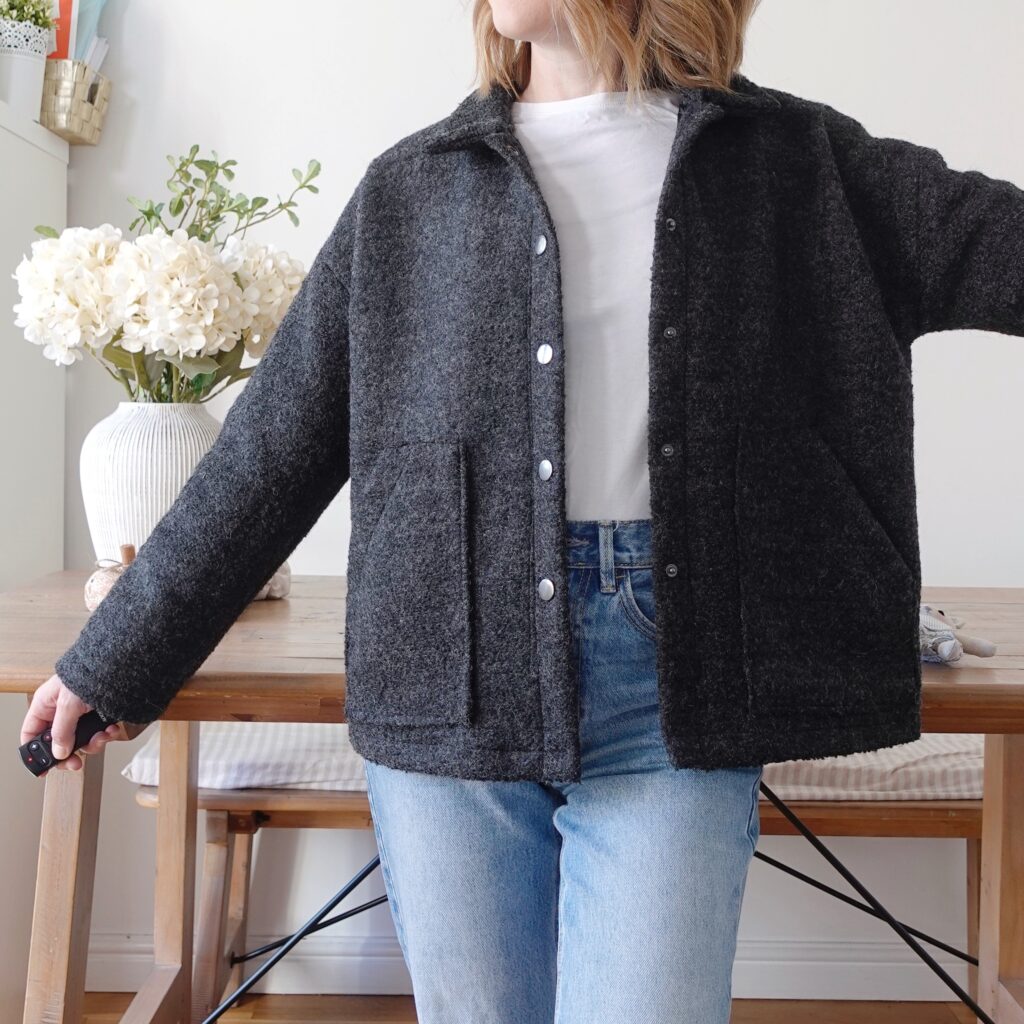
- Knitwear pieces
- Joggers for home and dog walks (yes, it’s slightly embarrassing!)
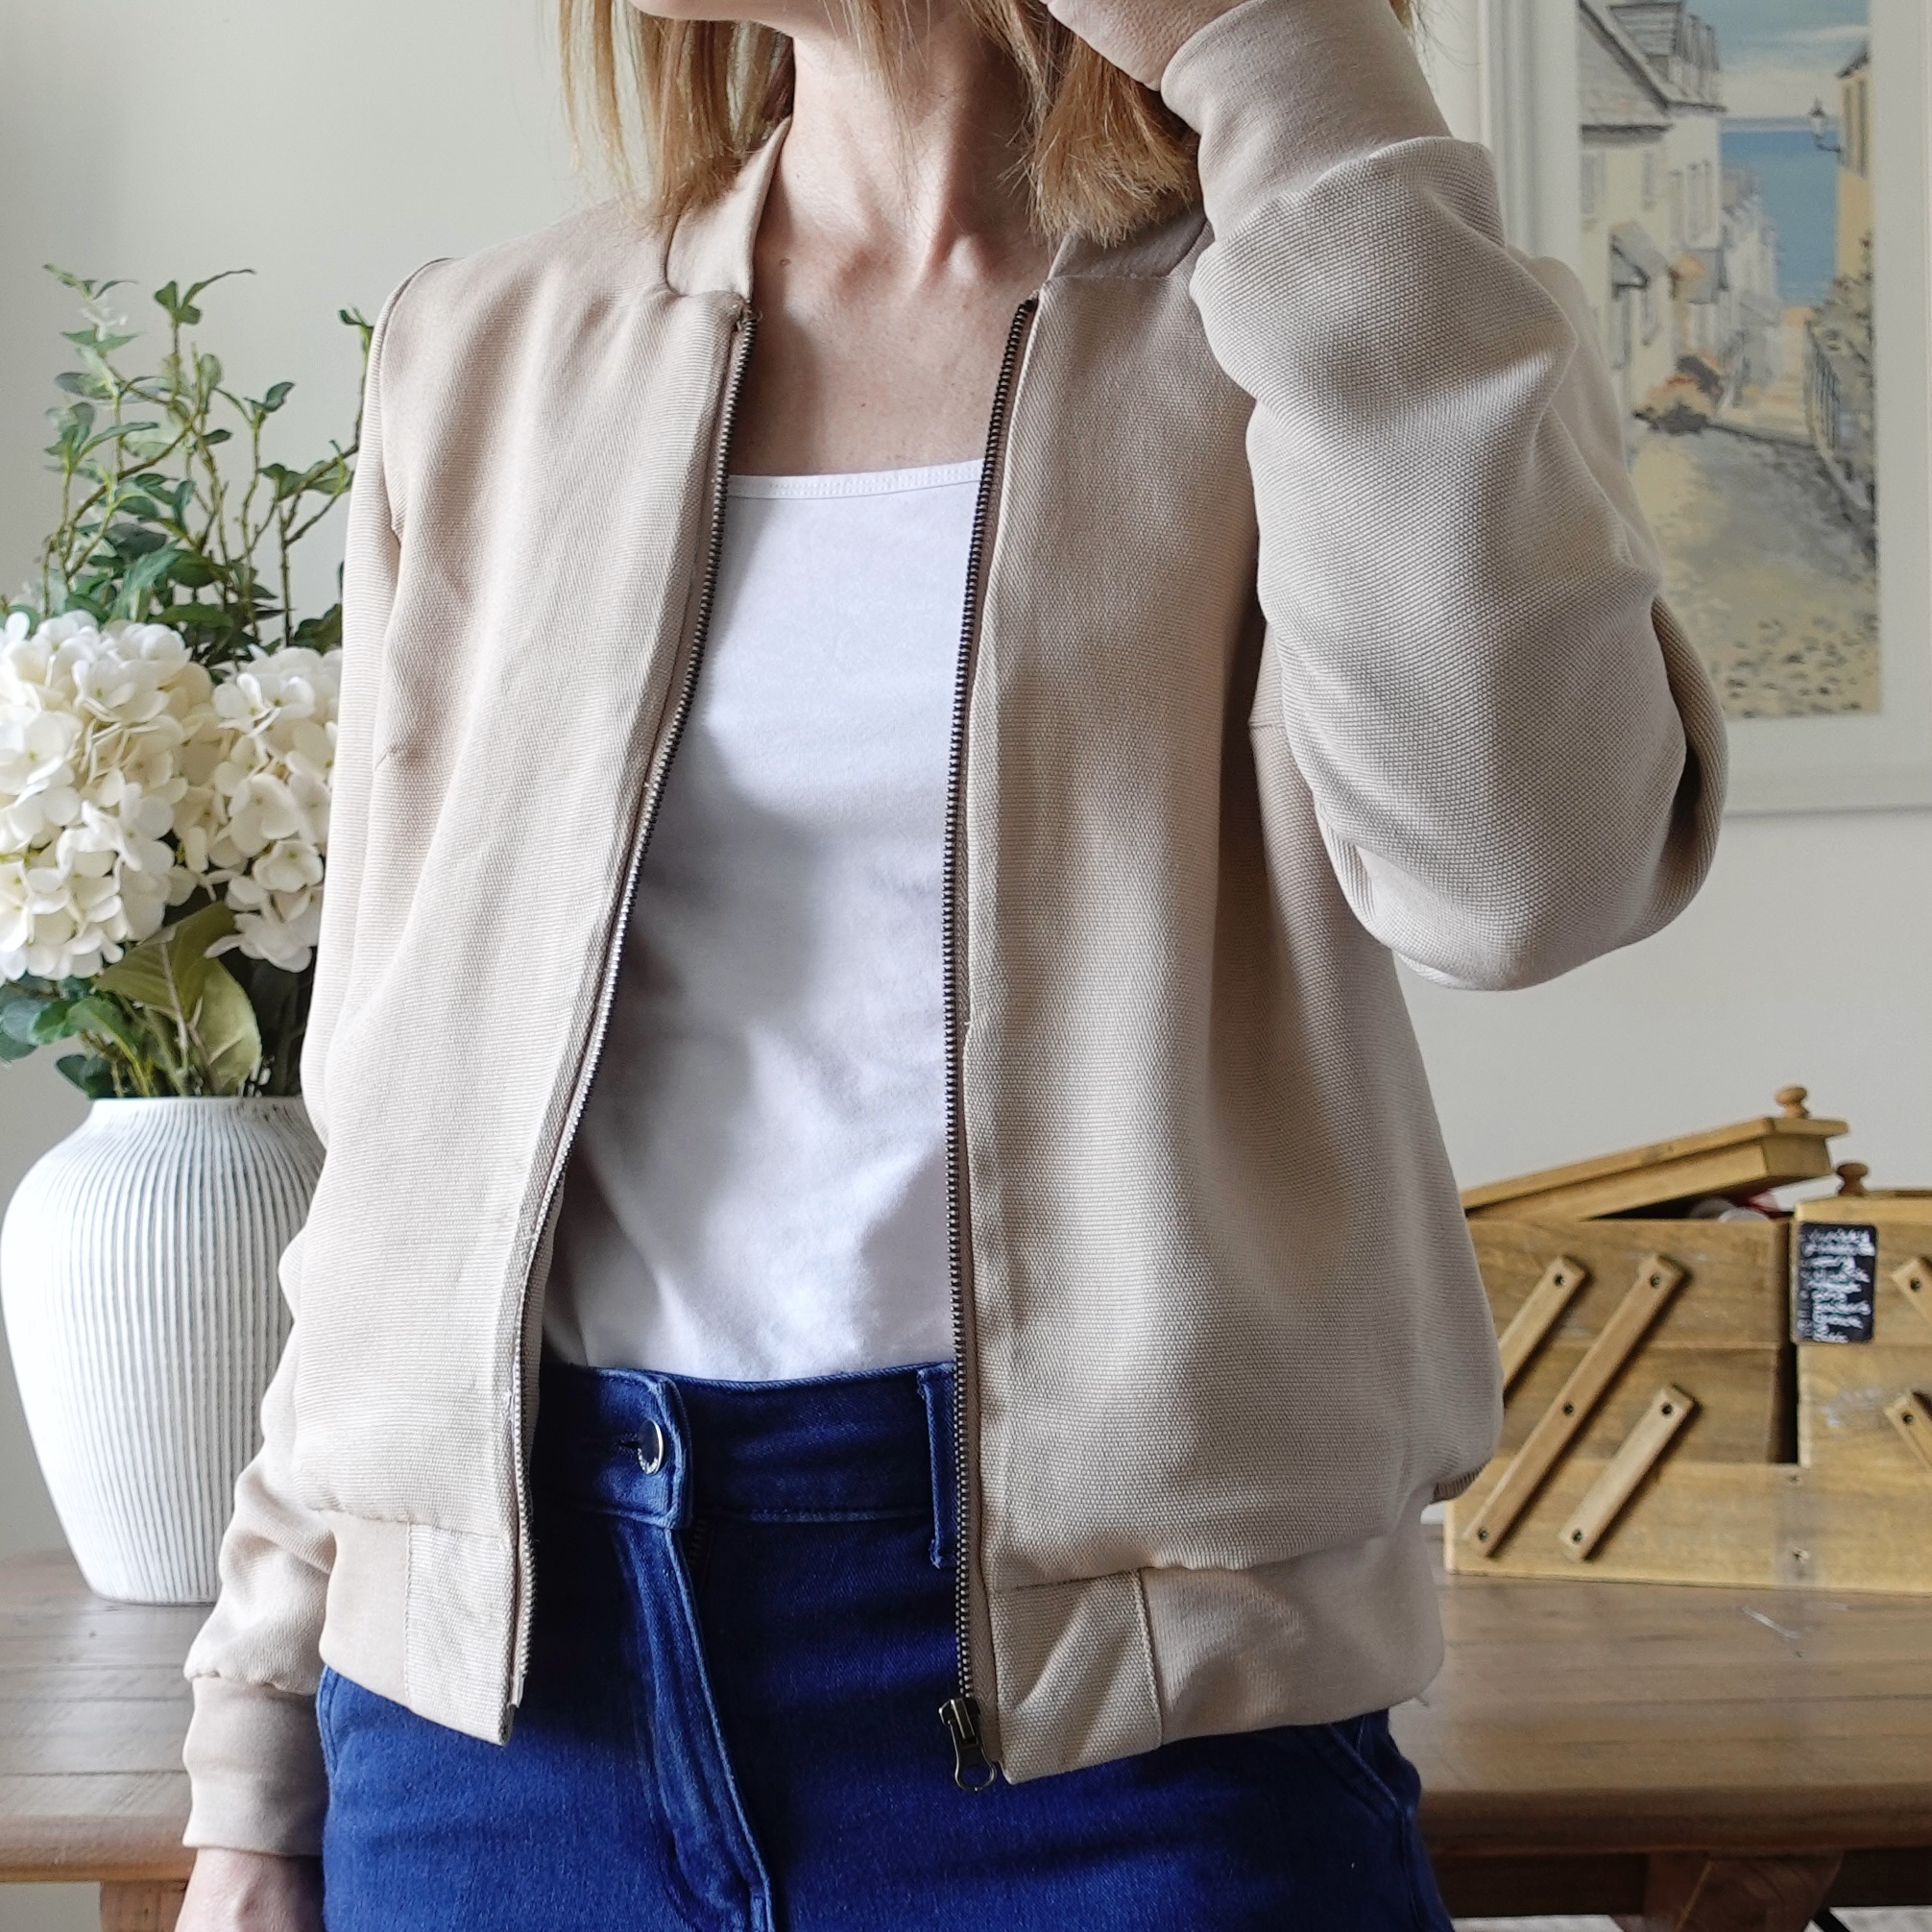
I used to feel guilty making the same thing over and over. But I’ve come to realise that repetition is what makes a wardrobe work. You can then complement these core garments with supporting pieces like jackets, shirts and knitwear.
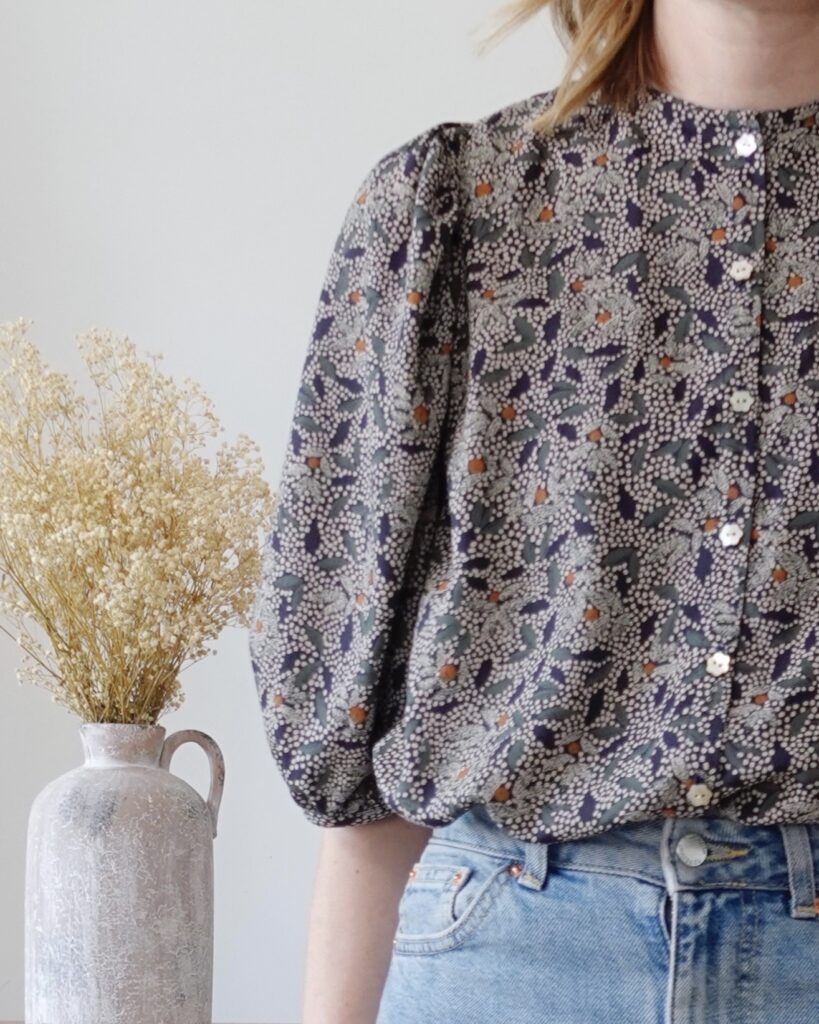
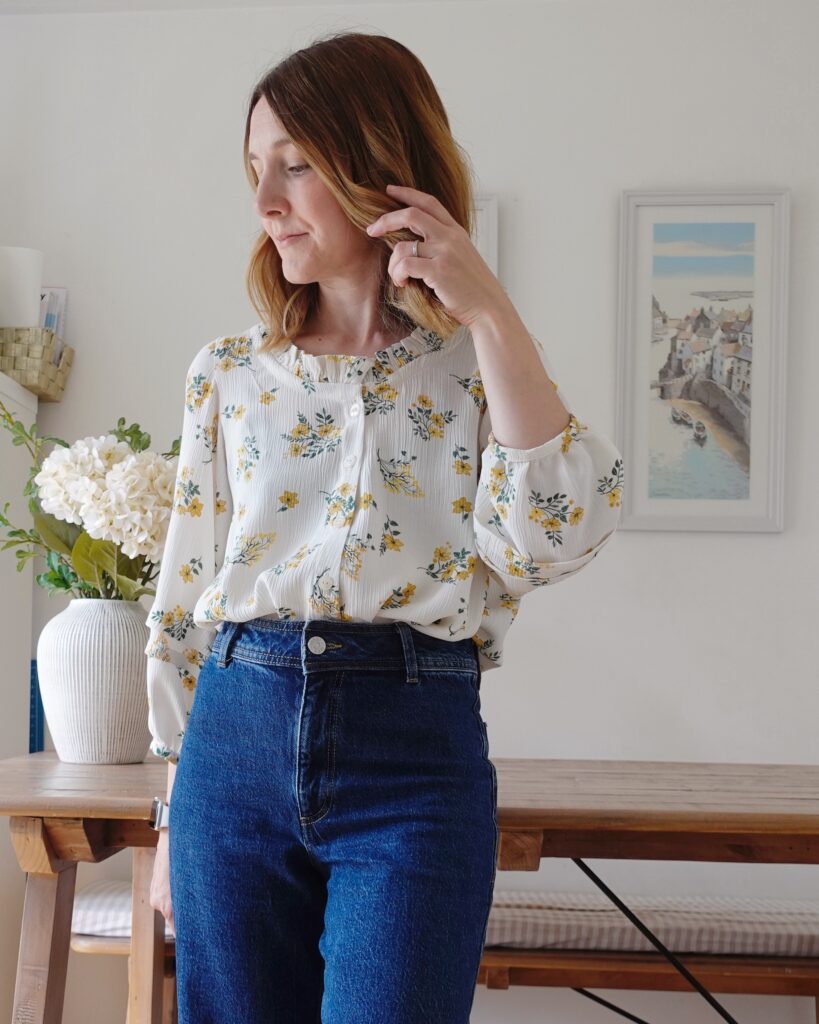
Some of my favourite repeating pieces:
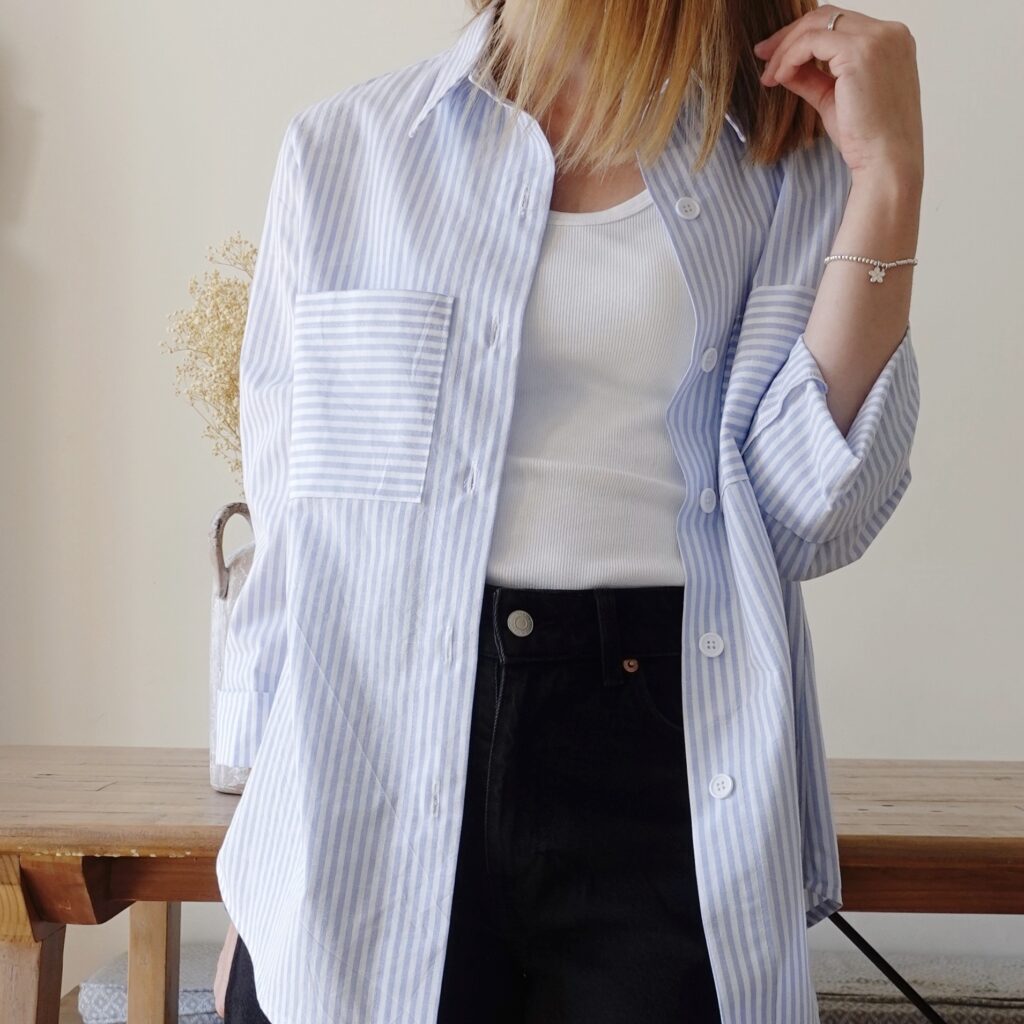
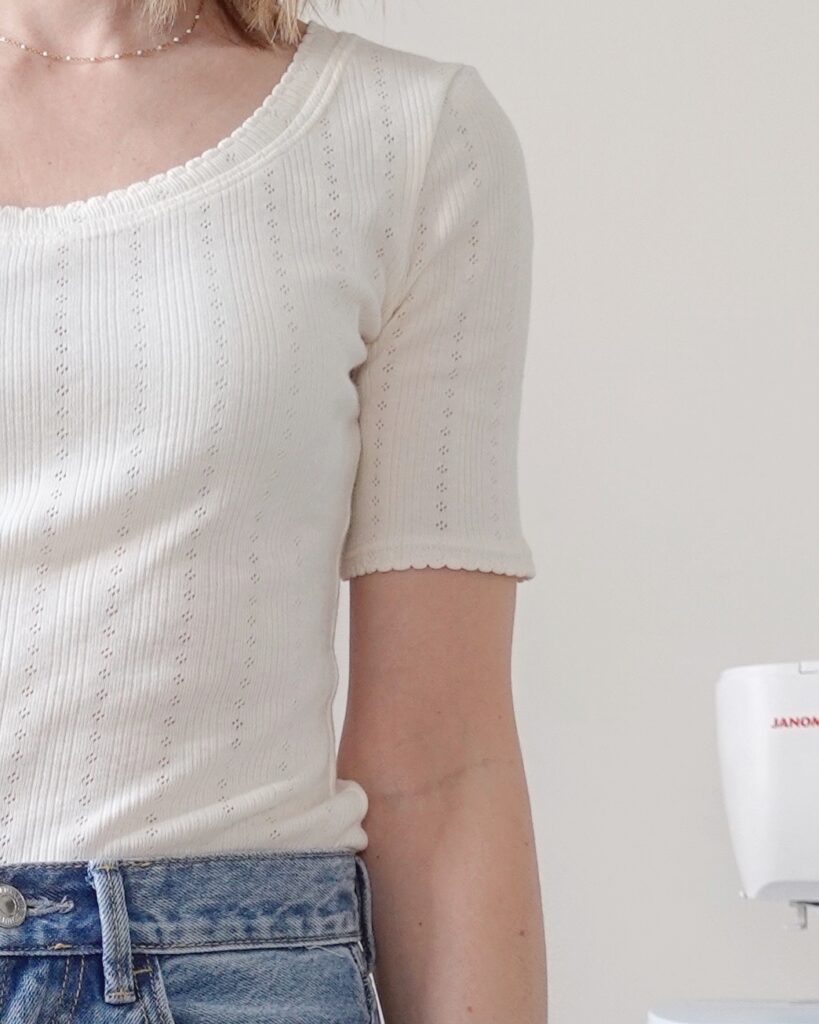
- Agnes Top – clingy, flattering neckline, perfect for layering
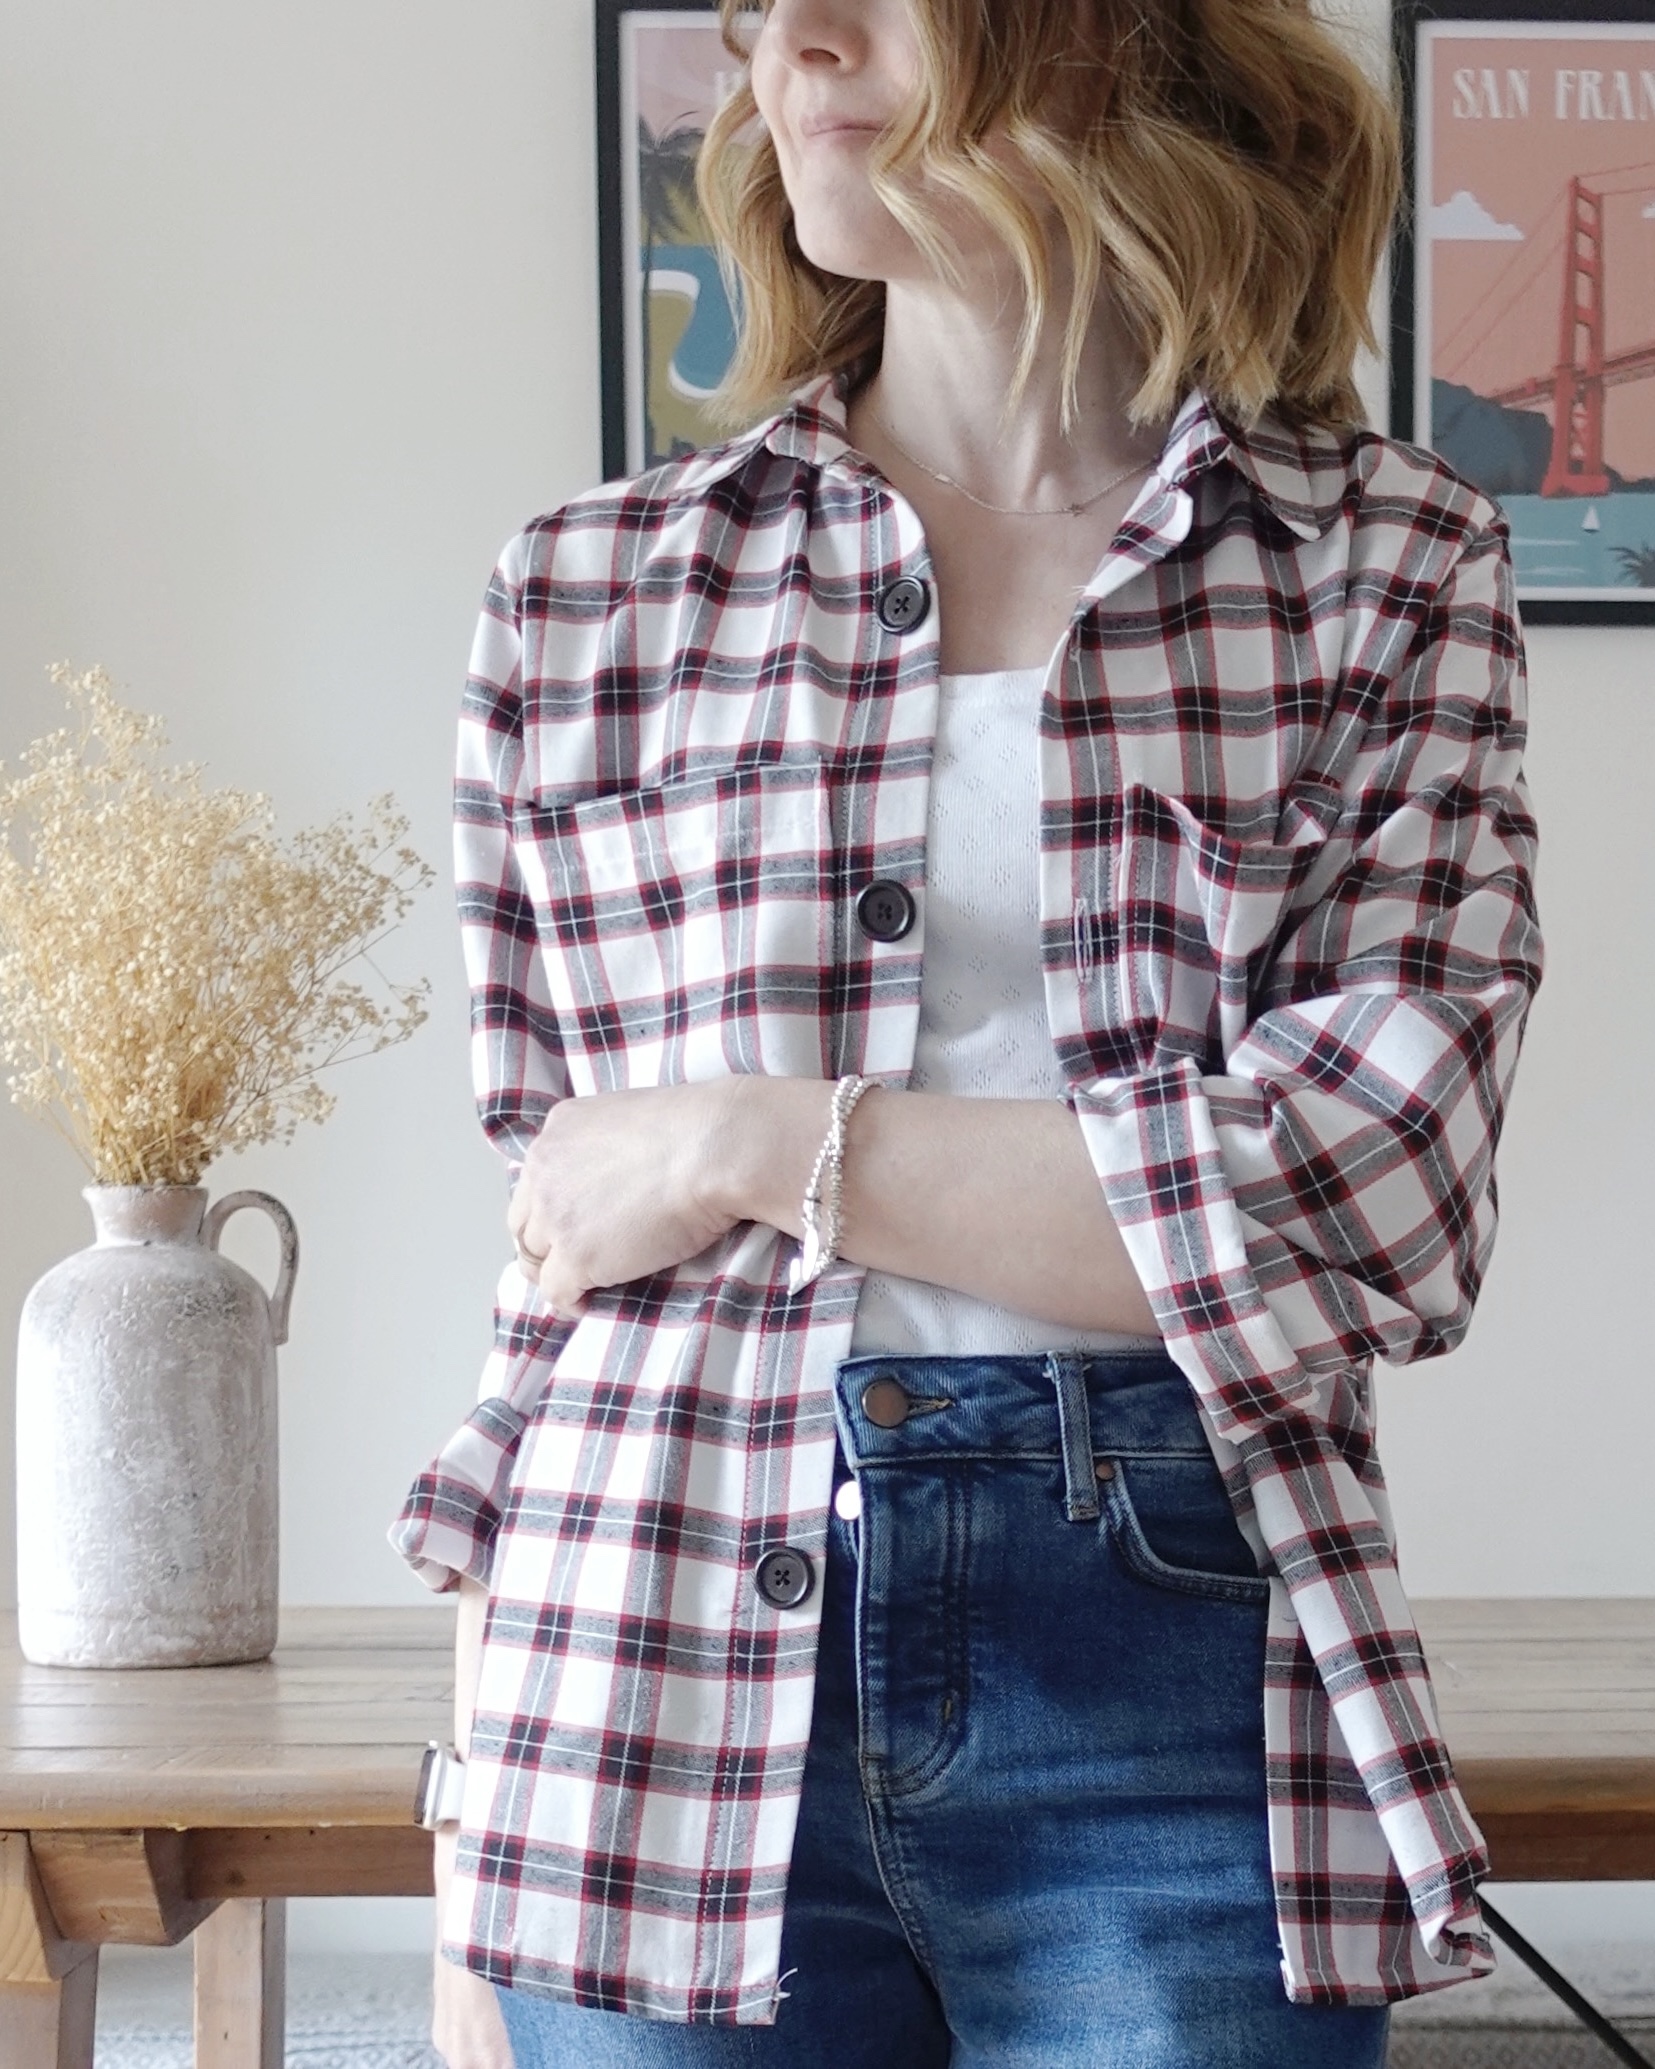
- Logan Shacket – oversized, cozy, and layers beautifully
Action point: If you only made 10 garments this year, what would they actually be?
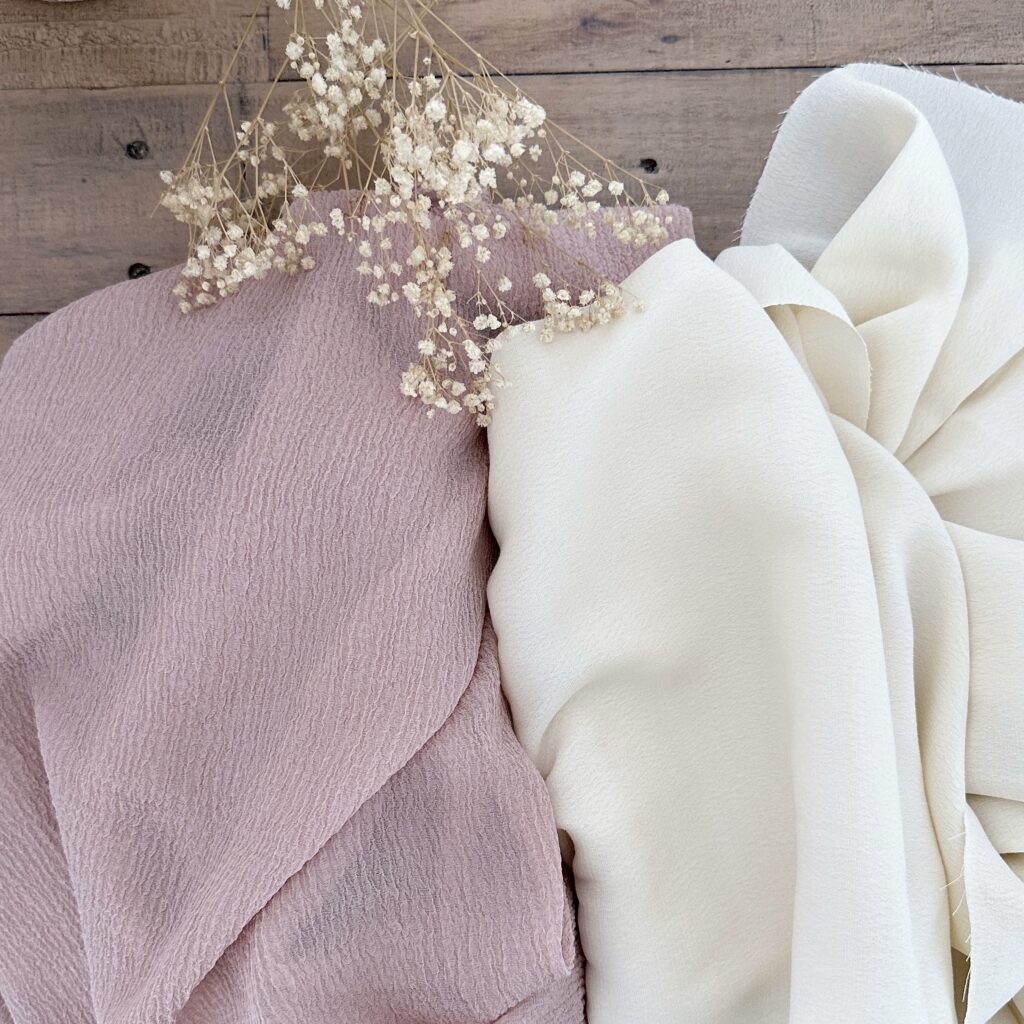
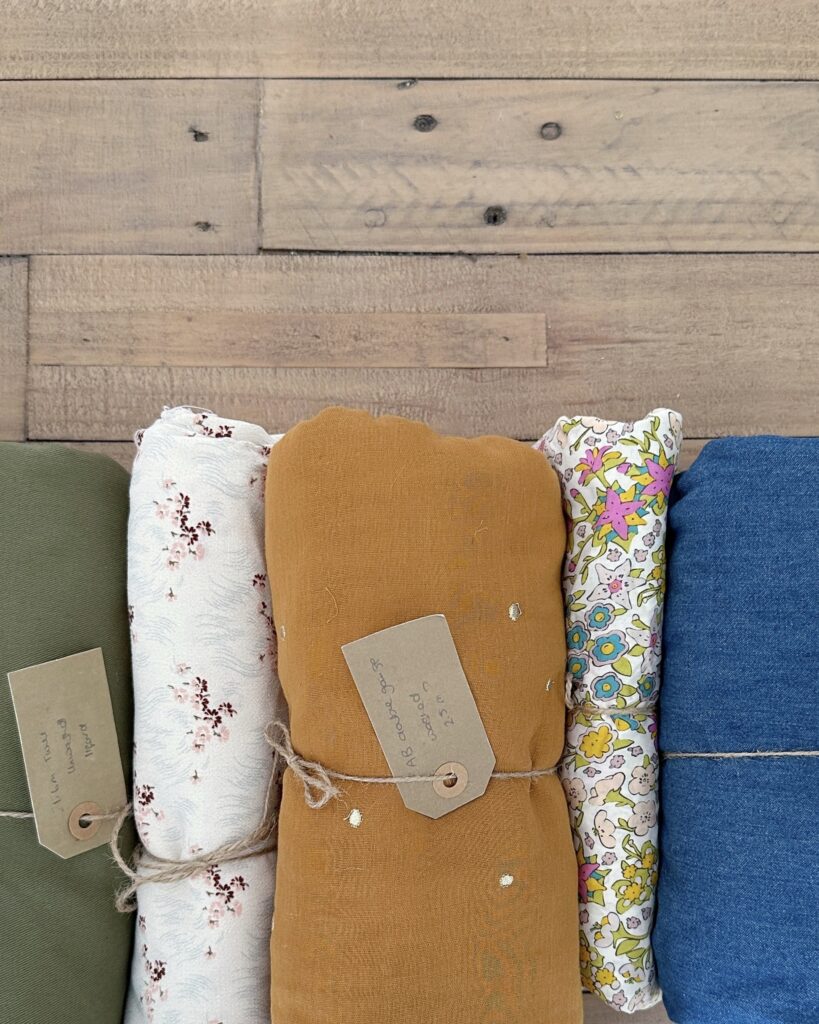
3. Choose a Limited Colour Palette
A limited palette has transformed my wardrobe over the past few years. I wear a lot of neutrals, accented with earthy tones that work together well. Having my colour analysis done has also helped me make confident choices in what suits me best and I would highly recommend it (and that’s coming from someone who was initially highly sceptical!).
Benefits of a limited palette:
- Easier outfit building
- Fewer orphan garments
A simple way to start:
- 1–2 neutrals
- 2–3 main colours
- 1 optional accent
This isn’t permanent—you can add more colours as you discover what works for you. The surprise? It doesn’t feel boring; it feels calm. And it makes saying “no” to fabrics that won’t coordinate so much easier.
4. Plan Before You Buy Fabric
This step alone prevents countless unworn garments. More and more these days, I ‘try’ to have a plan for each fabric purchase: I try to make sure that know the pattern and purpose before I shop.
Ask yourself a few simple questions:
- What will this replace (if anything)?
- What will this support?
This isn’t about guilt—my fabric stash is still growing—but I try more so to think of fabric as a future garment, not just a project.
5. Leave Space for Evolution
Planning your wardrobe doesn’t mean stripping the joy out of sewing. It’s a mindset that keeps you intentional, especially if you’re feeling overwhelmed.
Remember: wardrobes evolve with your:
- Lifestyle
- Body
- Confidence
Seasonal check-ins are a great way to see what’s working, and remove pieces that no longer serve you—without guilt.
Need a Little Extra Help?
If you want help planning your own handmade wardrobe, I have a wardrobe planner and extra resources on this topic over on Patreon. These tools make it simple to take what you’ve learned here and start building a wardrobe that works for your life, your style, and your sewing goals.
Wrapping Up the Series
If you’ve been following along with all three parts of the Intentional Sewing series, I hope you now have the tools to help you to sew a wardrobe you love.
Here’s a recap of all the episodes in case you missed any. You can catch them all in this YouTube playlist too:
- Why You Never Wear Your Handmade Clothes
- How to Choose Sewing Projects You’ll Actually Wear
- How to Plan a Handmade Wardrobe
Here’s a question for you: What’s one garment your wardrobe really needs right now? Let me know in the comments…
I’d love to know what you thought of this ‘Intentional Sewing’ mini-series. Let me know if you’d like to see more of this style.
Thanks so much for reading! Happy sewing…
Sally xxx
Want to save this for later?
Pin this guide to your sewing or handmade wardrobe board on Pinterest so you can come back to it when planning your next project.