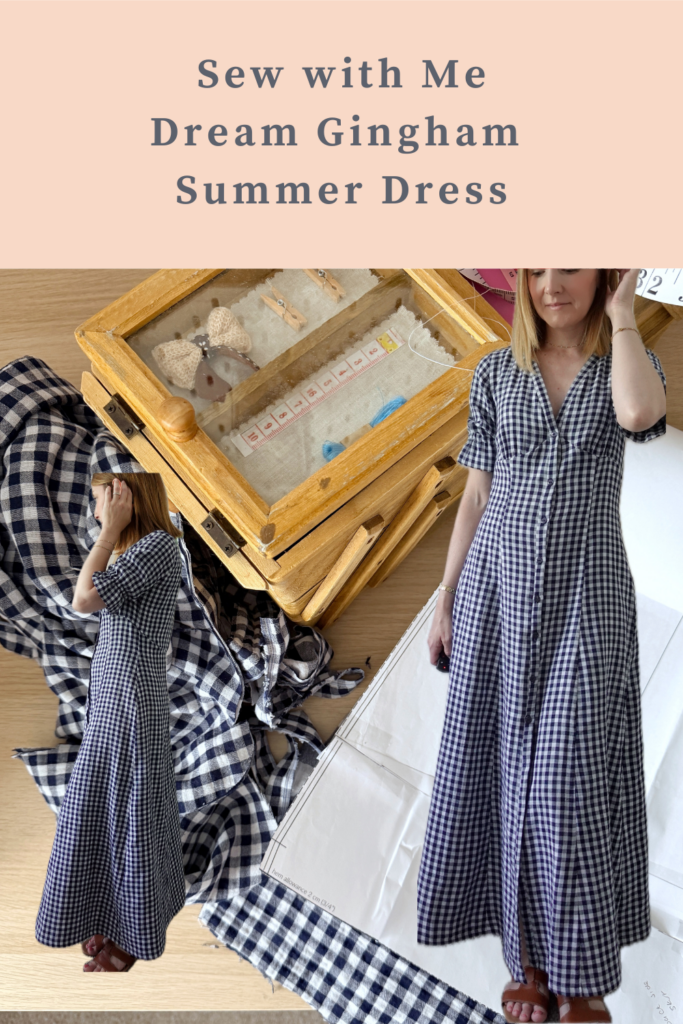
I am absolutely loving all of the gingham dresses around on the High Street at the moment, but for some reason, I’ve always wondered if gingham was for me!
My new sew-with-me follows the whole process of sewing my dream gingham summer dress, doubts included: is this colour actually me, and does it need sleeves or not? I go back and forth more than once (you’ll see it happen in real time), before landing on the final reveal.
If you’ve ever doubted yourself halfway through a project, this one’s for you.
Grab a cuppa, thread up, and sew along — or just enjoy the chaos of me debating my own dress.
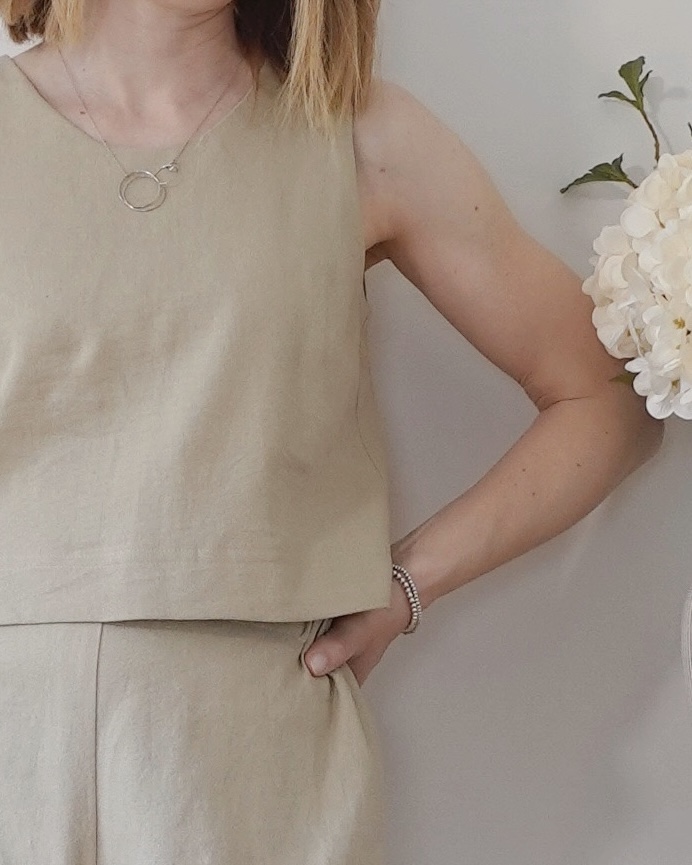
If you’ve been following along for a while, you’ll know that the Ashton Top by Helen’s Closet is one of my absolute favourite sewing patterns. I featured it in my Top 10 Summer Sewing Patterns post just a few weeks ago — and for good reason. It’s a beautiful, versatile pattern that I come back to again and again.
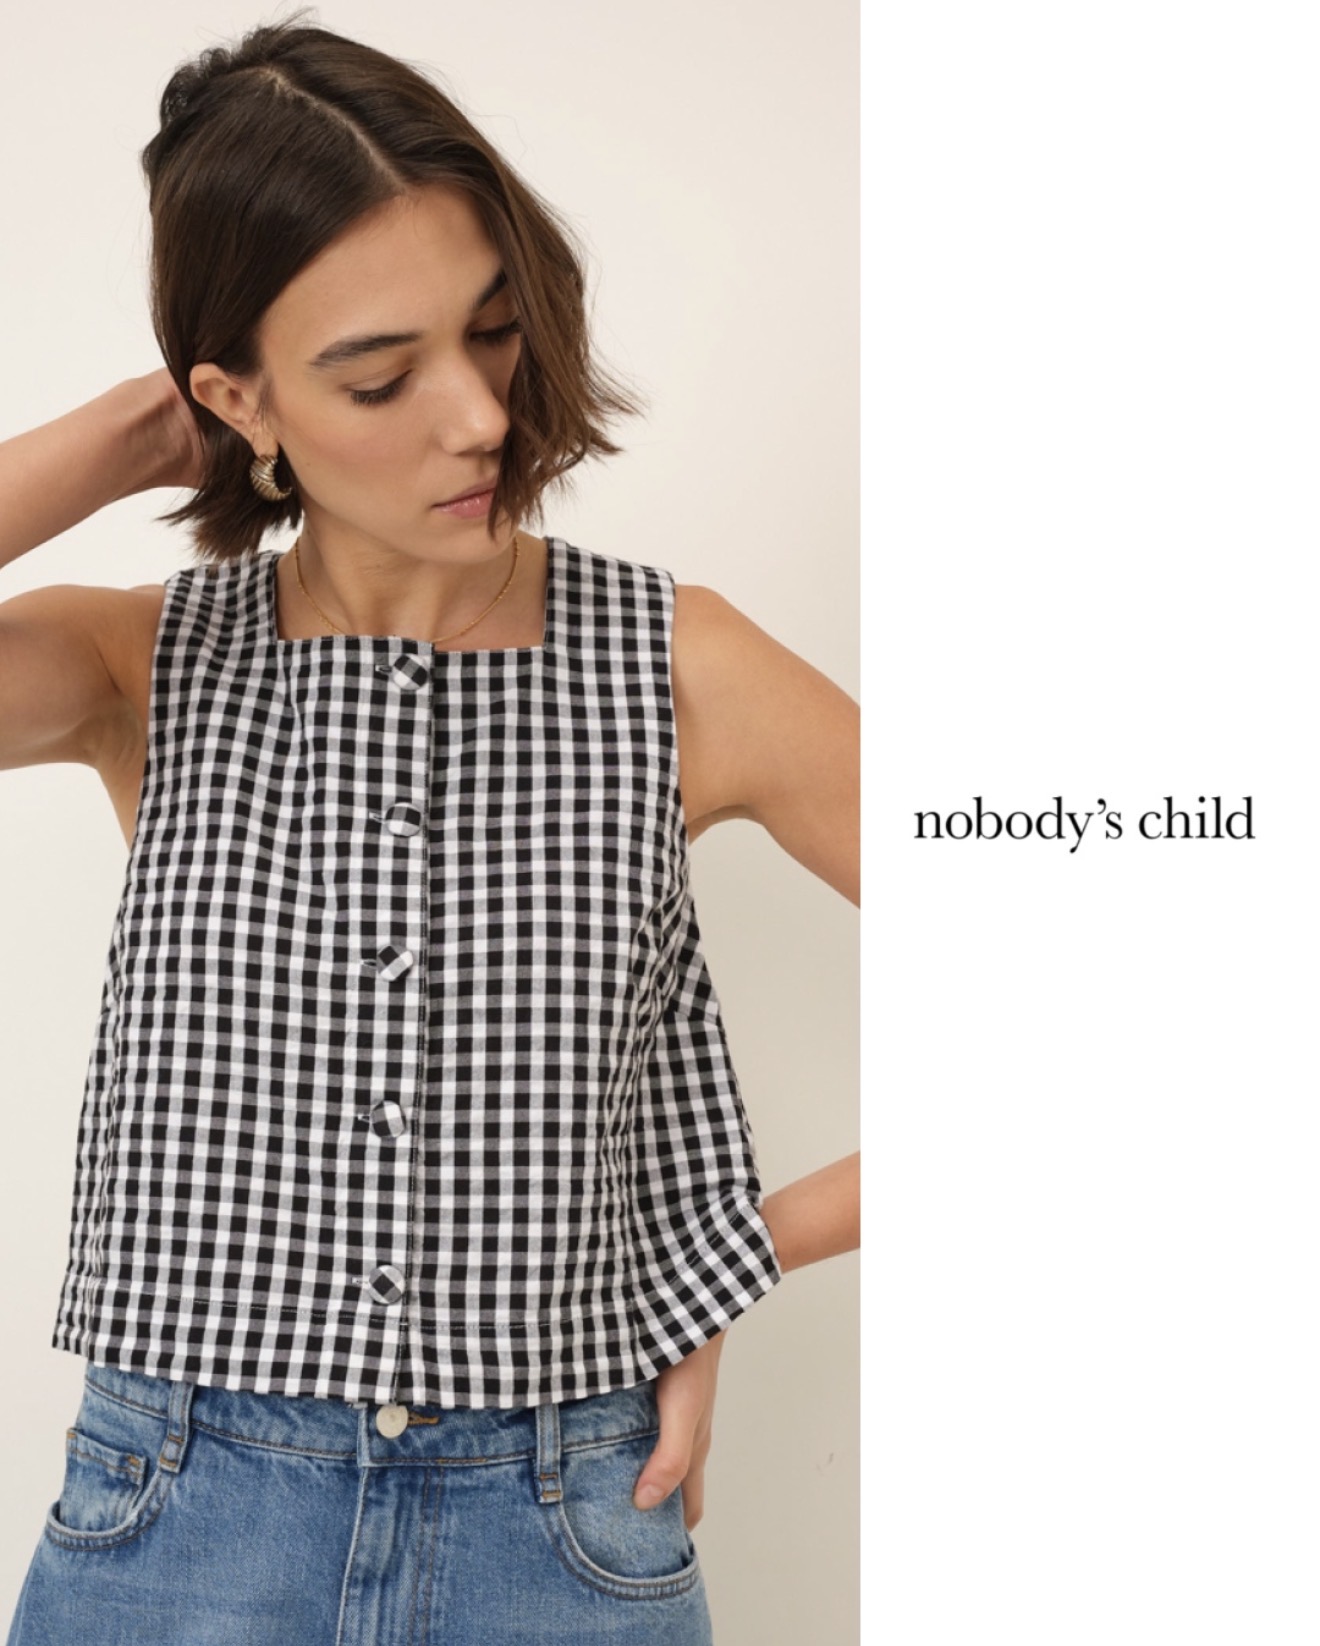
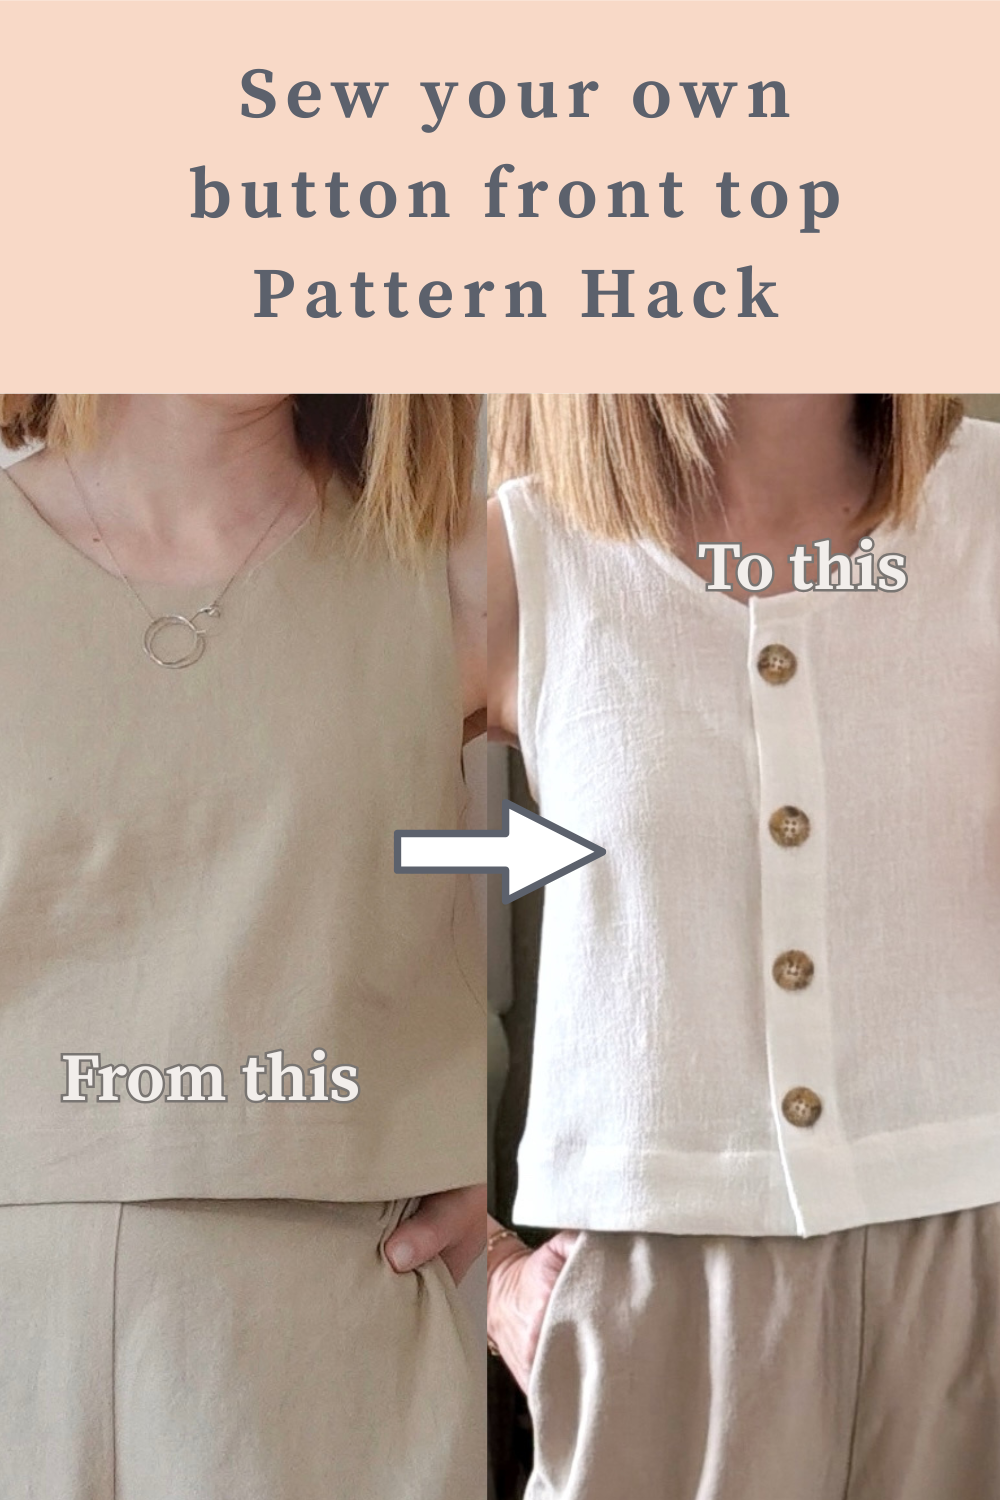
But this time, I decided to switch things up a little. I’d been spotting so many gorgeous button-front tops on the high street lately — the kind that are cool and effortless — and it got me thinking about whether I could create something similar with a pattern I already own rather than buying something new.
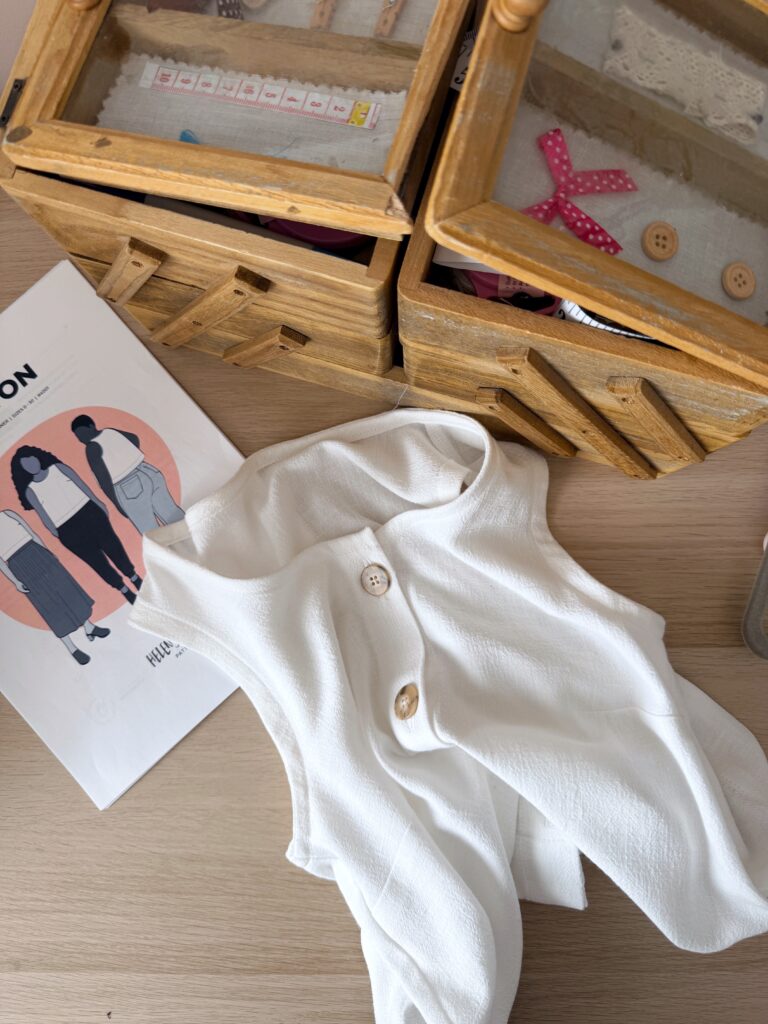
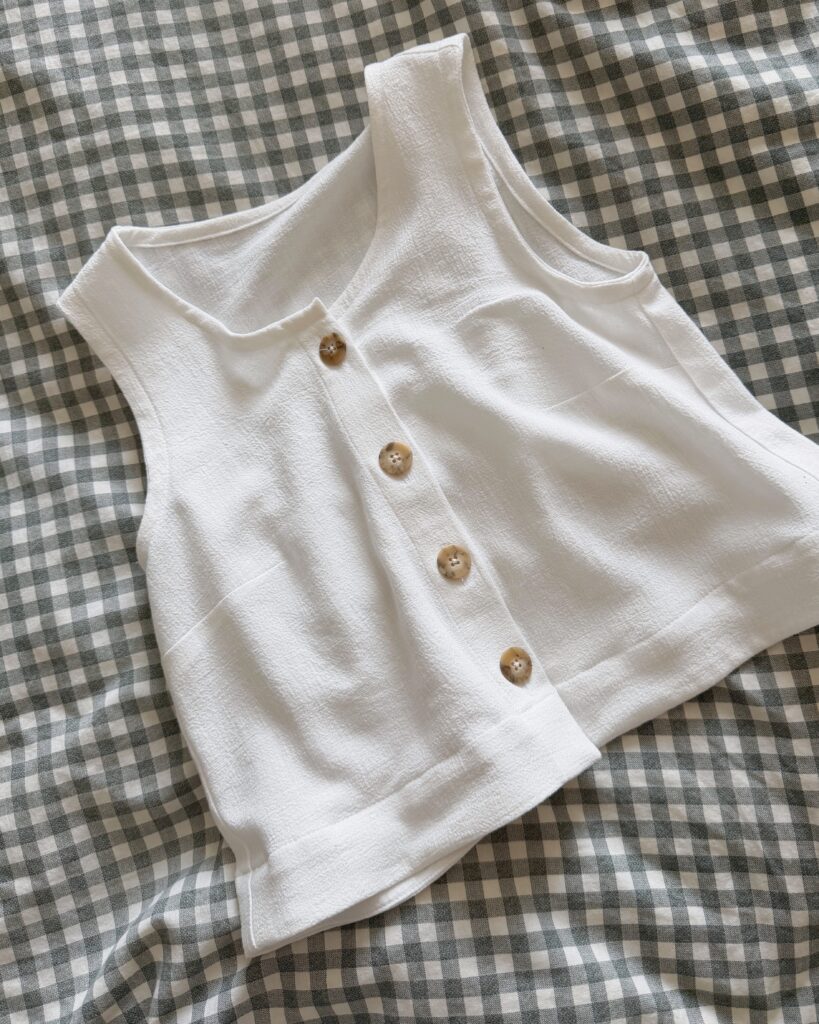
So that’s exactly what I did! In my latest YouTube video, I’m sharing a full pattern hack of the Ashton Top, transforming it into a High Street inspired summer top with a button-down front and a lowered neckline — all sewn up in the most beautiful white slub linen.
High Street InspirationMy Original Ashton Top
What Is a Pattern Hack, and Should You Try One?
If you’re new to pattern hacking, the idea is simply this: you take a pattern you already have and modify it to create something different. It sounds a bit scary, but it’s actually one of the most satisfying things you can do as a sewist. You already know the pattern fits, which means you can focus purely on the fun creative part!
The Hack: What I Changed
Starting from the standard Ashton Top, here’s what I did to create this new version:
1. Lowered the neckline
The original Ashton Top has a beautiful, clean faced or bound neckband. For this hack, I lowered the neckline slightly to create a more relaxed, summer-appropriate finish. In the video I show you exactly how to do this without losing the shape and structure of the original pattern.
2. Drafted a button band
This is the feature that really transforms the top into something that feels very different. I drafted a button band from scratch — and I promise it’s much more manageable than it sounds and I’ll take you through the whole process step by step.
3. Bias bound the neckline and armholes
Once the neckline was lowered, I finished it with bias binding rather than a facing. This gives a beautifully neat, minimal finish that works so well with the linen fabric. I also bias bound the armholes to match.
4. Sewed a hem facing
I love the faced hem of the original Ashton and I wanted to keep this for my new button up version and so I modified the original facing pattern piece to adapt to the new button band. A hem facing gives a really clean, professional result that sits beautifully and keeps the hem flat and the shape nice and boxy.
The Fabric
I used a gorgeous slub linen for this make — and it was perfect for this design. Linen is one of my favourite summer fabrics because it breathes so well, and the slub texture of this one adds a lovely natural character to it. It also presses beautifully, which is really helpful when you’re working with techniques like bias binding and button bands.
I’ve linked a similar slub linen in the video description if you want to track something down!
Watch the Full Video
All of the steps above are explained in much more detail over on YouTube — this really is a project where seeing it done makes all the difference! Whether you want to follow along in real time or just get a feel for whether this hack is for you, head over to watch:
And if you love a good pattern hack, you might also enjoy my other pattern hack videos — I have a whole playlist of them over on YouTube called ‘Sew the Look‘ which you can find linked in the video description!
Have you ever hacked a pattern before? I’d love to know which one — drop it in the comments below! And if you give this hack a go, please do share a photo with me over on Instagram — I absolutely love seeing your makes!
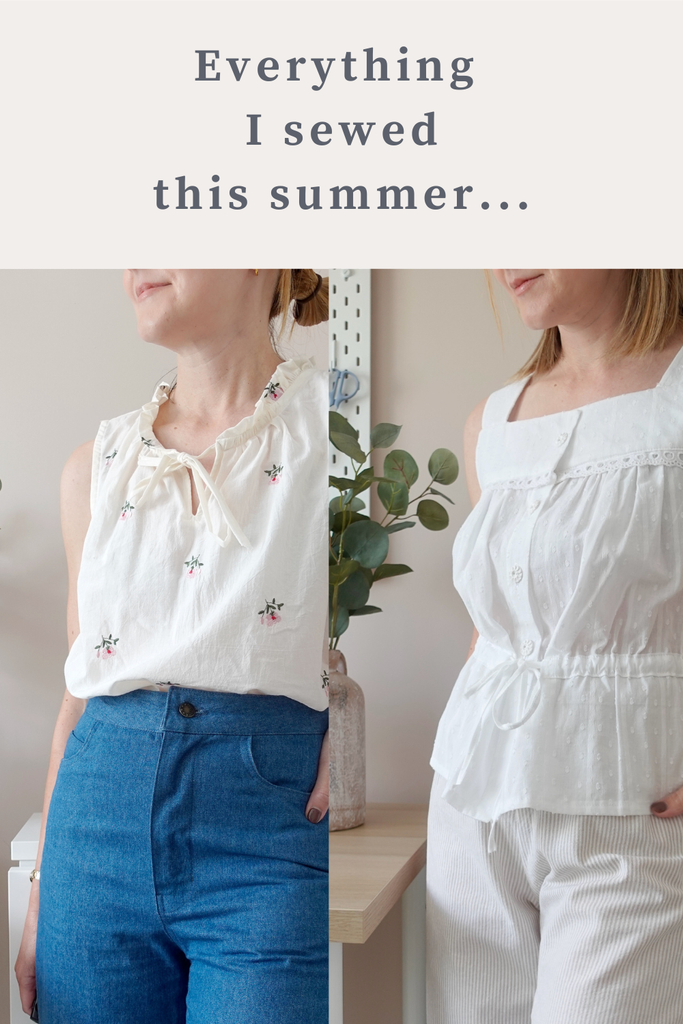
There’s something about spring that makes me want to sew everything. Lighter fabrics, brighter mornings, the urge to actually leave the house in something I made myself it’s my favourite time of year to build out a handmade wardrobe. Plus, there’s not so much effort involved in getting dressed – you don’t (or at least shouldn’t) need so many layers…
In my latest YouTube video, I share four brand new me-made pieces that I’ve been styling into real outfits. These are the kind of makes that earn their place in your wardrobe rotation and the best part? Most of them use patterns I already own.
The 4 Spring Sewing Makes
1. The ‘Sezane Style’ Stripe Sweater
This one started as a bit of an experiment. I’d seen a beautiful Breton style top on the Sezane website and it inspired me to sew up something similar. To do this, I used the Jarrah Sweater by Megan Nielsen, a pattern I’ve made many times before and absolutely love (it’s also perfect for beginners by the way). To get the look, I made a few changes to the original pattern design and used a stripe French terry. The stripe adds that seasonally on-trend feel and the fabric is just the right weight for those in-between spring days when you can’t quite commit to losing a layer.
I challenged myself to sew this top in just two hours and if you want a peek at the sewing process, I shared a YouTube Short while I was making it which you can watch here if you fancy.
A denim shirt is an absolute essential in my opinion and this one replaces an older make which has been worn to death. I find shirts the perfect layering piece for a handmade wardrobe, worn open over a dress, tucked into a skirt (more on that in a second), or thrown over an Agnes Top or cami. My shirts are probably amongst the most worn garments in my wardrobe and are probably my favourite thing to sew too!
I used the Archer Shirt by Grainline Studio in a chambray fabric that gives it that soft, worn-in feel without needing years of washing. I also filmed a full sew-along of the Archer on Patreon if you want the in-depth version.
Oh how I love a good pair of wide legged trousers. The Protea Pants by Paradise Patterns are a chic, modern trouser pattern and I made mine in a light denim that feels relaxed enough for everyday wear but looks polished enough to style up too. I wear wide legged trousers all the time but usually in elasticated waist form so this tailored version feels like a bit of a wardrobe upgrade! I also filmed a full Protea Pants sew-along over on Patreon if you fancy sewing along with me.
Every wardrobe needs a go-to jersey top, and the Agnes Top by Tilly and the Buttons is exactly that. My go-to pattern for a fitted jersey top! I added this pretty scalloped edging around the neckline and sleeves which I feel finishes it off so nicely, especially in this beautiful chocolate pointelle jersey fabric. This scalloped edge is surprisingly easy to create and if you fancy having a go at it yourself, I have a YouTube short sharing ‘how to’ here. I’m addicted and am going to be adding this to all of my jersey makes from now on I think.
One thing I talk about in the video is the power of going back to patterns you already own and making them feel fresh. A stripe fabric, a slight tweak or change, a new season’s styling, it’s amazing what you can do without spending a penny on a new pattern.
If you’re building a handmade spring wardrobe, I’d really encourage you to dig through what you’ve already got before hitting “buy.” Chances are you’ve got a pattern that could work perfectly with a seasonal fabric swap or a subtle design change.
Outfit Ideas From These 4 Makes
Here’s how I’ve been wearing these new makes together:
Stripe Jarrah sweater & handmade Dawn jeans – effortless casual, great for weekends
Denim shirt + handmade crochet lace Lana skirt – I’d wear this out for a drink!
Ready to wear rib knit top & Protea pants – super comfy but a little ‘French chic’ at the same time
Agnes top & handmade gathered skirt – floaty and cool for a warm spring day! I have a tutorial over on YouTube for how to sew this skirt and you can find it here.
Watch the Full Video
Want to see all four makes styled and hear more about the sewing process? Head over to YouTube to watch the full video, links to all the patterns and fabrics are in the video description.
Well, I still can’t really believe I’m able to say this but ‘I have a new sewing room/studio’!! Eek, I’m so excited about this, it really is something I’ve dreamed about for so long.
I wanted to make this room both pretty and practical. My aim was to create a calming and inspiring place which made it easy for me to sew and create.
In my latest YouTube video I’m sharing the complete tour of my new room, sharing furniture and storage ideas and also giving you a peek into my drawers, cupboards and current fabric stash.
If you’re looking for sewing room or sewing space organisation ideas and inspiration (or even if you just fancy a nose around), I really hope this video will be enjoyable!
Let me know what you think of my new space and if you would do anything differently, I’d love to know!
Happy sewing!
Sally xx
Ps. You can also save this to your sewing room inspiration board on Pinterest to return to at a later date 😊
If you’ve sewn plenty of clothes but still feel like you have nothing to wear, this post is for you. Welcome to episode three of my Intentional Sewing series!
In the first two posts, we explored why handmade clothes often go unworn and how to choose sewing projects you’ll actually wear. Today, we’re diving into how to plan a handmade wardrobe—so your creations actually work together and get worn. This is about what to do before you buy fabric, choose a pattern, or start sewing.
As always, I’m right here on this journey with you. I’ve moved from sewing anything and everything to slowly building a more curated handmade wardrobe that suits my life—and I’m sharing what’s worked for me in case it helps you too.
You can watch the third YouTube video in this mini series here 👇🏻
1. Think of Your Wardrobe as a System
One of the biggest mindset shifts for me has been thinking of my wardrobe as a system, not just a collection of individual garments. Wardrobes work best when pieces support each other, rather than standing alone.
Think about how your items mix and match, layer, and coordinate. When everything plays well together, getting dressed becomes easier and more joyful.
2. Define Your Core Garments
Your core garments are the pieces you reach for most often—the ones you wear multiple times a week without thinking.
For me, my core looks like:
Wide-legged trousers and jeans
Lots of layering tops (I’m always cold!)
Knitwear pieces
Joggers for home and dog walks (yes, it’s slightly embarrassing!)
I used to feel guilty making the same thing over and over. But I’ve come to realise that repetition is what makes a wardrobe work. You can then complement these core garments with supporting pieces like jackets, shirts and knitwear.
Some of my favourite repeating pieces:
Agnes Top – clingy, flattering neckline, perfect for layering
Logan Shacket – oversized, cozy, and layers beautifully
Action point: If you only made 10 garments this year, what would they actually be?
Pointelle Agnes TopPlaid Logan Shacket
3. Choose a Limited Colour Palette
A limited palette has transformed my wardrobe over the past few years. I wear a lot of neutrals, accented with earthy tones that work together well. Having my colour analysis done has also helped me make confident choices in what suits me best and I would highly recommend it (and that’s coming from someone who was initially highly sceptical!).
Benefits of a limited palette:
Easier outfit building
Fewer orphan garments
A simple way to start:
1–2 neutrals
2–3 main colours
1 optional accent
This isn’t permanent—you can add more colours as you discover what works for you. The surprise? It doesn’t feel boring; it feels calm. And it makes saying “no” to fabrics that won’t coordinate so much easier.
4. Plan Before You Buy Fabric
This step alone prevents countless unworn garments. More and more these days, I ‘try’ to have a plan for each fabric purchase: I try to make sure that know the pattern and purpose before I shop.
Ask yourself a few simple questions:
What will this replace (if anything)?
What will this support?
This isn’t about guilt—my fabric stash is still growing—but I try more so to think of fabric as a future garment, not just a project.
5. Leave Space for Evolution
Planning your wardrobe doesn’t mean stripping the joy out of sewing. It’s a mindset that keeps you intentional, especially if you’re feeling overwhelmed.
Remember: wardrobes evolve with your:
Lifestyle
Body
Confidence
Seasonal check-ins are a great way to see what’s working, and remove pieces that no longer serve you—without guilt.
Need a Little Extra Help?
If you want help planning your own handmade wardrobe, I have a wardrobe planner and extra resources on this topic over on Patreon. These tools make it simple to take what you’ve learned here and start building a wardrobe that works for your life, your style, and your sewing goals.
Wrapping Up the Series
If you’ve been following along with all three parts of the Intentional Sewing series, I hope you now have the tools to help you to sew a wardrobe you love.
Here’s a recap of all the episodes in case you missed any. You can catch them all in this YouTube playlist too:
Here’s aquestion for you: What’s one garment your wardrobe really needs right now? Let me know in the comments…
I’d love to know what you thought of this ‘Intentional Sewing’ mini-series. Let me know if you’d like to see more of this style.
Thanks so much for reading! Happy sewing…
Sally xxx
Want to save this for later? Pin this guide to your sewing or handmade wardrobe board on Pinterest so you can come back to it when planning your next project.