Sewing Hints & Tips

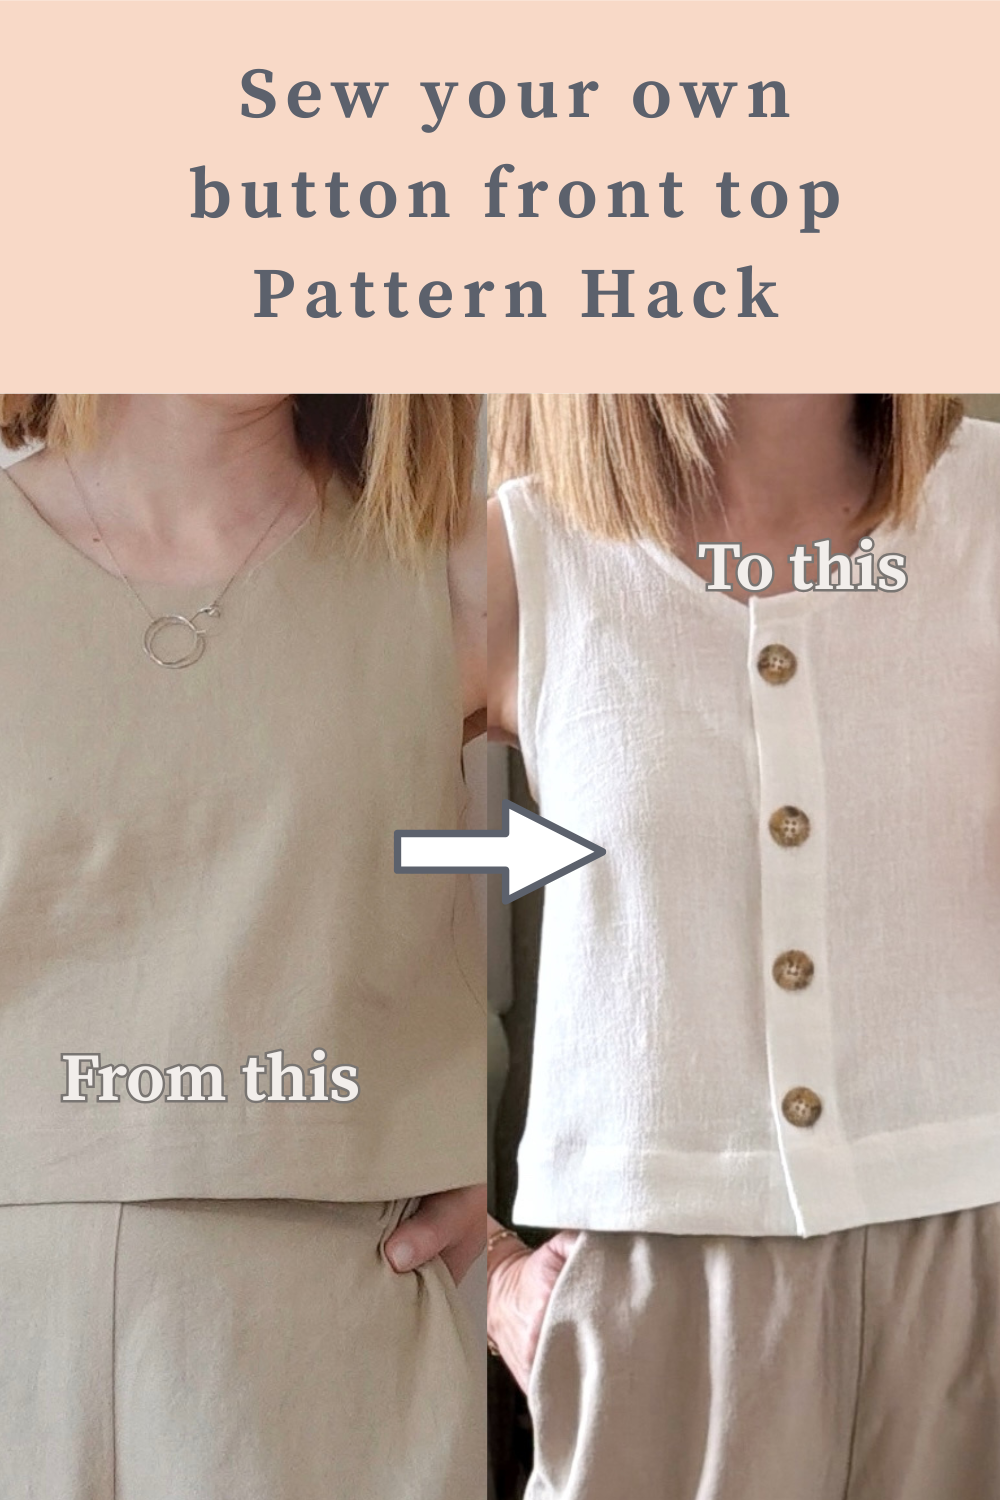
  • Create Your Own Summer Button-Front Top – Ashton Top Pattern Hack

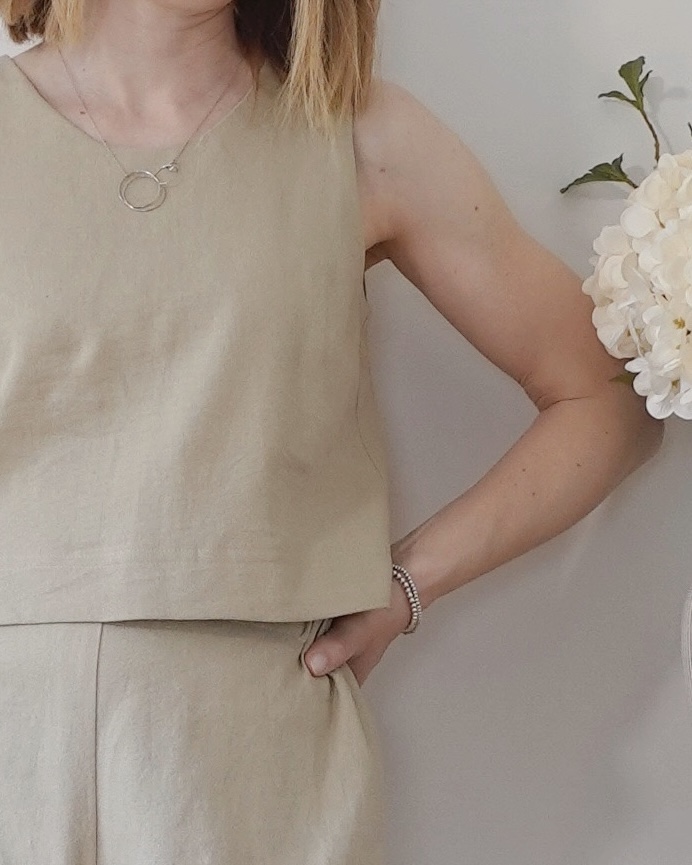
    If you’ve been following along for a while, you’ll know that the Ashton Top by Helen’s Closet is one of my absolute favourite sewing patterns. I featured it in my Top 10 Summer Sewing Patterns post just a few weeks ago — and for good reason. It’s a beautiful, versatile pattern that I come back to again and again.

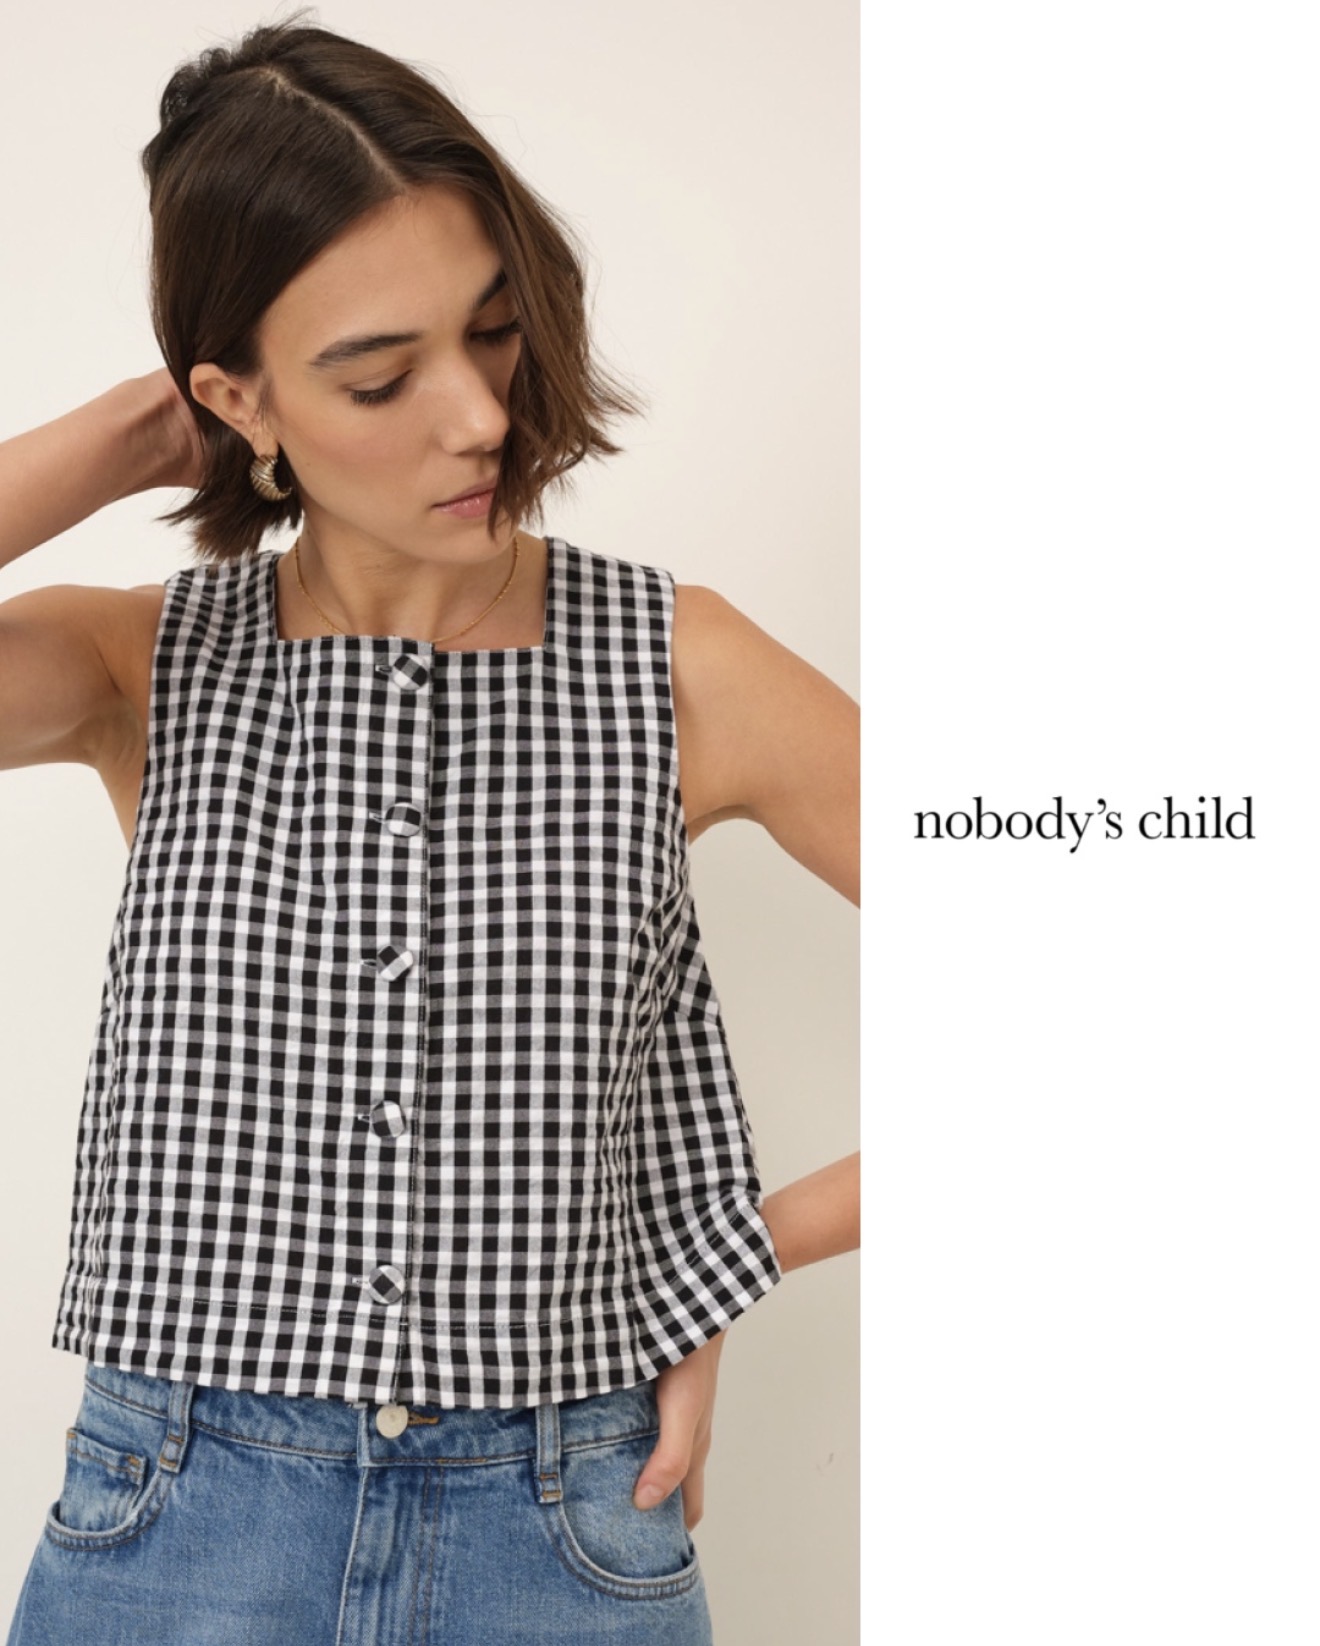
    But this time, I decided to switch things up a little. I’d been spotting so many gorgeous button-front tops on the high street lately — the kind that are cool and effortless — and it got me thinking about whether I could create something similar with a pattern I already own rather than buying something new.

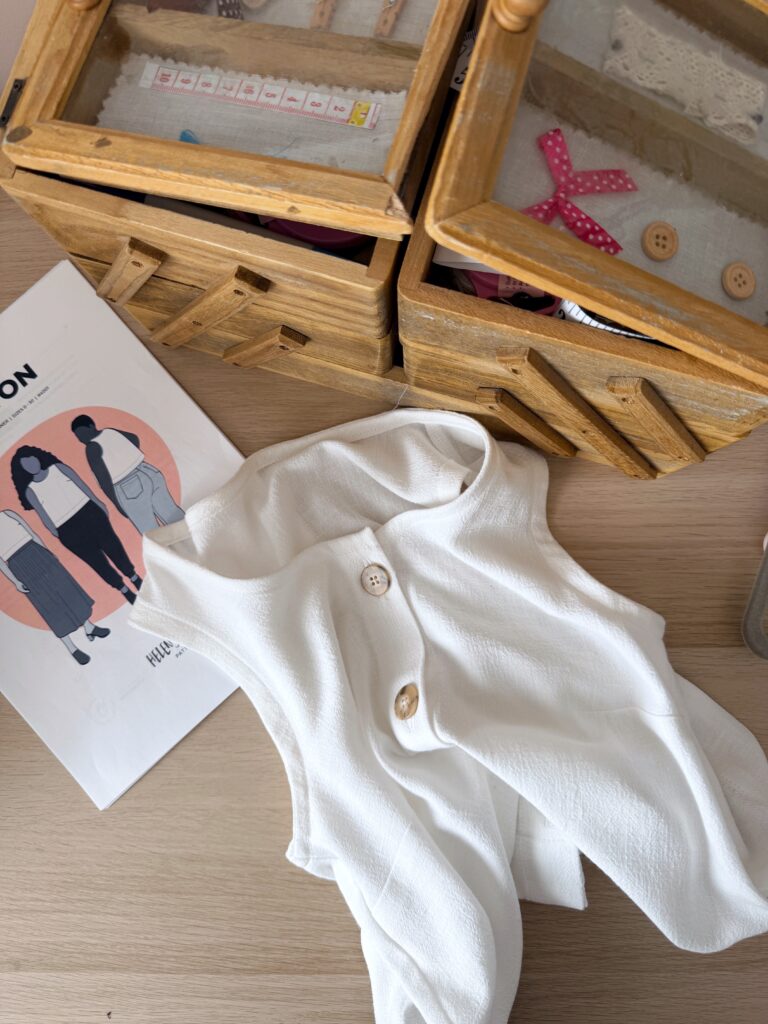
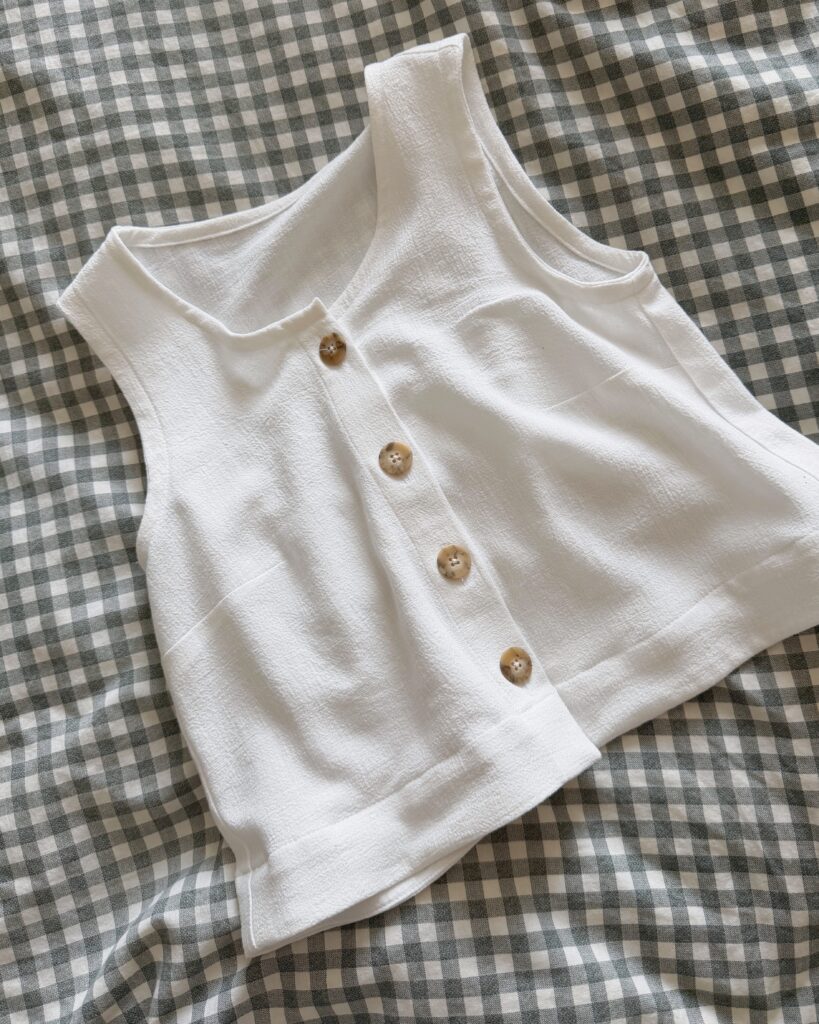
    So that’s exactly what I did! In my latest YouTube video, I’m sharing a full pattern hack of the Ashton Top, transforming it into a High Street inspired summer top with a button-down front and a lowered neckline — all sewn up in the most beautiful white slub linen.
    What Is a Pattern Hack, and Should You Try One?

    If you’re new to pattern hacking, the idea is simply this: you take a pattern you already have and modify it to create something different. It sounds a bit scary, but it’s actually one of the most satisfying things you can do as a sewist. You already know the pattern fits, which means you can focus purely on the fun creative part!

    The Hack: What I Changed

    Starting from the standard Ashton Top, here’s what I did to create this new version:

    1. Lowered the neckline

    The original Ashton Top has a beautiful, clean faced or bound neckband. For this hack, I lowered the neckline slightly to create a more relaxed, summer-appropriate finish. In the video I show you exactly how to do this without losing the shape and structure of the original pattern.

    2. Drafted a button band

    This is the feature that really transforms the top into something that feels very different. I drafted a button band from scratch — and I promise it’s much more manageable than it sounds and I’ll take you through the whole process step by step.

    3. Bias bound the neckline and armholes

    Once the neckline was lowered, I finished it with bias binding rather than a facing. This gives a beautifully neat, minimal finish that works so well with the linen fabric. I also bias bound the armholes to match.

    4. Sewed a hem facing

    I love the faced hem of the original Ashton and I wanted to keep this for my new button up version and so I modified the original facing pattern piece to adapt to the new button band. A hem facing gives a really clean, professional result that sits beautifully and keeps the hem flat and the shape nice and boxy.
    The Fabric

    I used a gorgeous slub linen for this make — and it was perfect for this design. Linen is one of my favourite summer fabrics because it breathes so well, and the slub texture of this one adds a lovely natural character to it. It also presses beautifully, which is really helpful when you’re working with techniques like bias binding and button bands.

    I’ve linked a similar slub linen in the video description if you want to track something down!

    Watch the Full Video

    All of the steps above are explained in much more detail over on YouTube — this really is a project where seeing it done makes all the difference! Whether you want to follow along in real time or just get a feel for whether this hack is for you, head over to watch:

    And if you love a good pattern hack, you might also enjoy my other pattern hack videos — I have a whole playlist of them over on YouTube called ‘Sew the Look‘ which you can find linked in the video description!

    Have you ever hacked a pattern before? I’d love to know which one — drop it in the comments below! And if you give this hack a go, please do share a photo with me over on Instagram — I absolutely love seeing your makes!

    Happy sewing!

    Sally xx
  • The One Thing That Helps Me Sew Great-Fitting Clothes

    And why most beginners overlook it (I did too)…

    If you’ve ever finished a sewing project only to feel as though it looks nothing like it does on the pattern model, you’re not alone! It was one of the most frustrating things I found as a sewing beginner – until something clicked! Now, I use one simple process that (for the most part) leads to clothes that fit well, feel great, and look how I want them to look.

    And the best part?
    I’m not a fitting expert and this method doesn’t require fancy tools, expensive courses, or advanced sewing skills.

    The One Thing: I Always Check the Finished Garment Measurements

    Yes — that’s it.

    It sounds basic, but it has absolutely transformed my sewing.

    As a beginner, I only looked at the body measurement chart, and chose the size that most closely matched my bust/waist/hip and cut the pattern. I then pretty much hoped for the best!!

    But the finished garment measurements tell you the real story.

    They reveal:

    • How the garment will actually fit once sewn
    • How much ease (extra room for movement and style) the designer added
    • Whether the final piece will be fitted, relaxed, oversized, or boxy
    • Whether you should size up, size down, or blend sizes. And if you’re in between sizes this can sometimes save you some work!
    • And, most importantly, whether the garment will feel like YOU when you wear it.
    • Bonus point: They also give you an insight as to whether you can play around with sizing for a completely different look and feel when you get really confident 👀

    Why Finished Garment Measurements Matter So Much

    Think of finished measurements as a little sneak peek of what your future garment will look like.

    Let’s say your bust is 96 cm. The pattern’s size chart tells you Size 12 is drafted for 96 cm — so naturally, you might choose that.

    But when you check the finished bust measurement, you notice the garment measures:

    • 104 cm (relaxed fit)
    • or 120 cm (oversized)
    • or 96 cm (zero ease!)

    Each one creates a totally different garment.
    Same size, same body… but completely different look and feel.

    Once you start comparing your own preferred fit and how YOU like to wear your clothes with the finished garment measurements, your sewing becomes more intentional — and the fit improves dramatically.

    It Also Helps You Predict the Style (Before You Sew It!)

    This is where things get exciting – and where there is the most room to play around with look and feel!

    Checking finished measurements tells you whether the pattern will give:

    • a fitted silhouette
    • a slim fit
    • a boxy shape
    • a swishy, floaty outline
    • or a dramatic oversized look

    YOU get to decide whether that style is something you’ll actually wear and love or whether you want to change it to be more YOU.

    This is how you avoid those “it looks great on the model, but terrible on me” moments.

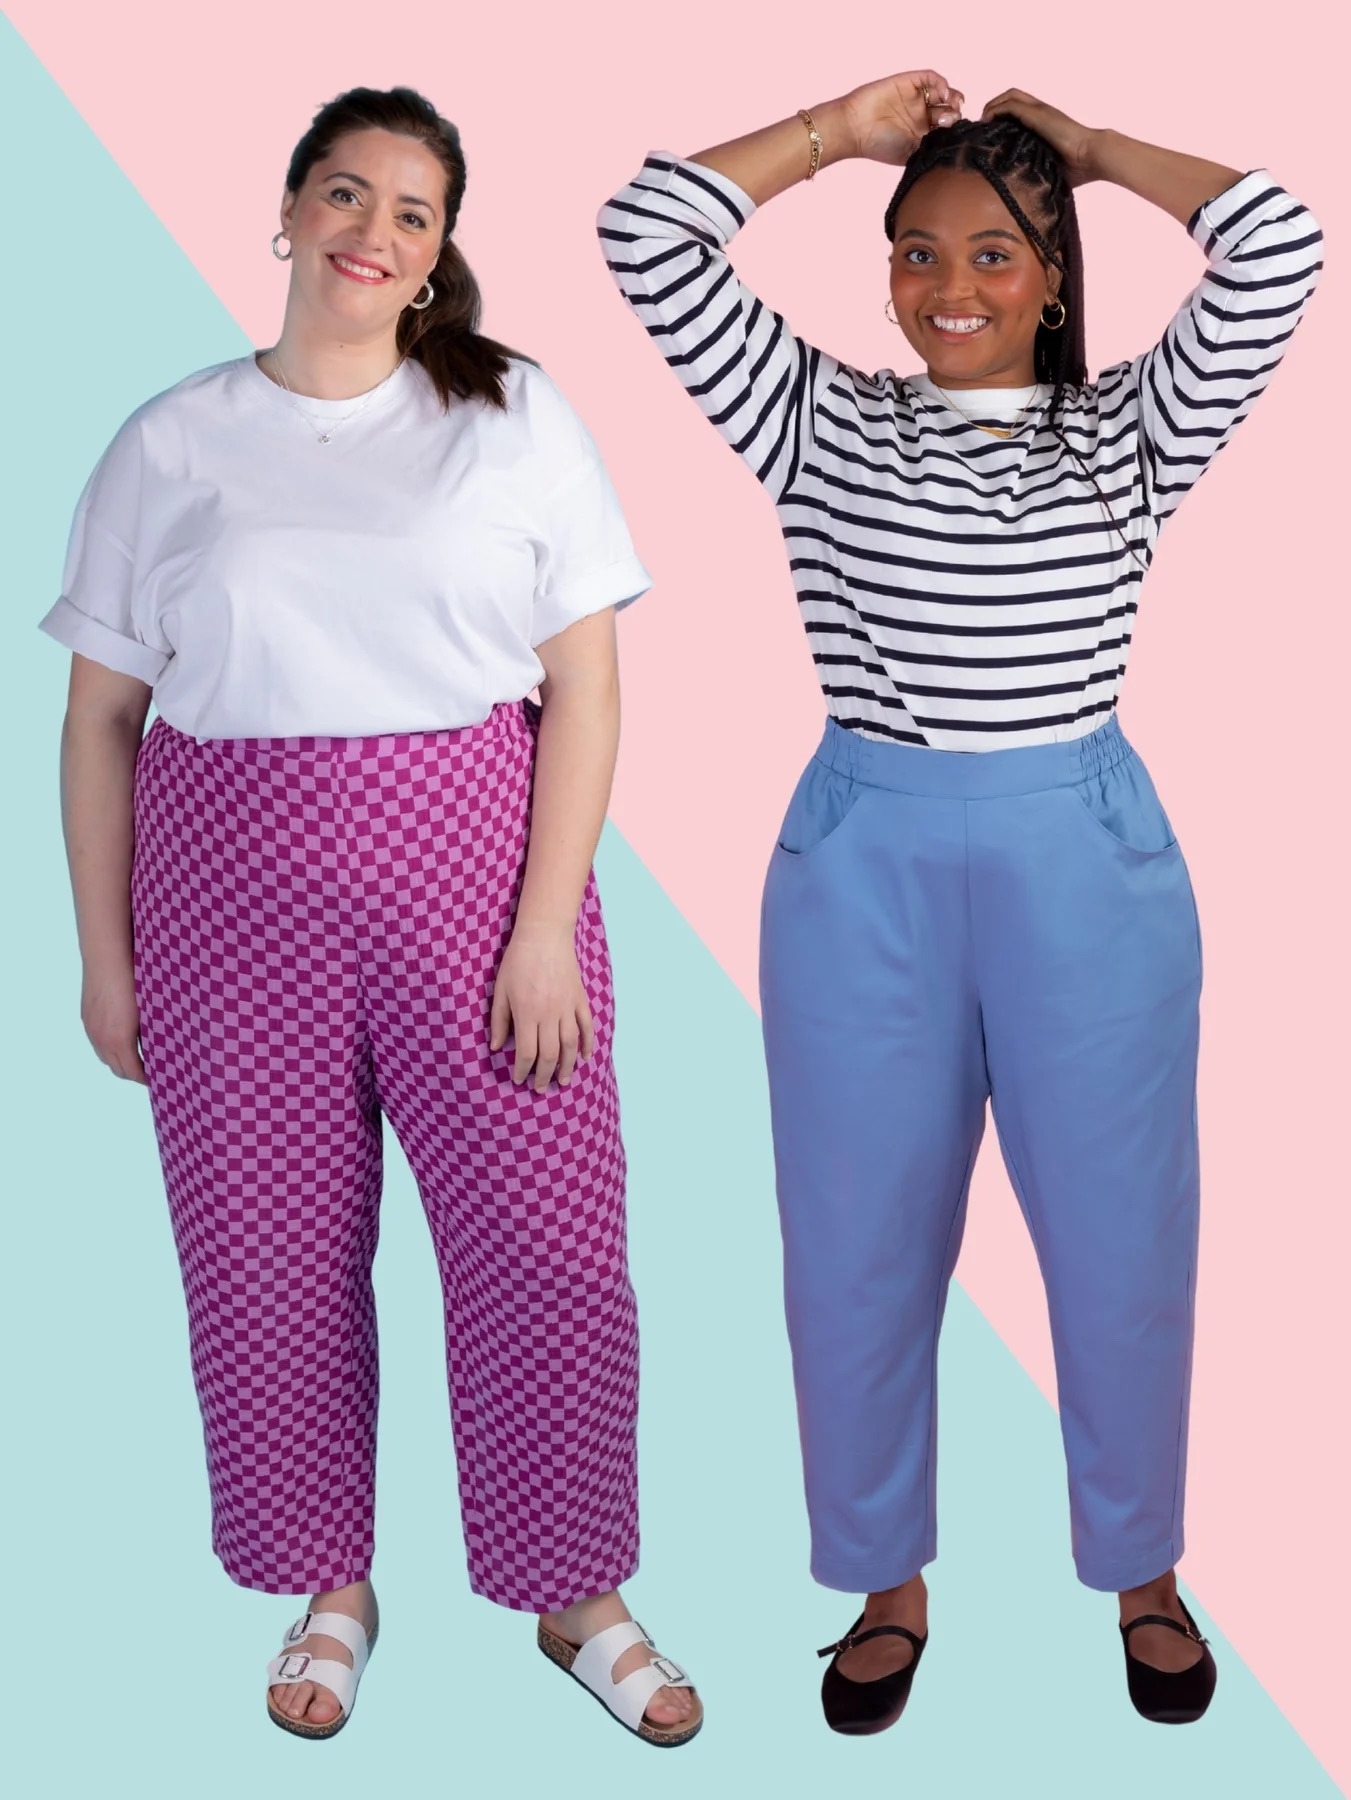
    Remember, pattern designers don’t tell you which size the model is wearing on the pattern image or what amendments to fit they may or may not have made to get the finished look. For the most part, it’s down to you to make those tweaks and changes yourself in order to get a fit you’re happy with.

    If I chose sizes based on the body measurement chart alone, half the clothes I make wouldn’t fit me well and I wouldn’t feel comfortable wearing them because the designer’s idea of “relaxed” or “fitted” often isn’t my idea — and it might not be yours either.

    Learning this changed everything about how I sew, and it’s genuinely been the difference between sewing a wardrobe of clothes I’m ‘meh’ about and a wardrobe of clothes I love to wear.

    Want to Learn Exactly How I Choose My Size?

    In this blog post, I’m sharing with you one of the most important mindset shifts I’ve had in my sewing — the thing that truly changed my thought process when it came to achieving better fit.

    I’d love to share with you the step-by-step method I personally use every time I come to sew something new, including:

    • how I take accurate measurements
    • how I evaluate ease
    • how I decide between two sizes
    • how I use finished garment measurements and line drawings to create a garment that suits my personal style
    • and the printable cheat sheet I use myself…

    …if you’d like that full breakdown you can access it all over on my Patreon community.

    Patreon members get:
    ✔ The full “Exactly how I choose my size” video
    ✔ A printable two-page cheat sheet checklist
    ✔ Bonus sewing resources and an extra monthly video

    ✔ Ad free early access to my weekly YouTube videos
    ✔ Access to a private sewing community (ask questions and get answers to all of your sewing queries)

    If you’d like to feel more confident choosing pattern sizes — and finally sew pieces that fit beautifully — you can join us here!


    Final Thoughts

    If you remember just one thing from this post, I hope it will be this:

    Finished garment measurements are your best friend.
    They help you predict the fit, shape, comfort, and style of a garment before you cut a single piece of fabric.

    Start checking them with every project, and your sewing will change — I promise.

    I hope this has been helpful! I’d love to hear your experience with fitting your handmade garments in the comments below 👇

    Happy sewing!!

    Sally xx