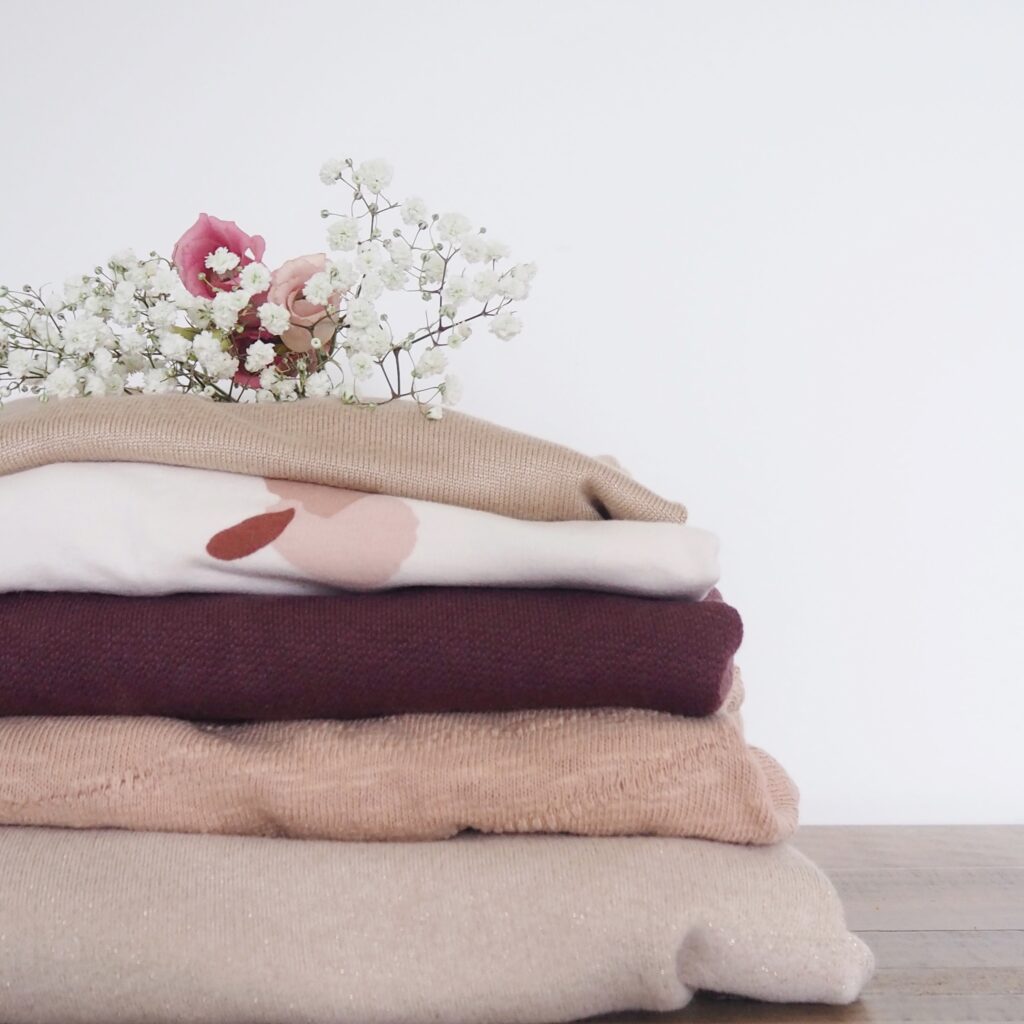
There’s something about spring that makes me want to sew everything. Lighter fabrics, brighter mornings, the urge to actually leave the house in something I made myself it’s my favourite time of year to build out a handmade wardrobe. Plus, there’s not so much effort involved in getting dressed – you don’t (or at least shouldn’t) need so many layers…
In my latest YouTube video, I share four brand new me-made pieces that I’ve been styling into real outfits. These are the kind of makes that earn their place in your wardrobe rotation and the best part? Most of them use patterns I already own.
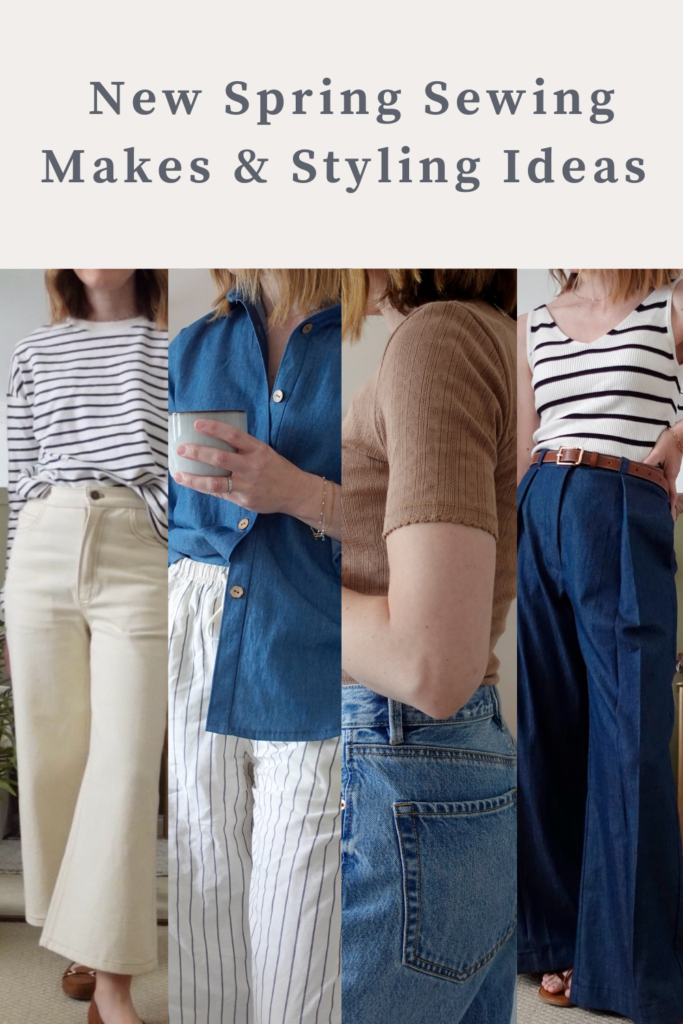
The 4 Spring Sewing Makes
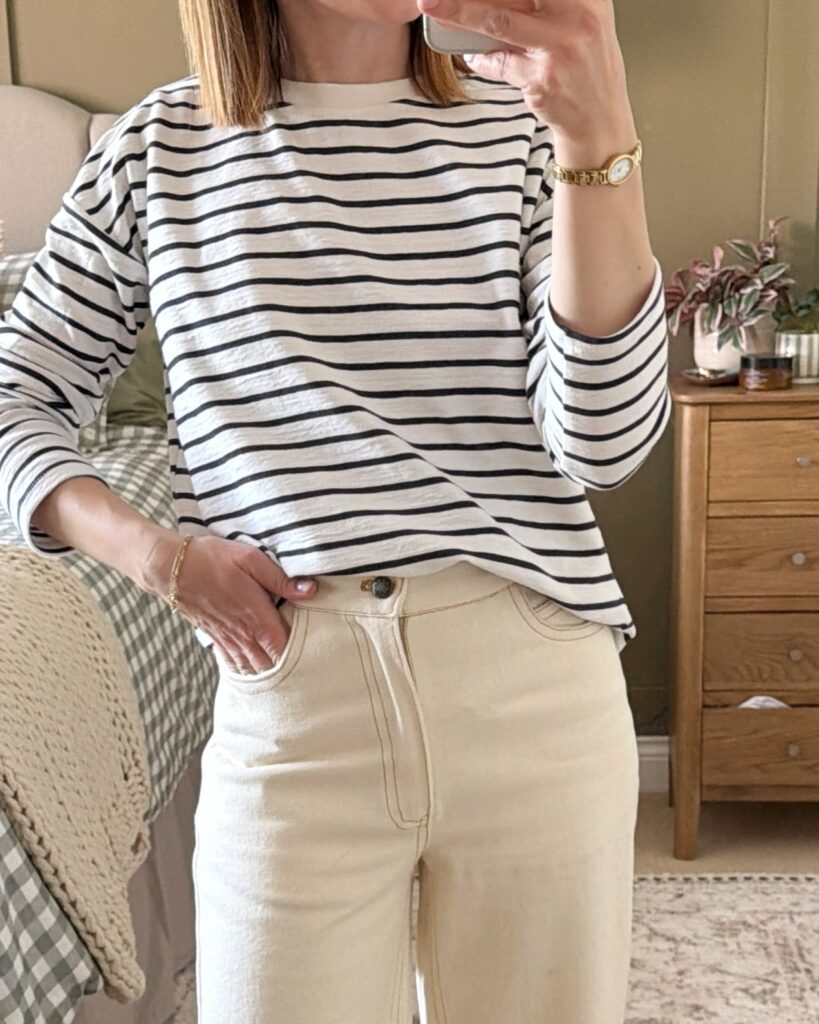
1. The ‘Sezane Style’ Stripe Sweater
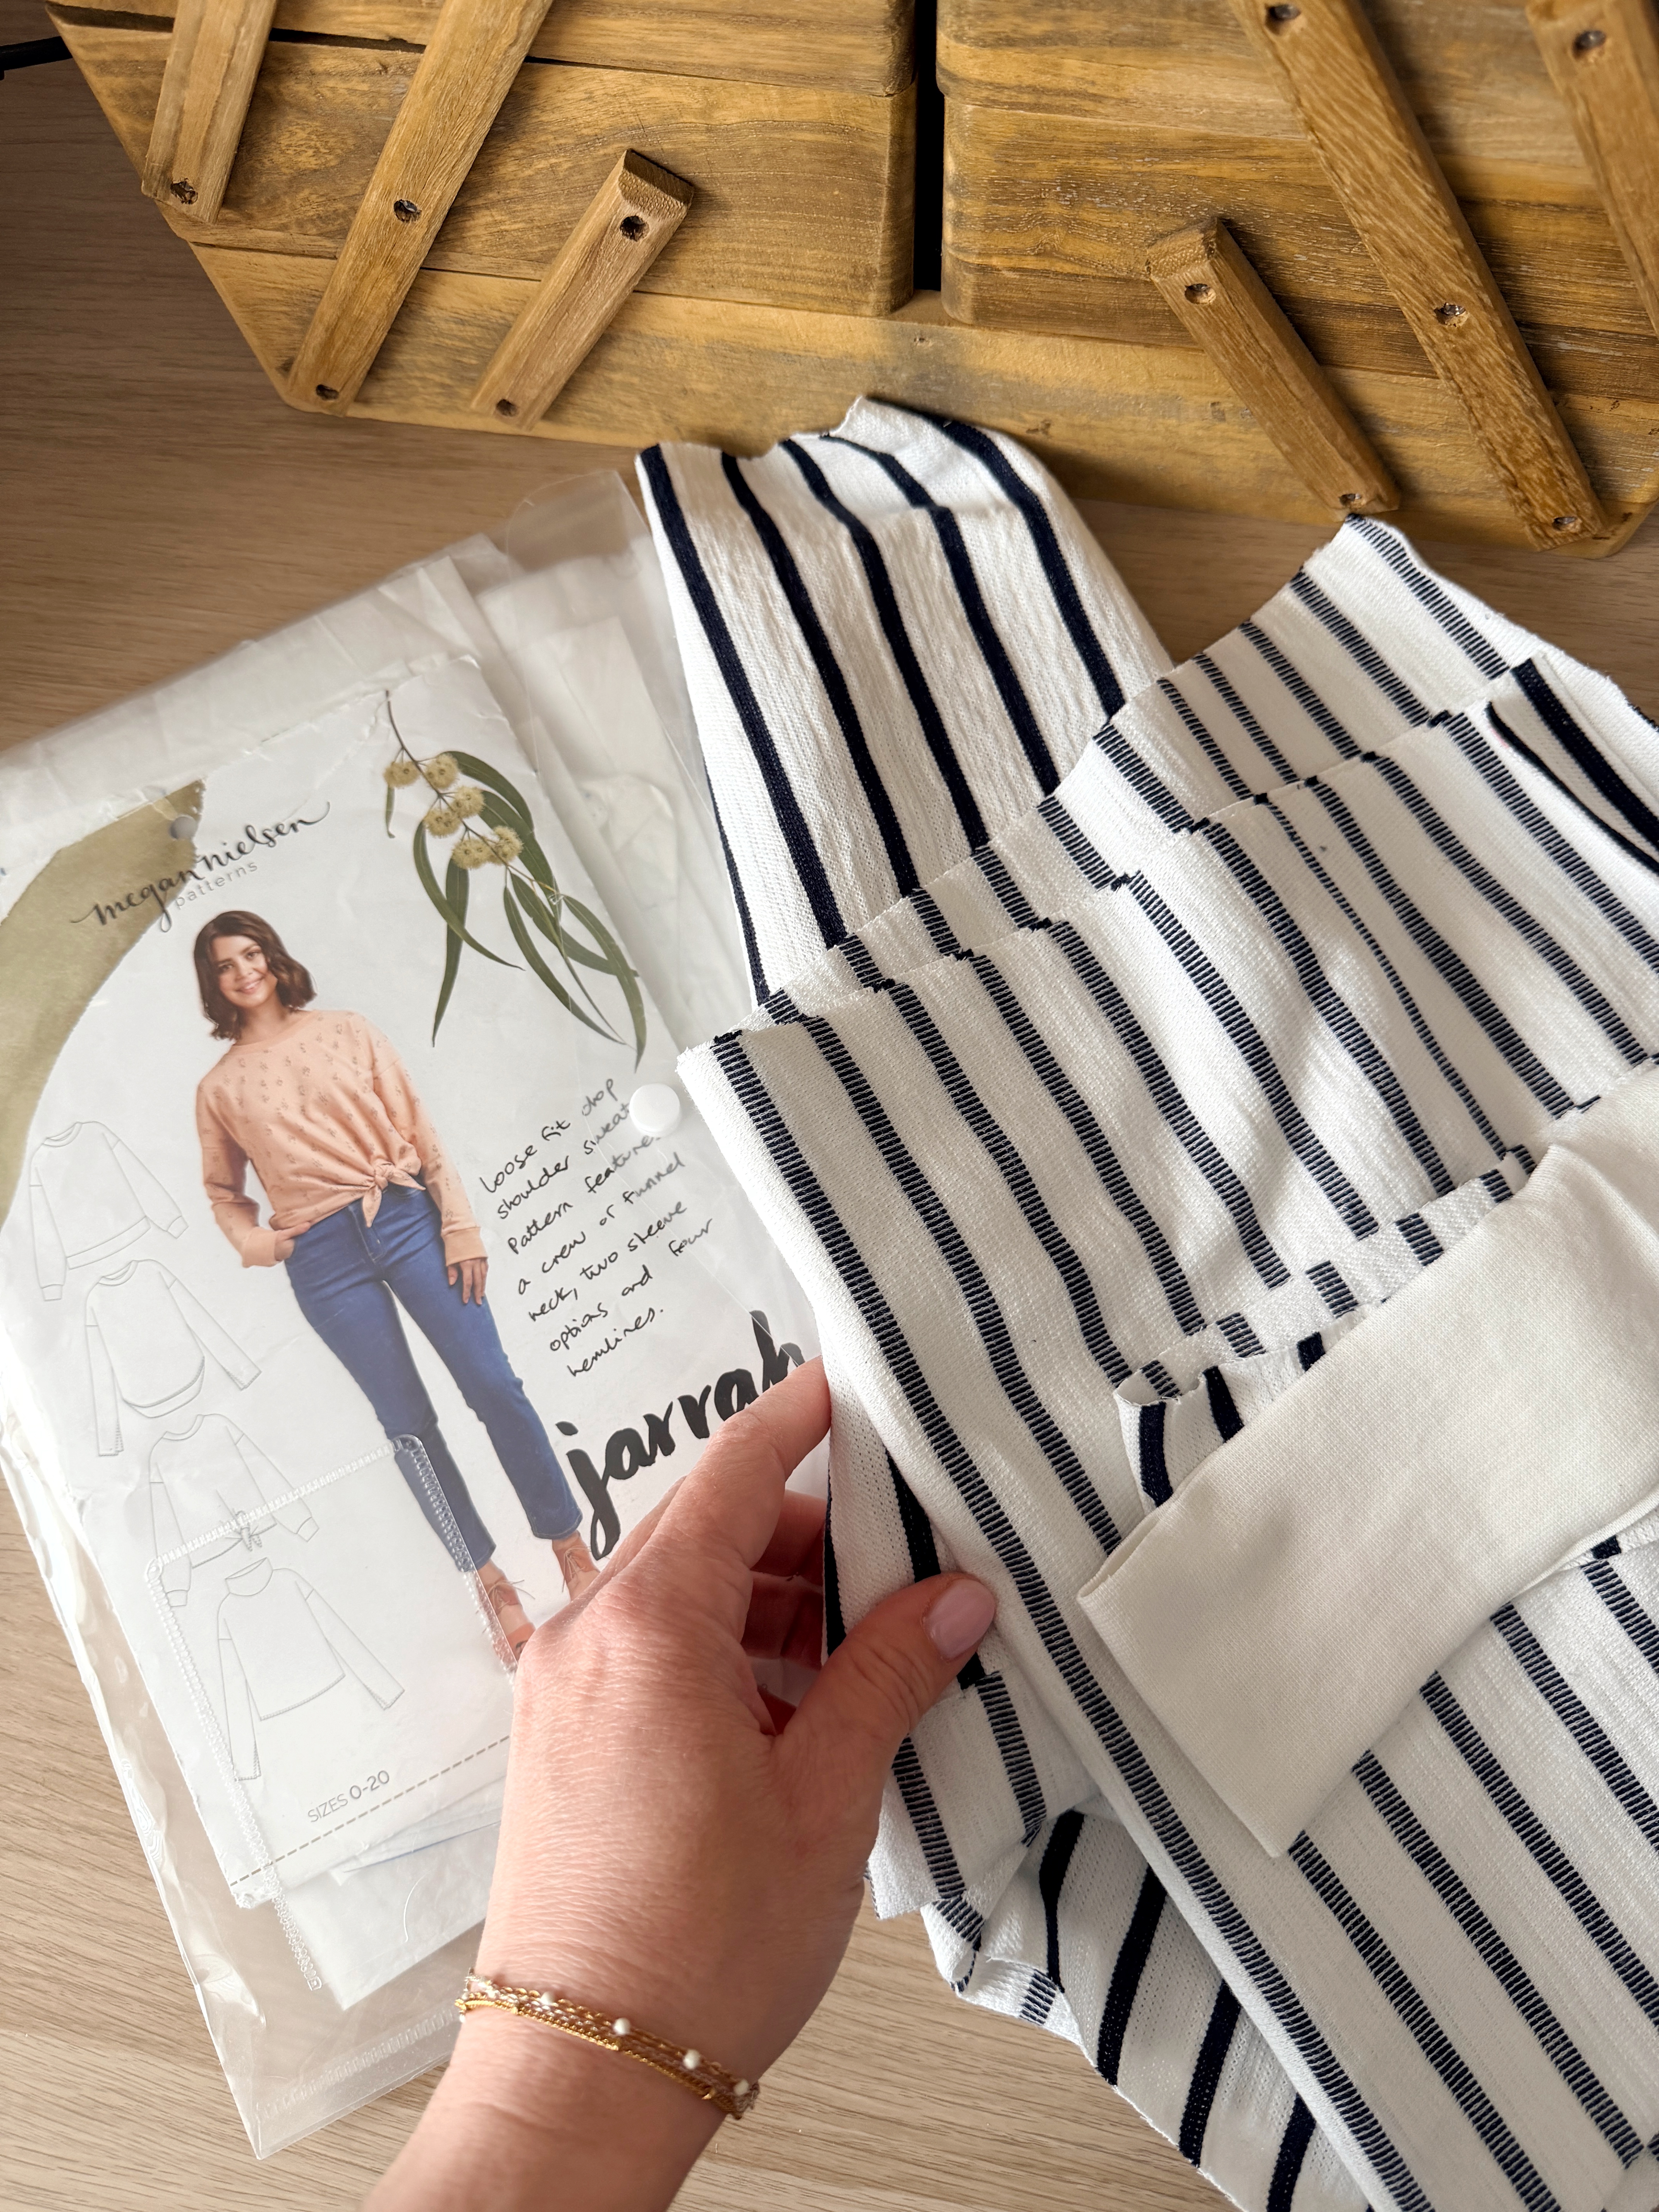
This one started as a bit of an experiment. I’d seen a beautiful Breton style top on the Sezane website and it inspired me to sew up something similar. To do this, I used the Jarrah Sweater by Megan Nielsen, a pattern I’ve made many times before and absolutely love (it’s also perfect for beginners by the way). To get the look, I made a few changes to the original pattern design and used a stripe French terry. The stripe adds that seasonally on-trend feel and the fabric is just the right weight for those in-between spring days when you can’t quite commit to losing a layer.
I challenged myself to sew this top in just two hours and if you want a peek at the sewing process, I shared a YouTube Short while I was making it which you can watch here if you fancy.
Pattern: Jarrah Sweater Megan Nielsen
Fabric: Stripe French Terry Selfmade
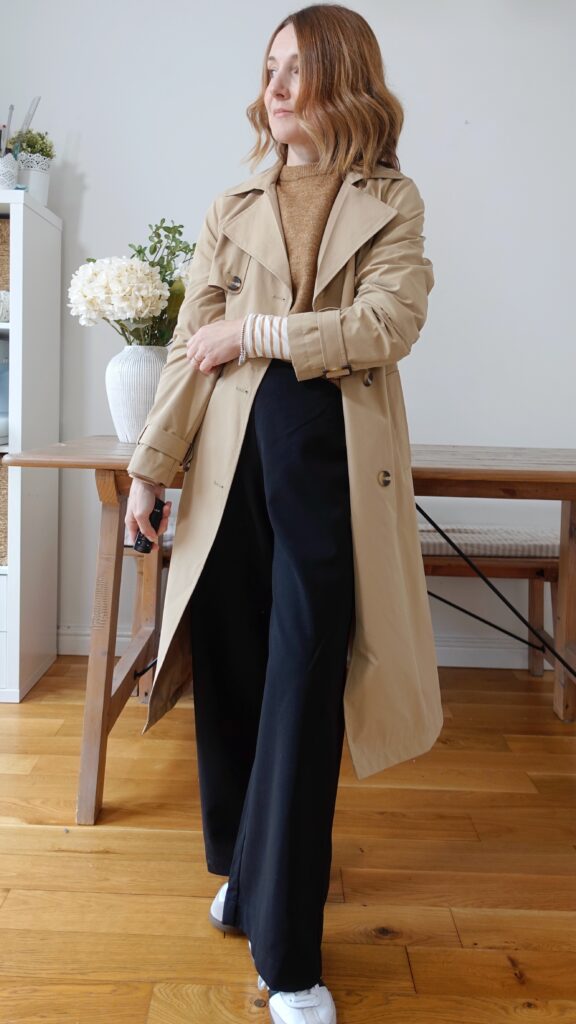
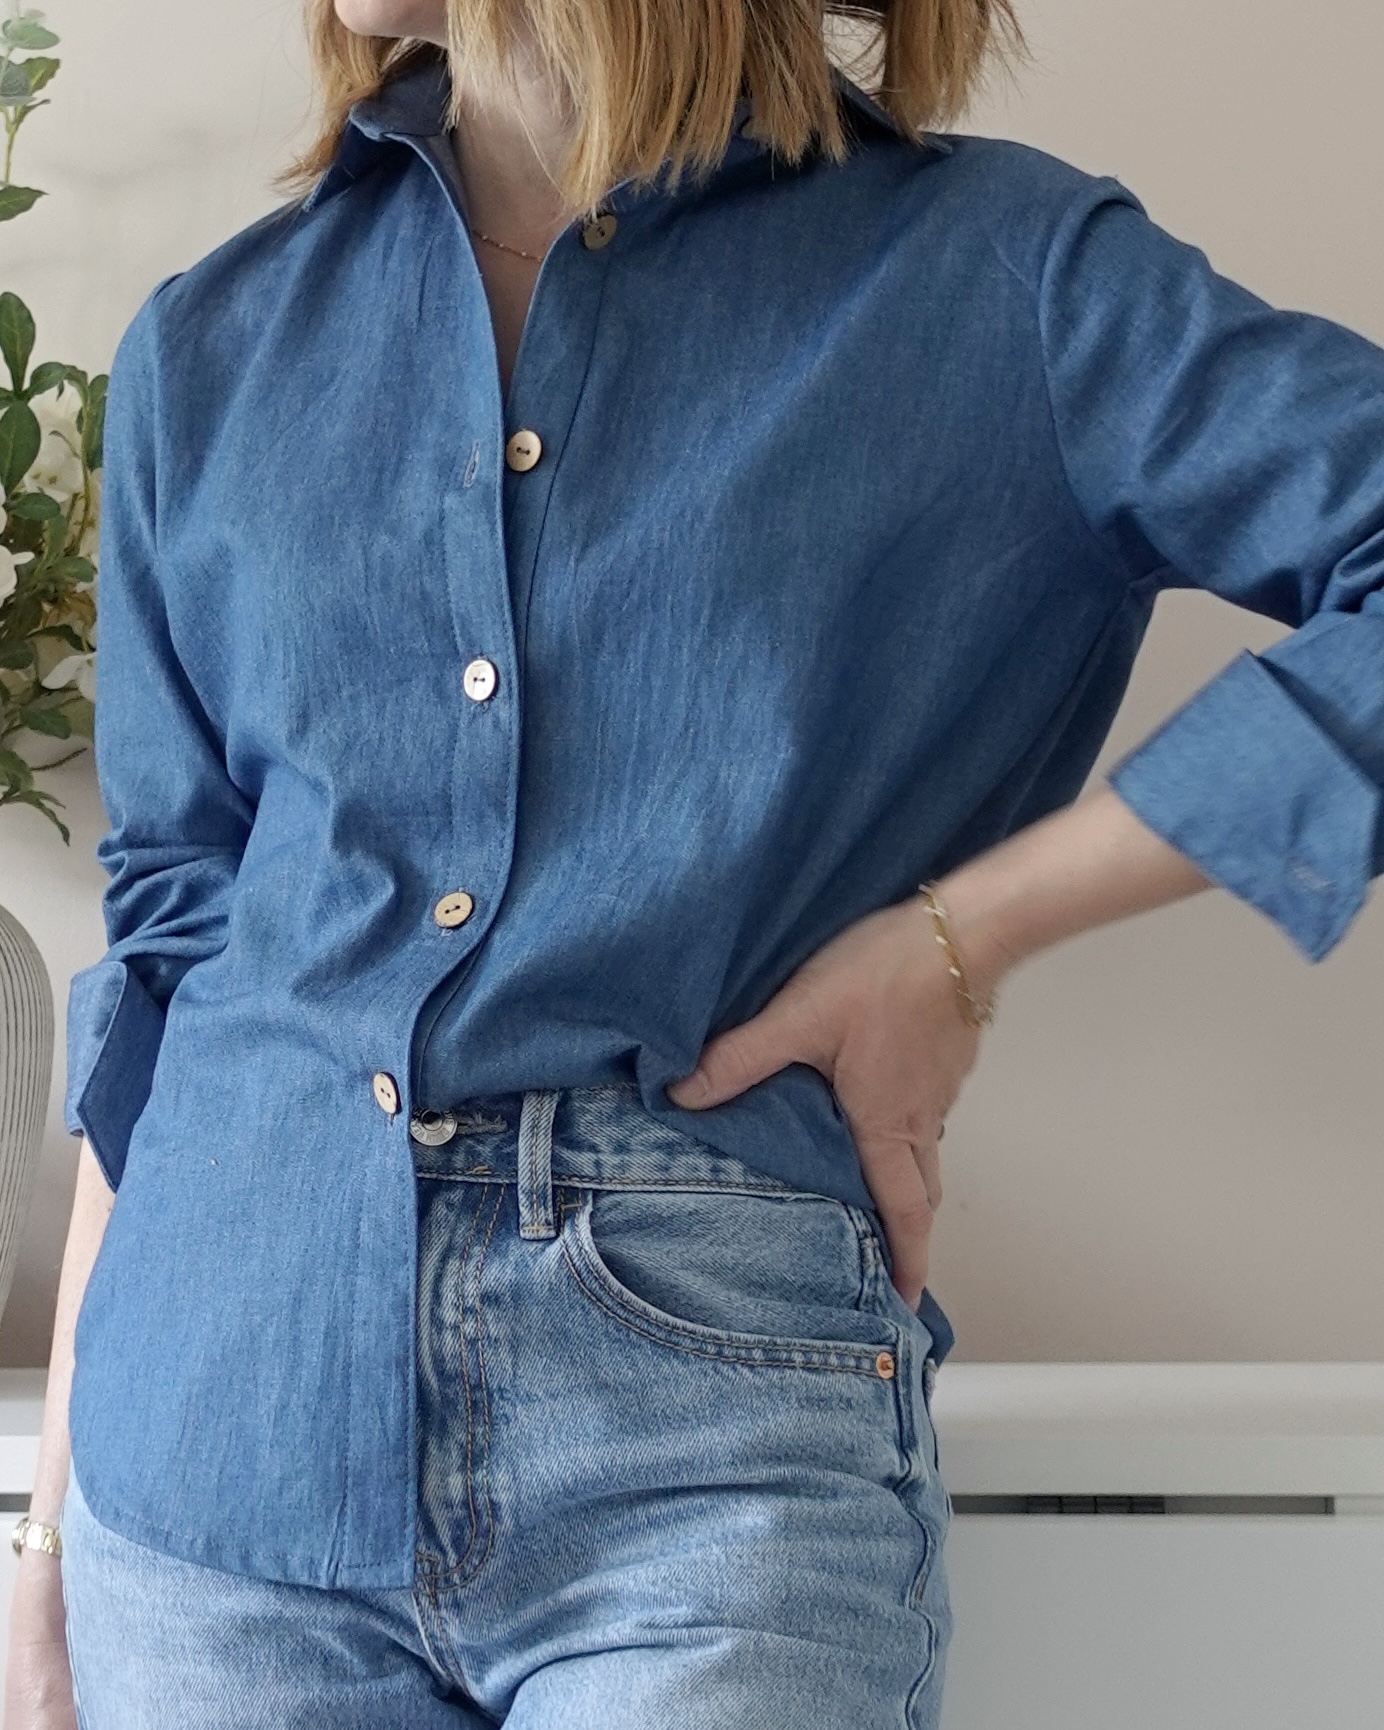
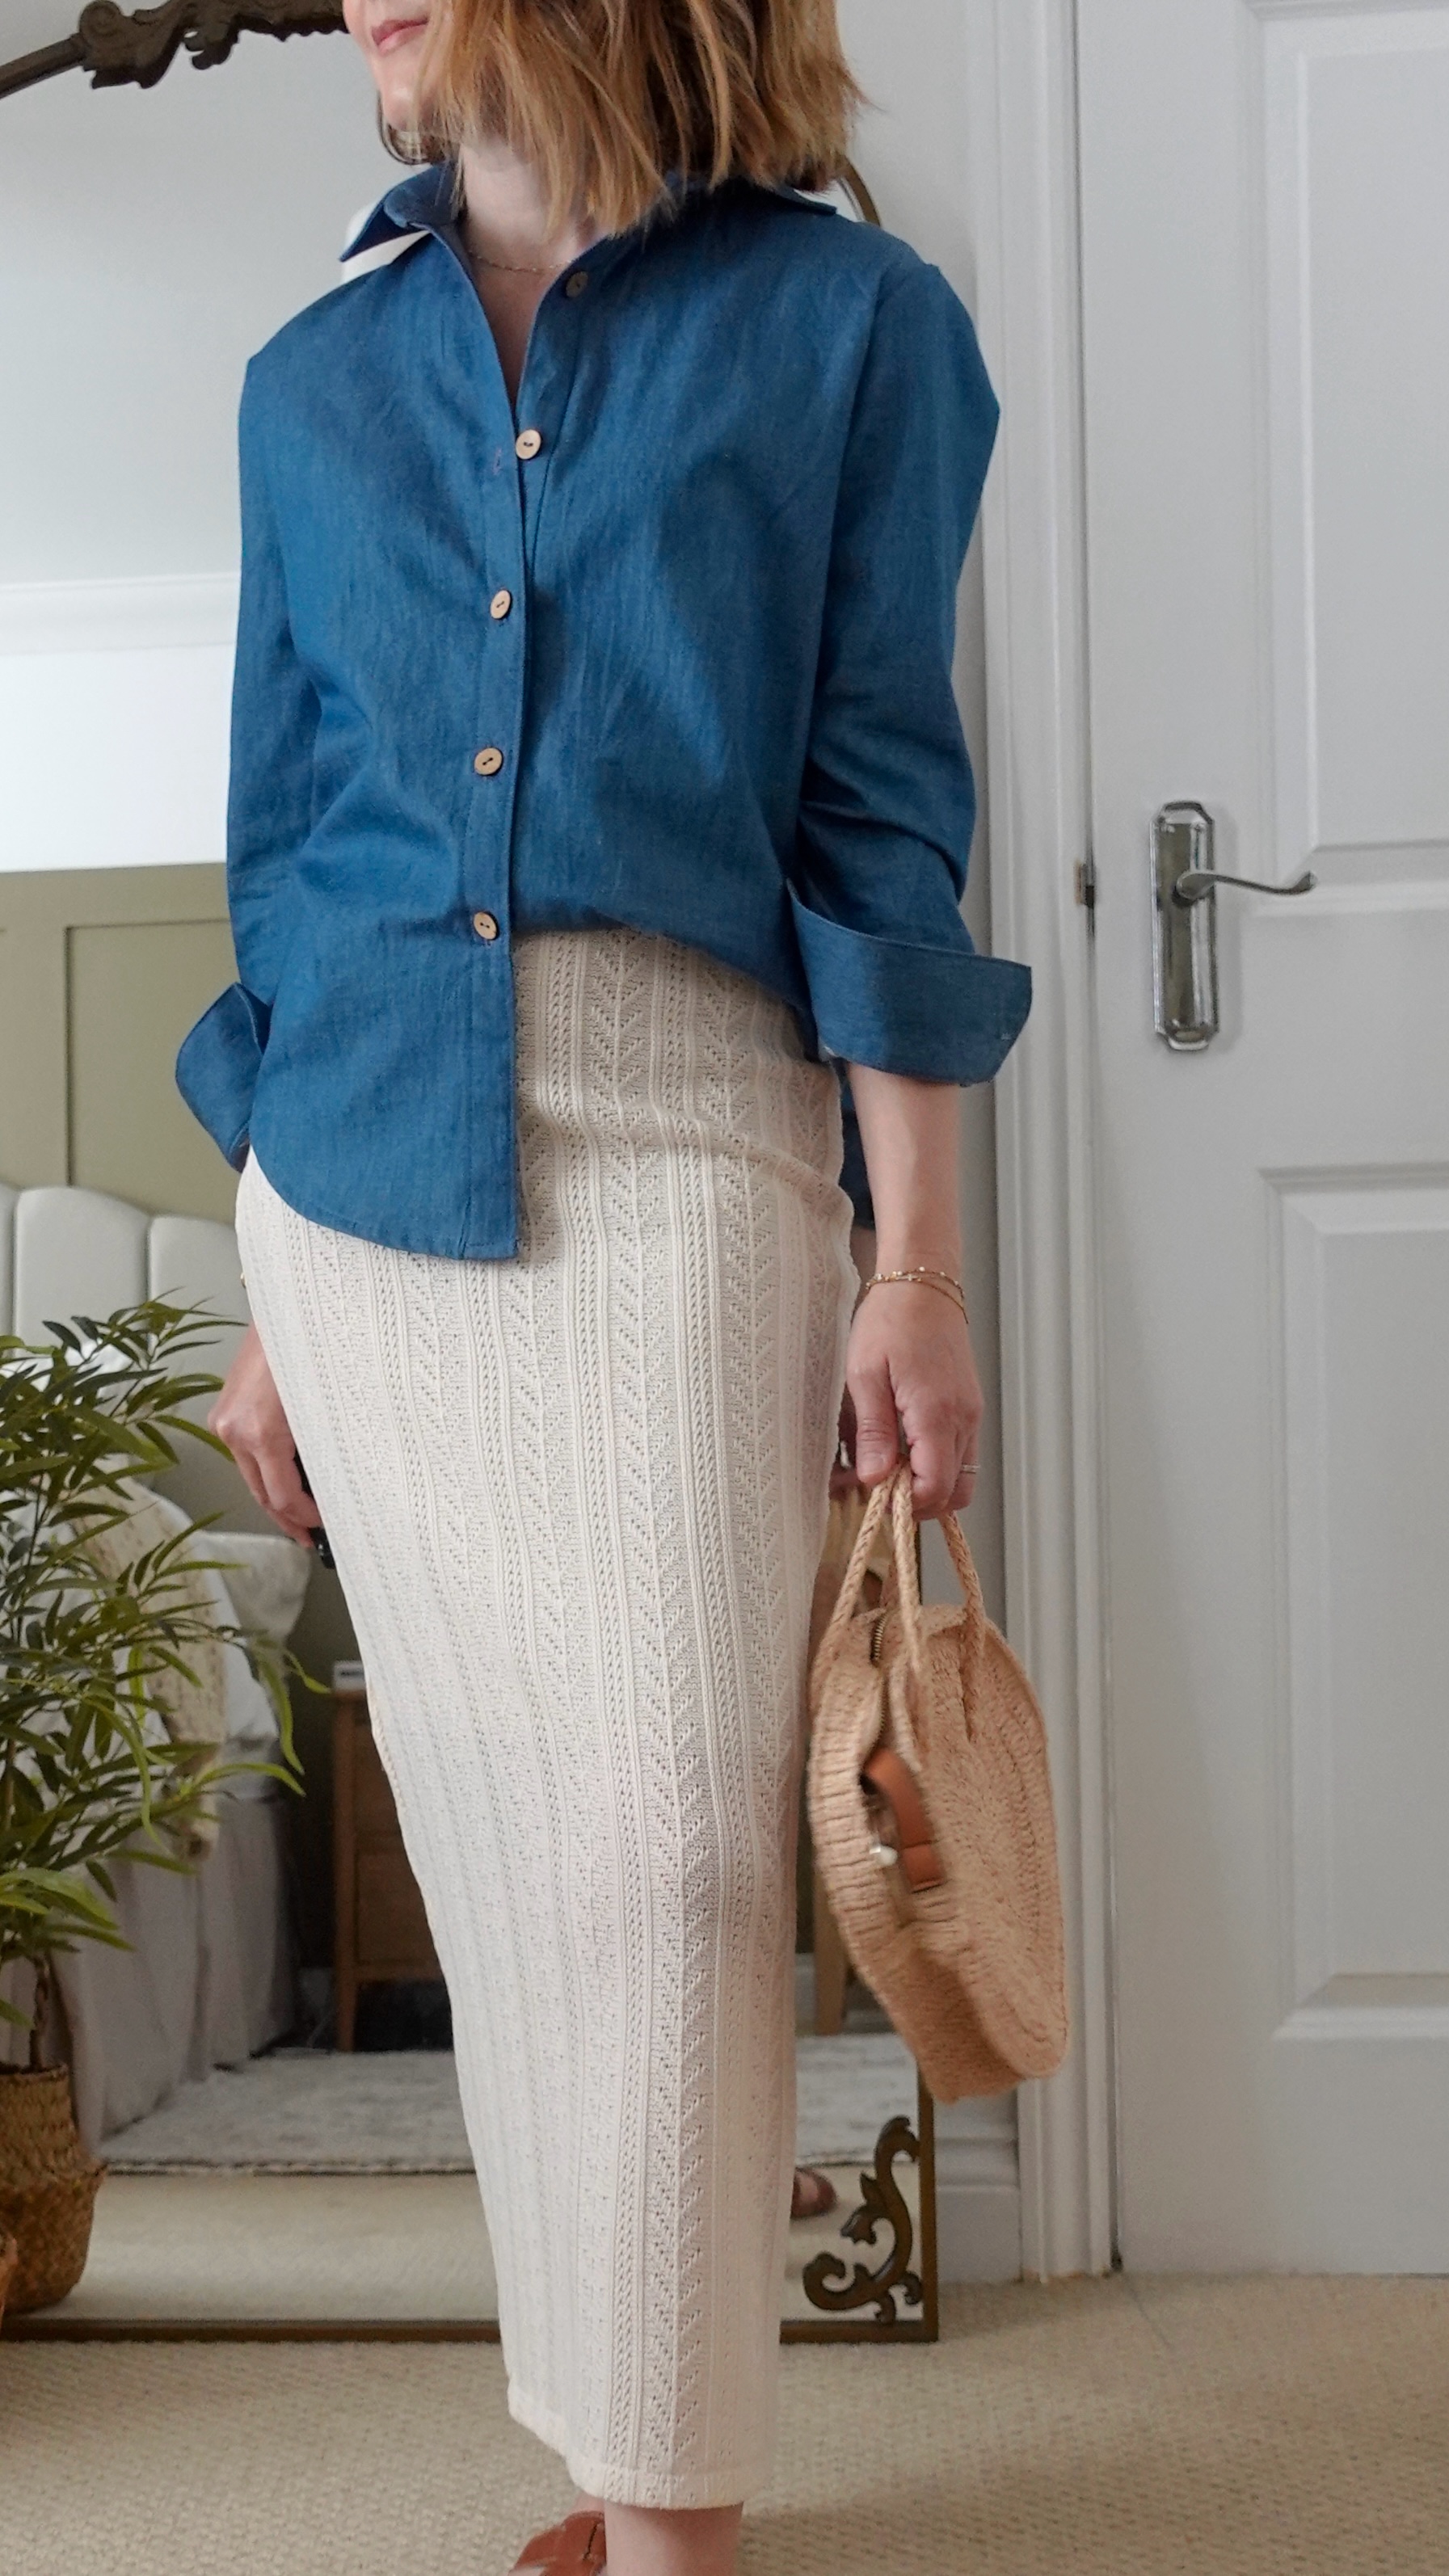
2. The Denim Shirt
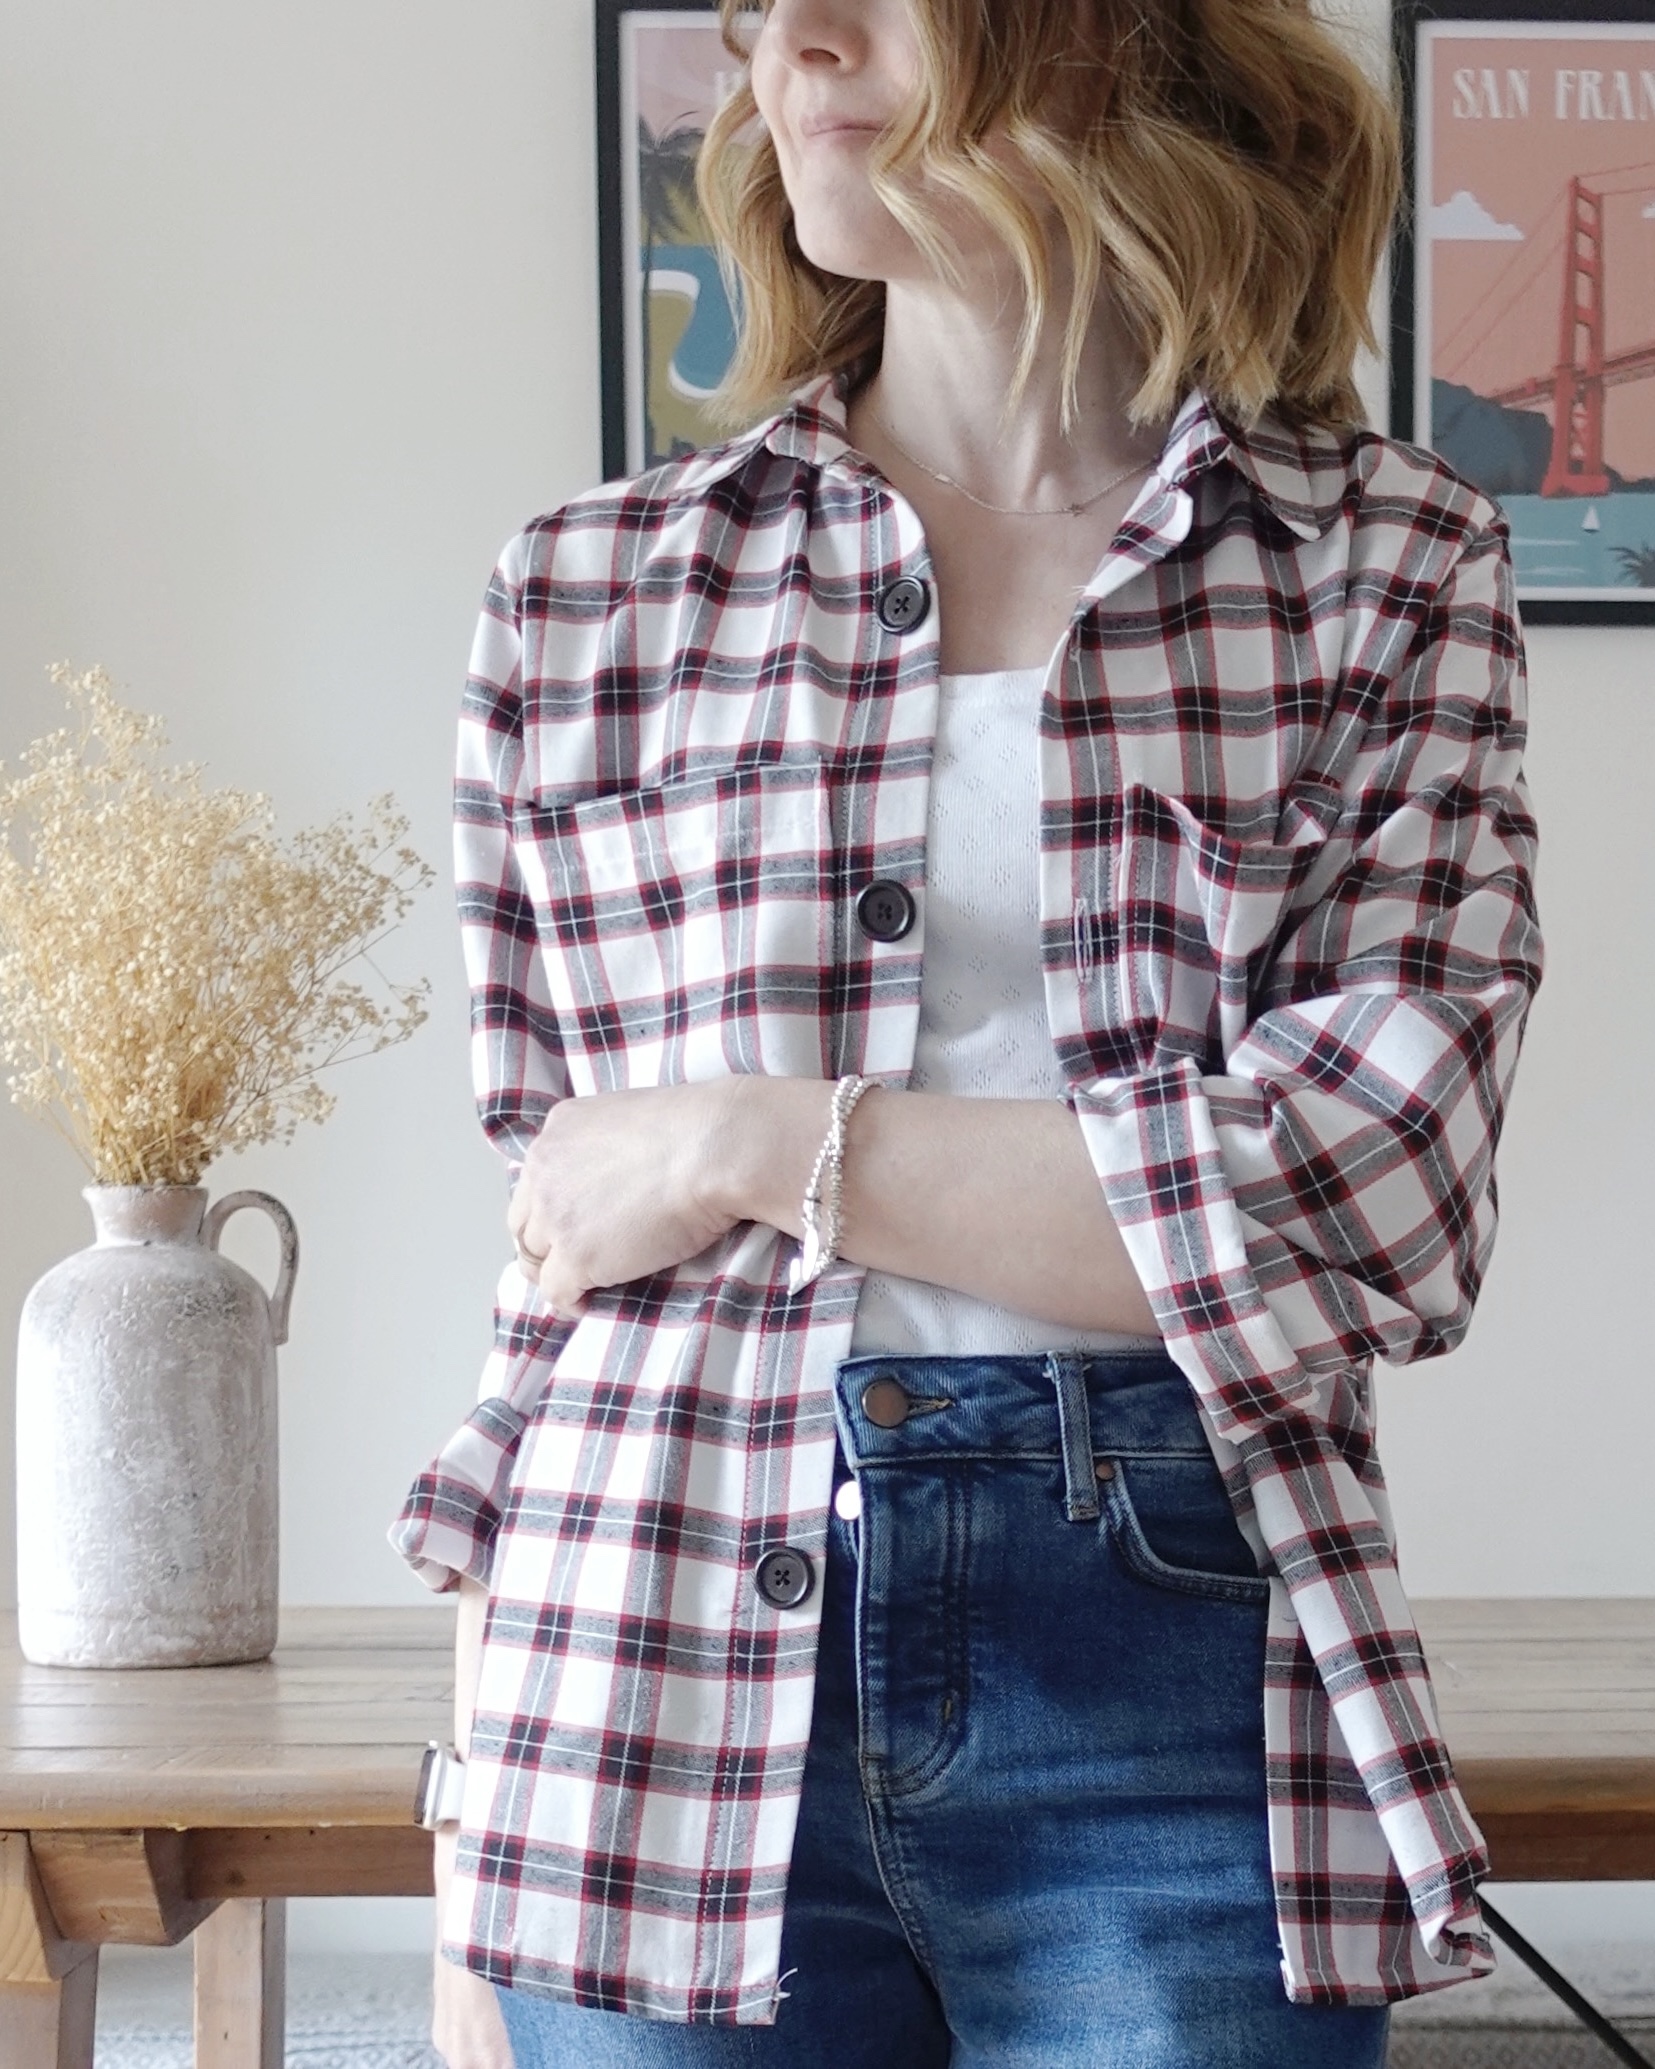
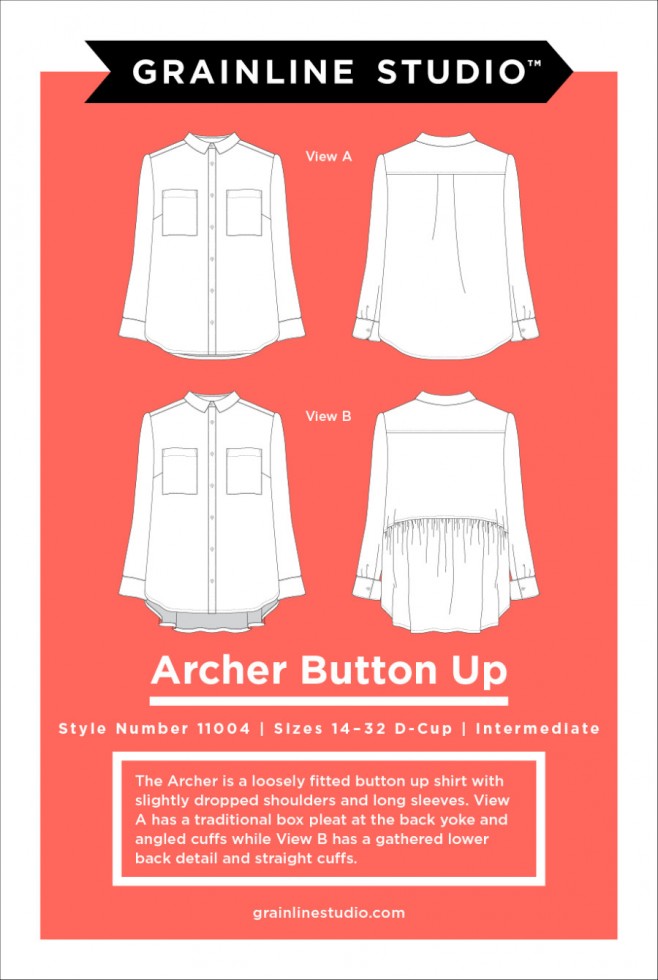
A denim shirt is an absolute essential in my opinion and this one replaces an older make which has been worn to death. I find shirts the perfect layering piece for a handmade wardrobe, worn open over a dress, tucked into a skirt (more on that in a second), or thrown over an Agnes Top or cami. My shirts are probably amongst the most worn garments in my wardrobe and are probably my favourite thing to sew too!
I used the Archer Shirt by Grainline Studio in a chambray fabric that gives it that soft, worn-in feel without needing years of washing. I also filmed a full sew-along of the Archer on Patreon if you want the in-depth version.
Pattern: Archer Shirt Grainline Studio
Fabric: Similar Chambray linked here
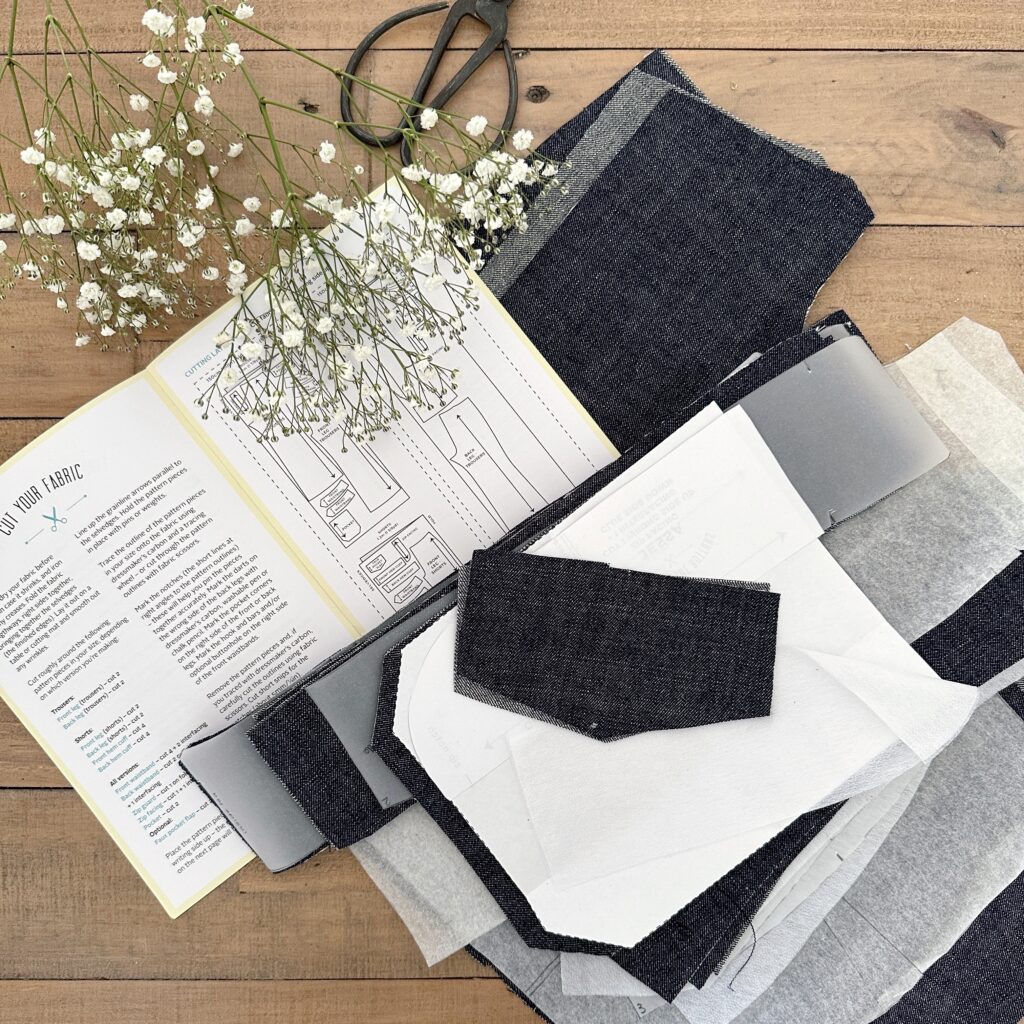
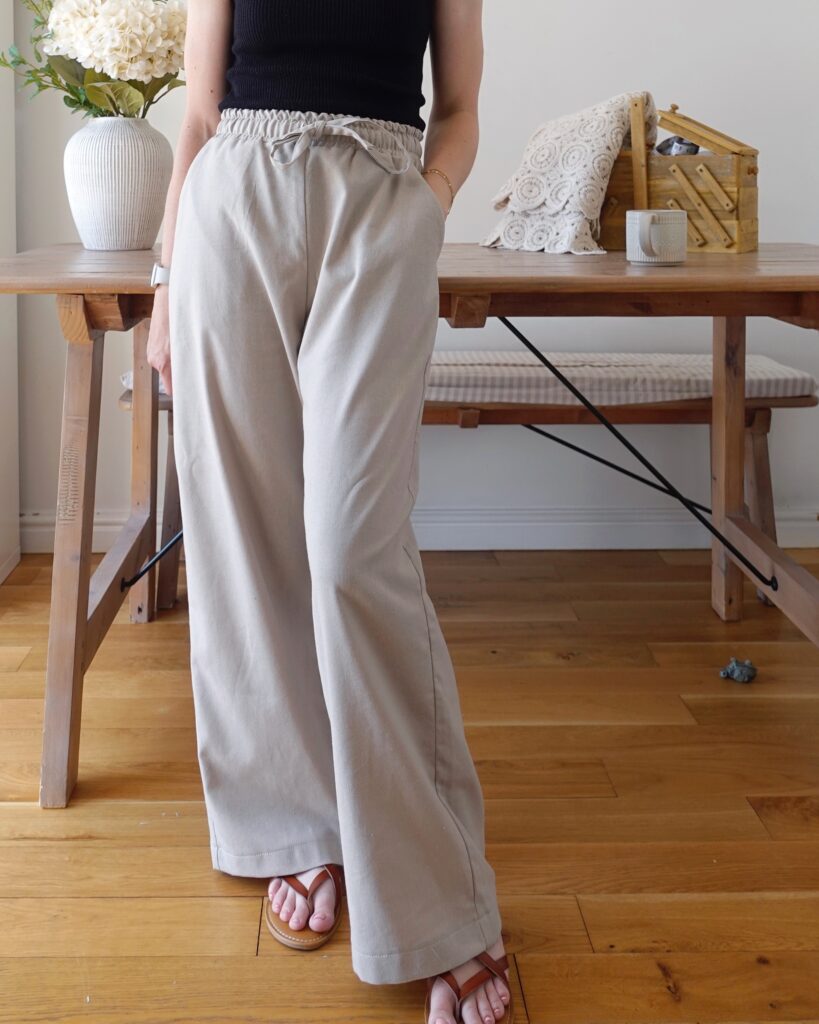
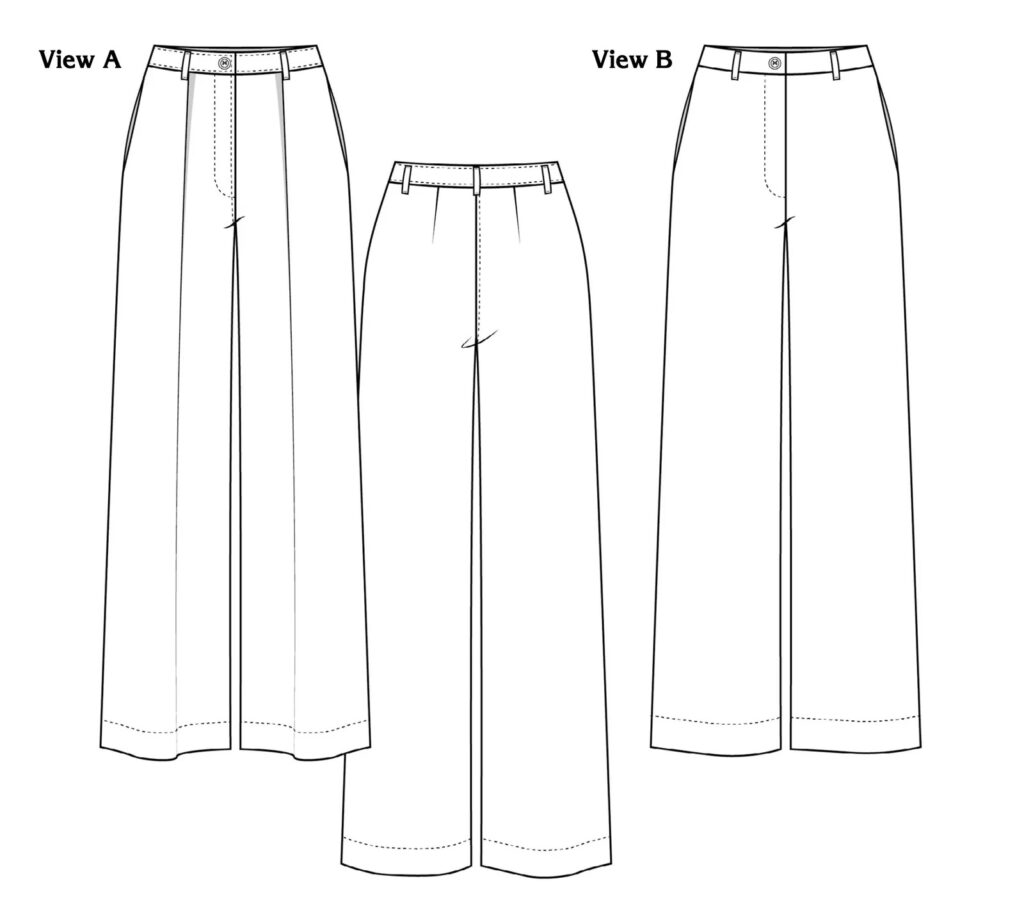
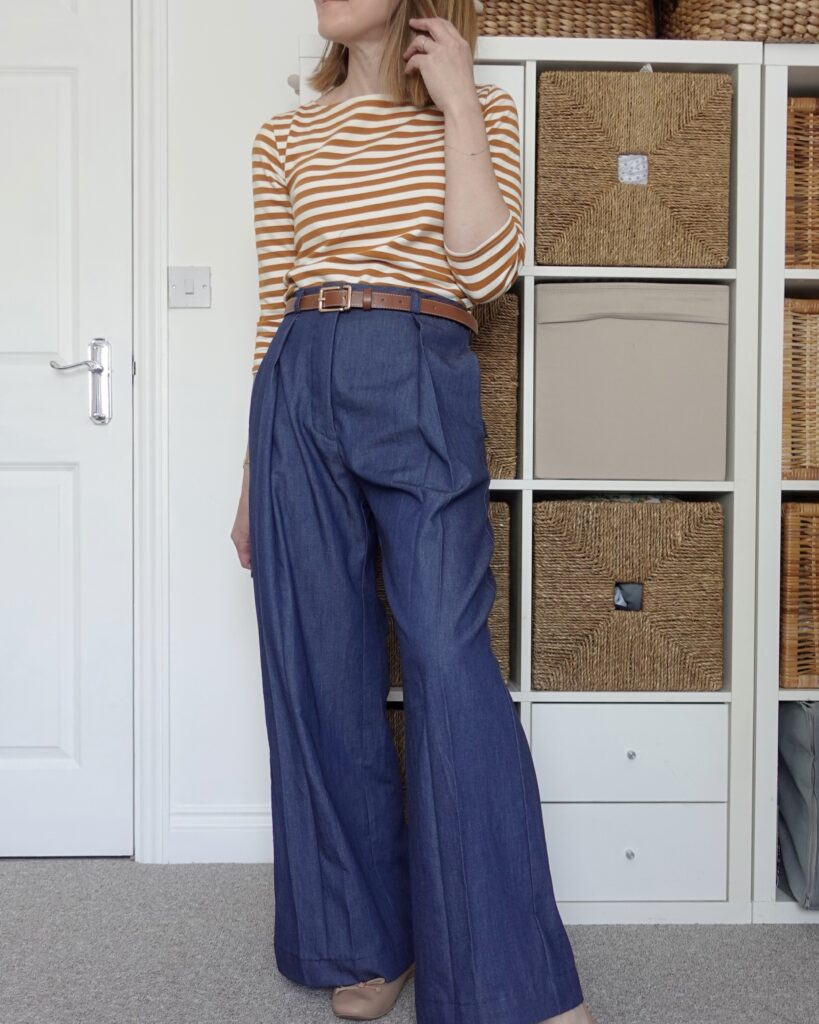
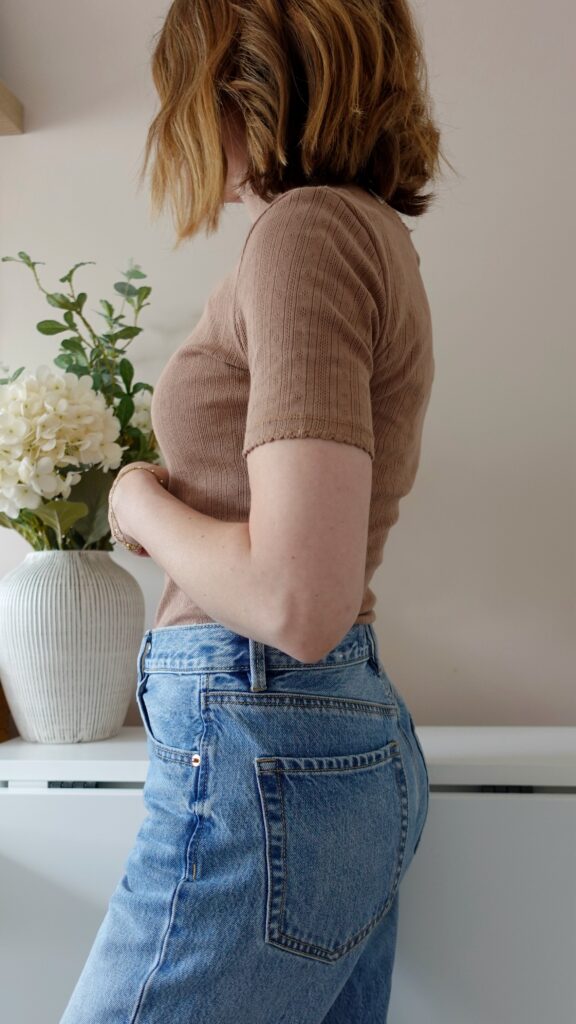
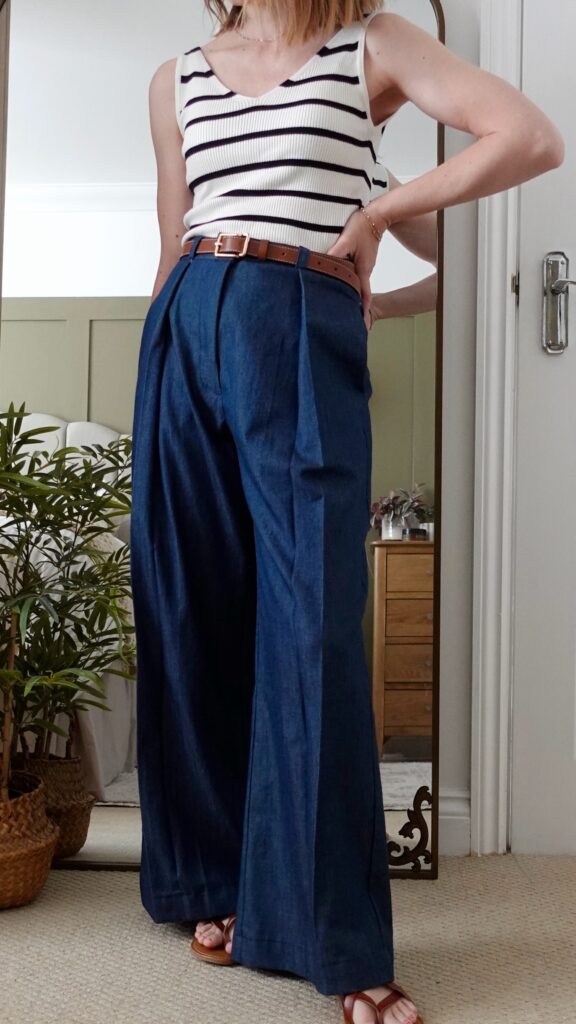
3. Protea Pants
Oh how I love a good pair of wide legged trousers. The Protea Pants by Paradise Patterns are a chic, modern trouser pattern and I made mine in a light denim that feels relaxed enough for everyday wear but looks polished enough to style up too. I wear wide legged trousers all the time but usually in elasticated waist form so this tailored version feels like a bit of a wardrobe upgrade! I also filmed a full Protea Pants sew-along over on Patreon if you fancy sewing along with me.
Pattern: Protea Pants Paradise Patterns
Fabric: Similar light denim linked here
Sew-along: Watch on Patreon
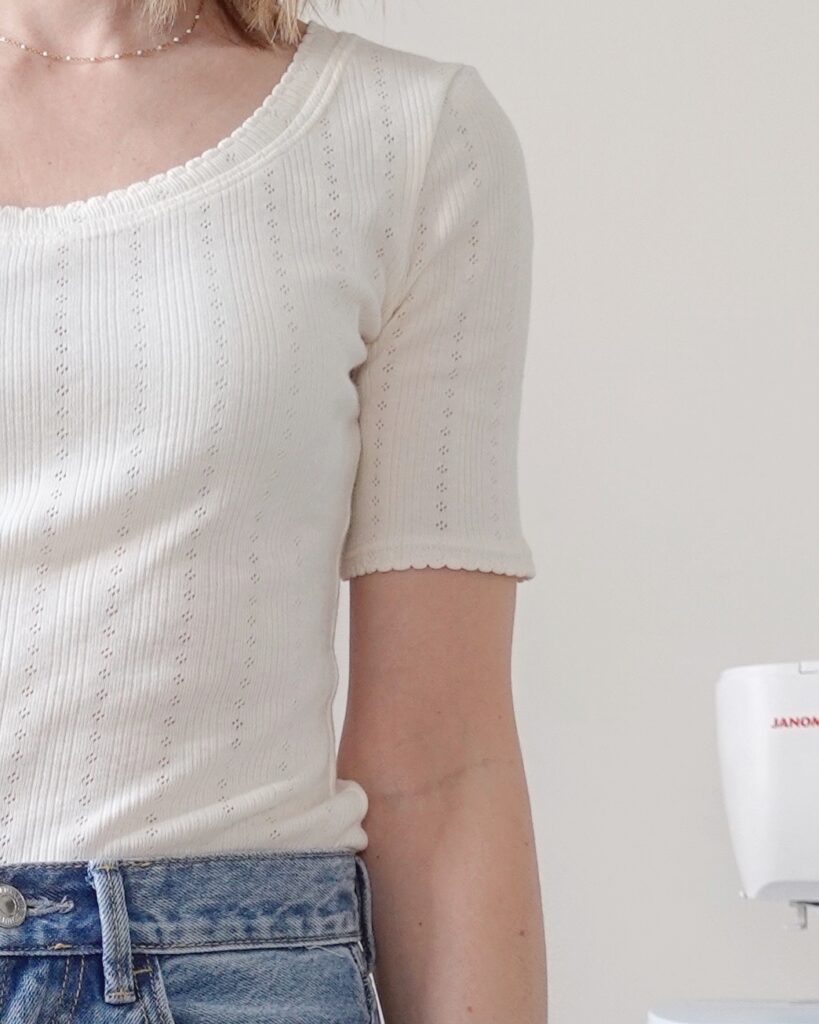
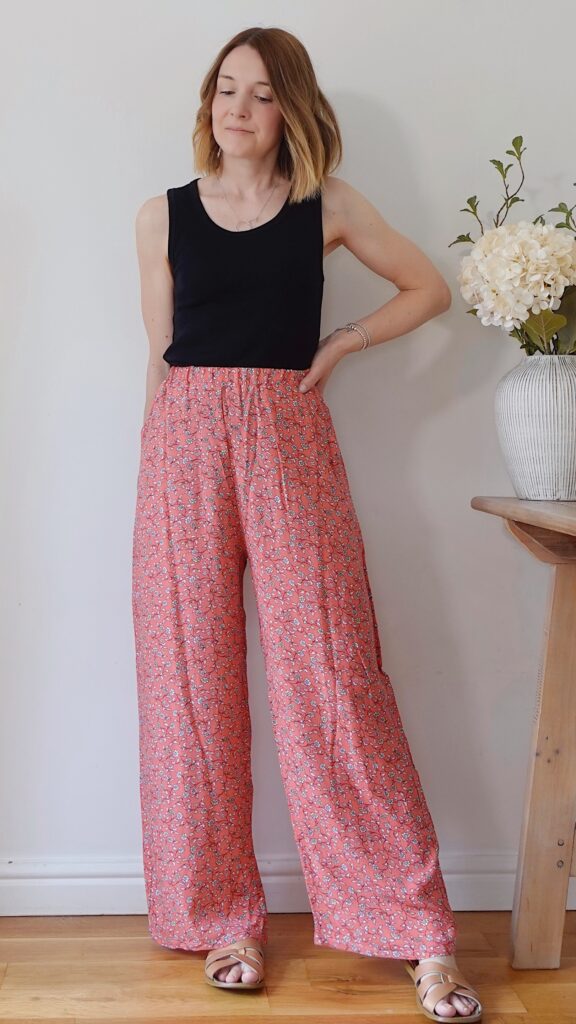
4. Agnes Top
Every wardrobe needs a go-to jersey top, and the Agnes Top by Tilly and the Buttons is exactly that. My go-to pattern for a fitted jersey top! I added this pretty scalloped edging around the neckline and sleeves which I feel finishes it off so nicely, especially in this beautiful chocolate pointelle jersey fabric. This scalloped edge is surprisingly easy to create and if you fancy having a go at it yourself, I have a YouTube short sharing ‘how to’ here. I’m addicted and am going to be adding this to all of my jersey makes from now on I think.
Pattern: Agnes Top Tilly and the Buttons
Why I Love Re-Using Patterns
One thing I talk about in the video is the power of going back to patterns you already own and making them feel fresh. A stripe fabric, a slight tweak or change, a new season’s styling, it’s amazing what you can do without spending a penny on a new pattern.
If you’re building a handmade spring wardrobe, I’d really encourage you to dig through what you’ve already got before hitting “buy.” Chances are you’ve got a pattern that could work perfectly with a seasonal fabric swap or a subtle design change.
Outfit Ideas From These 4 Makes
Here’s how I’ve been wearing these new makes together:
- Stripe Jarrah sweater & handmade Dawn jeans – effortless casual, great for weekends
- Denim shirt + handmade crochet lace Lana skirt – I’d wear this out for a drink!
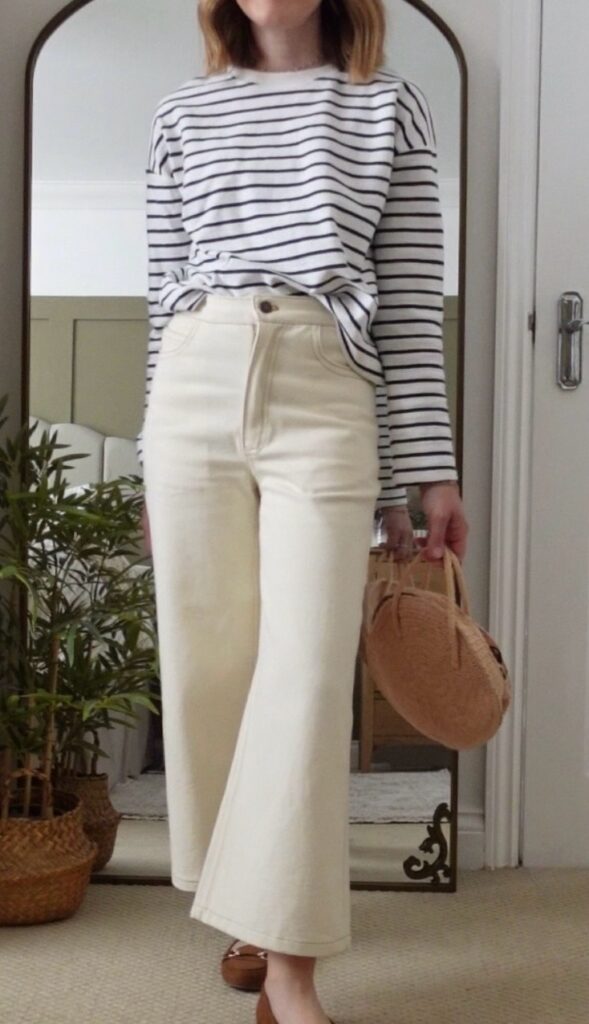
- Ready to wear rib knit top & Protea pants – super comfy but a little ‘French chic’ at the same time
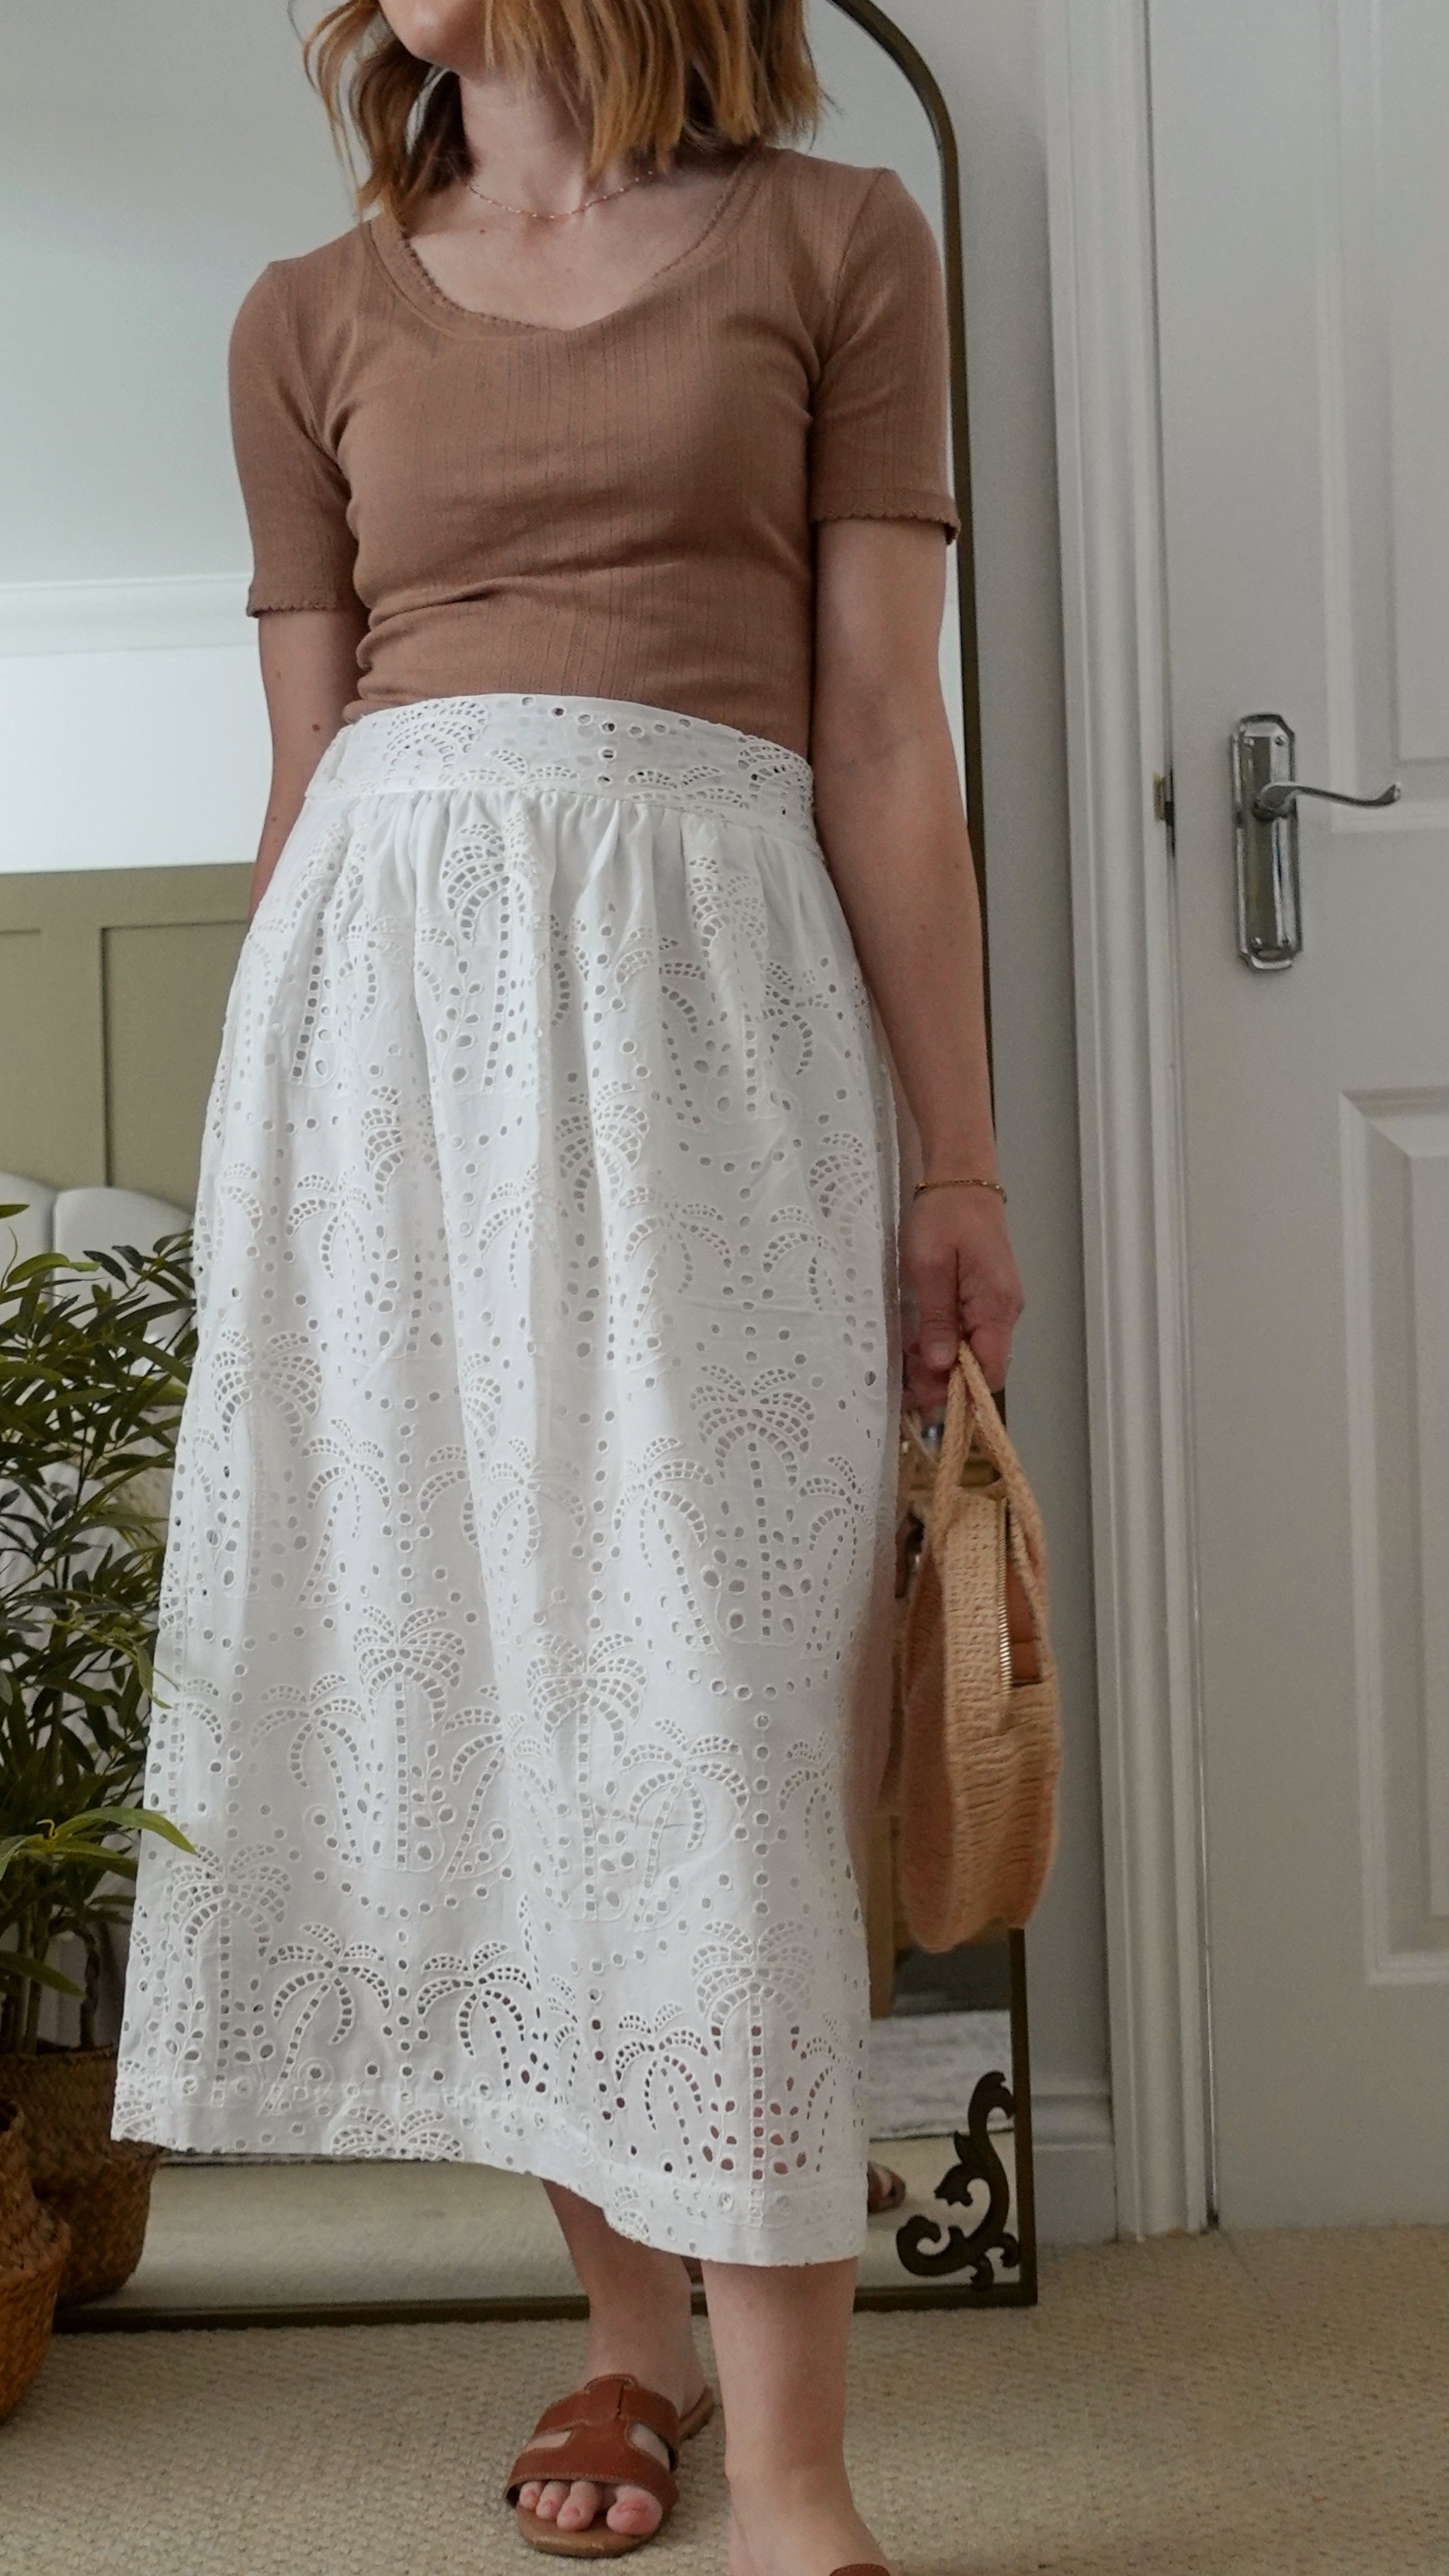
- Agnes top & handmade gathered skirt – floaty and cool for a warm spring day! I have a tutorial over on YouTube for how to sew this skirt and you can find it here.
Watch the Full Video
Want to see all four makes styled and hear more about the sewing process? Head over to YouTube to watch the full video, links to all the patterns and fabrics are in the video description.
Watch: My Dream Spring Handmade Wardrobe Is Coming Together
What’s on your spring sewing list? Let me know in the comments I’d love to hear what you’re making.
Happy sewing!
Sally xx